Food:
Food:
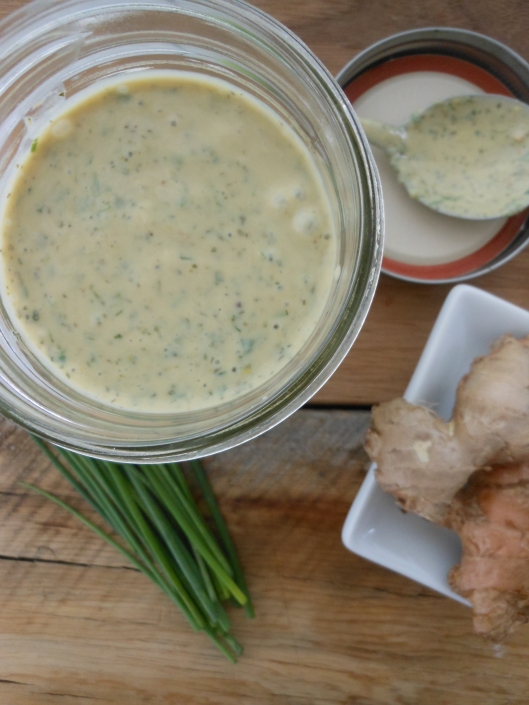
Ginger Tofu Miso Ranch
inspired by Bon Appetit
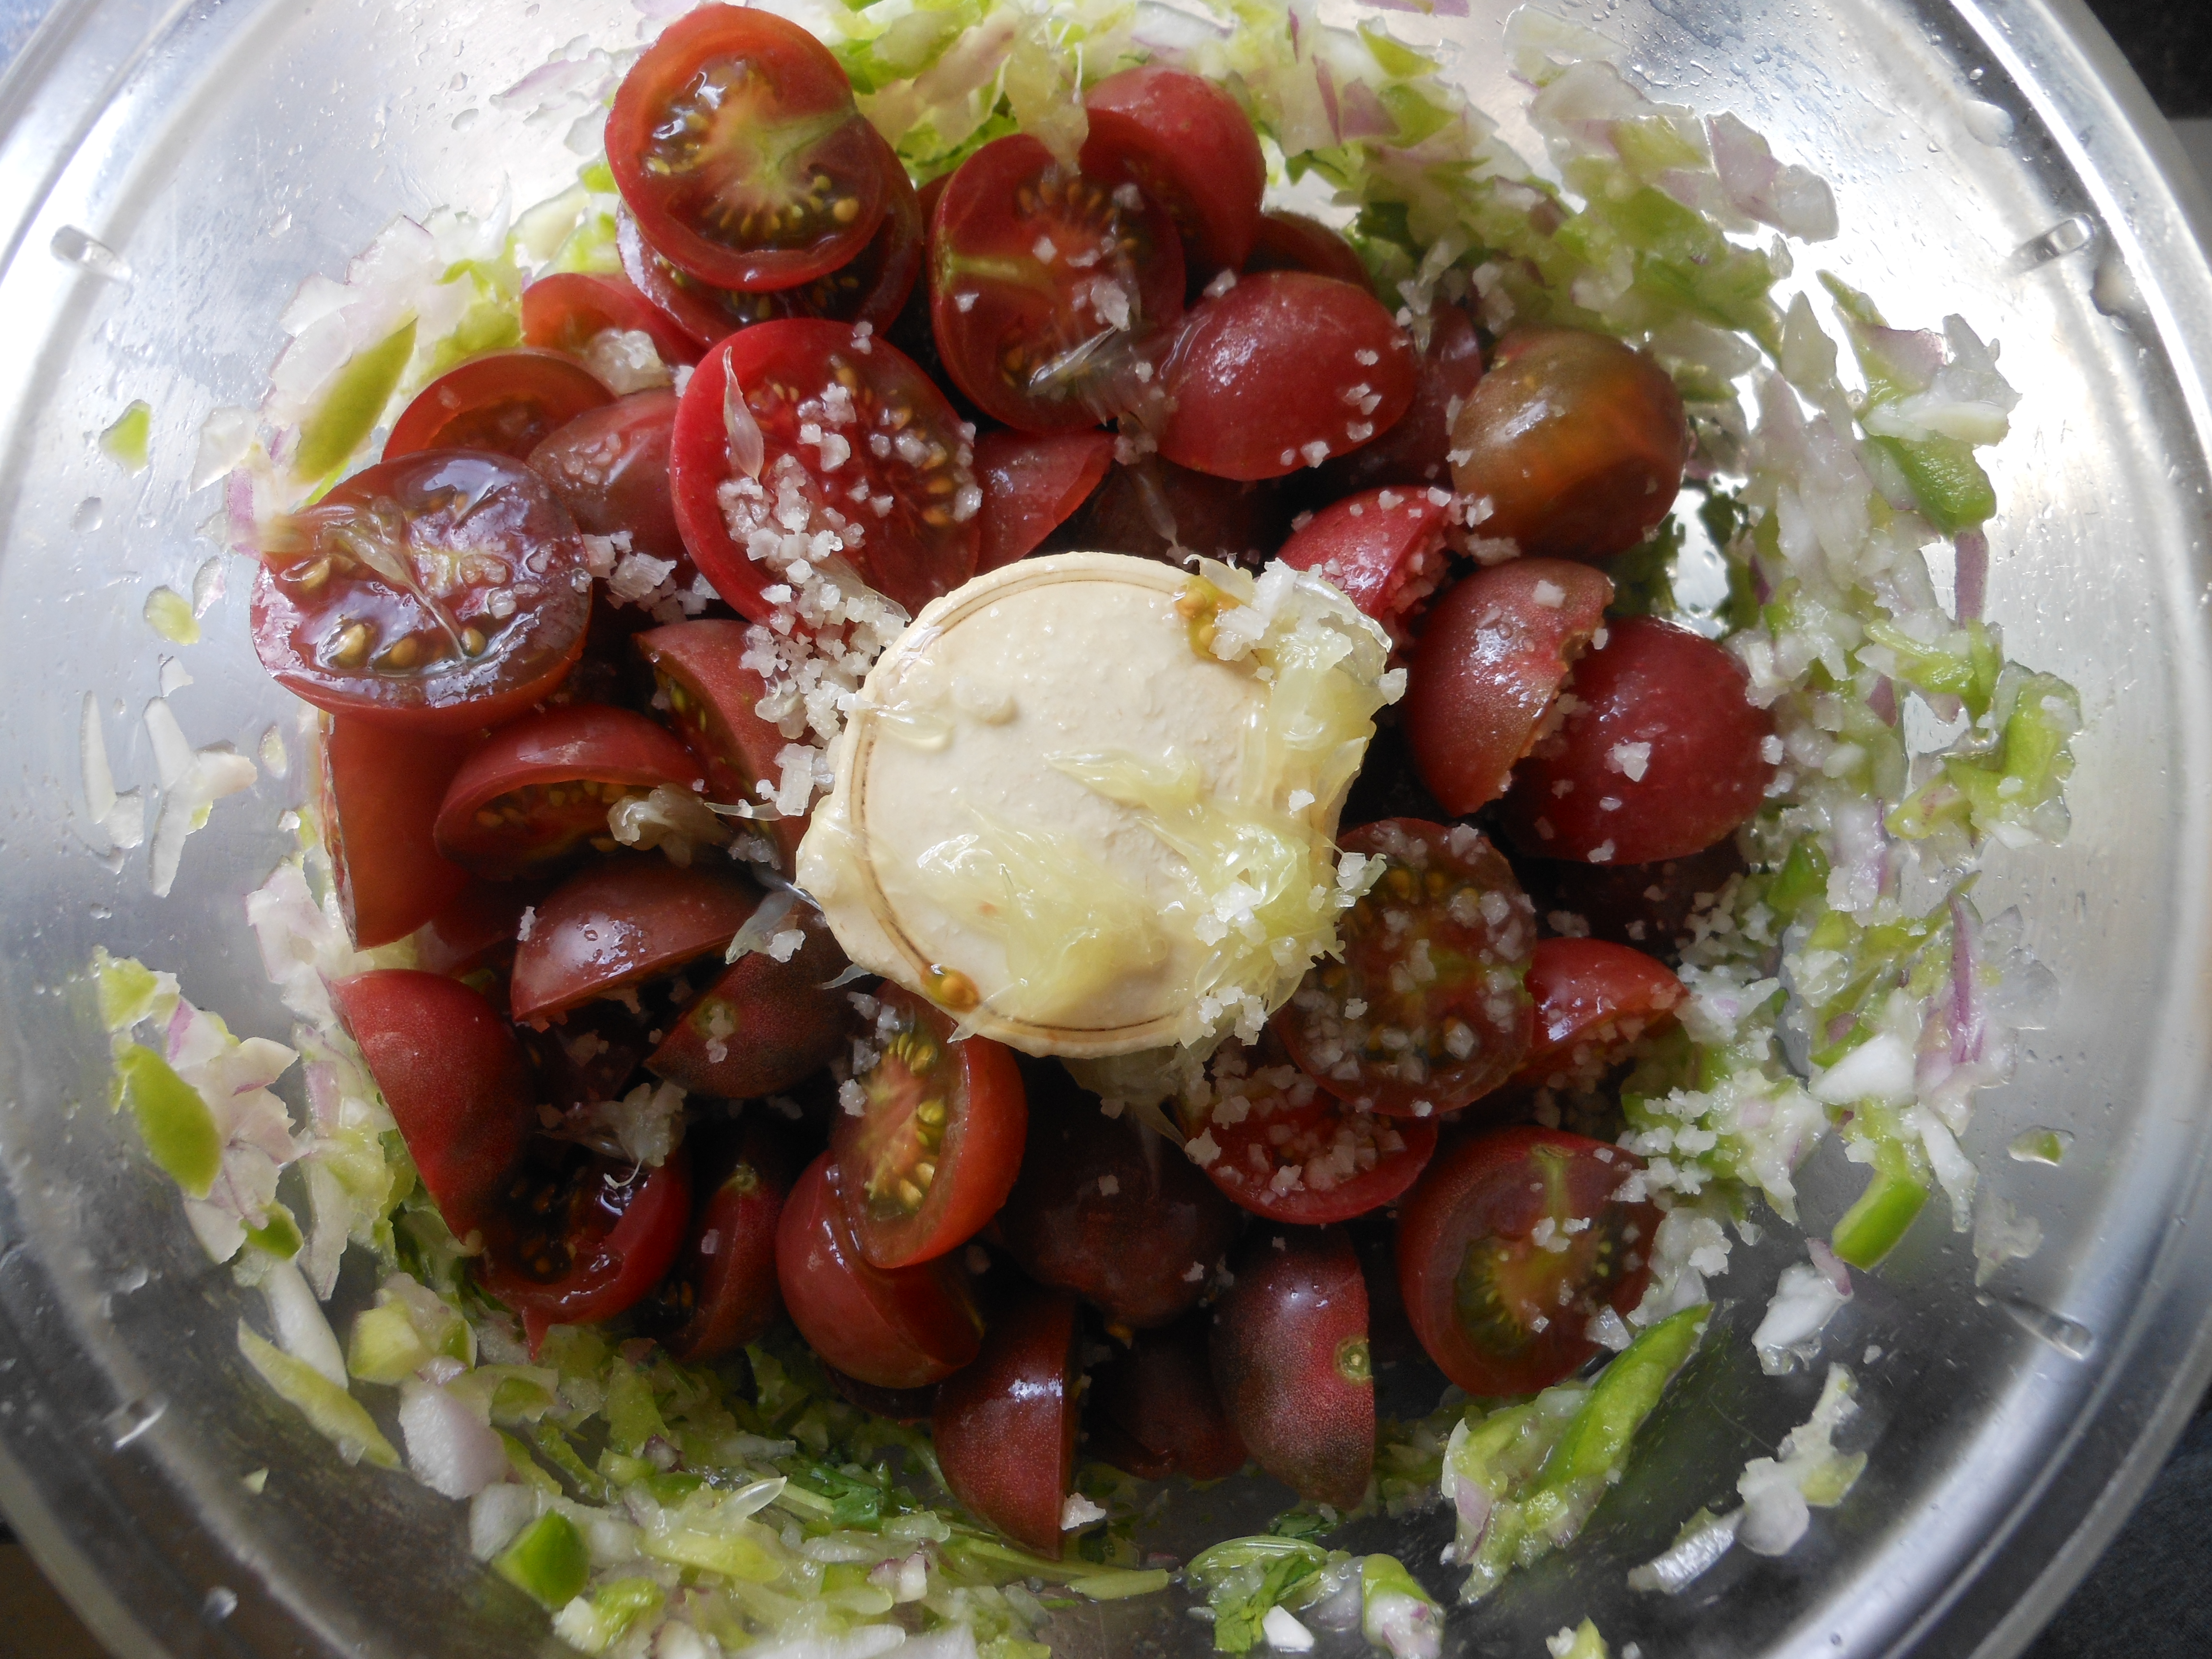
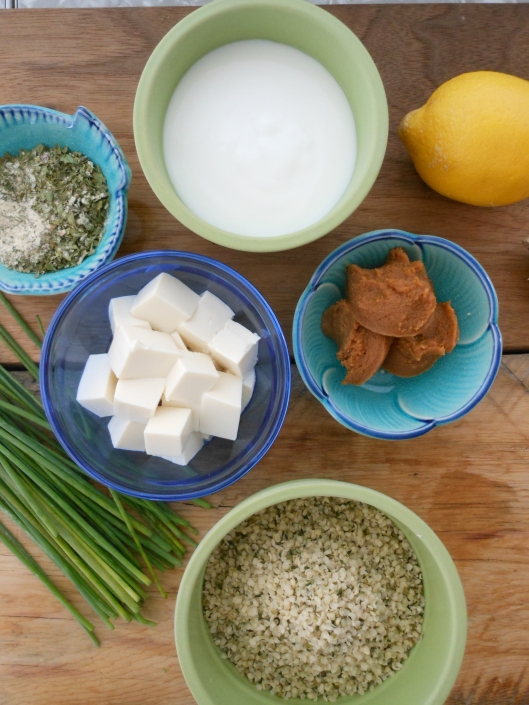
4oz silken tofu (I have made this with sprouted firm tofu, sprouted is better for you but it makes the dressing gritty. I like the silken better.) If you don’t eat any soy sub with 4oz of hemp seeds
3 T. miso (I change-up my miso all the time, for this recipe I used Cold Mountain organic unpasteurized red miso)
1 lemon, juice and zest
1 inch ginger, peeled and grated
2 tsp. apple cider vinegar or Honey Wine Vinegar (local)
1/2 c. Drake Family Farm Goat Yogurt
1 T. cilantro, chopped
2 T. chives, chopped
1 T. heaping homemade dry ranch mix (2T. dried parsley, 1t. dried dill, 1t. garlic powder, 1t. onion powder, 1/2t. dried basil, 1/2t. pepper, make a double batch and store in a glass container with a tight fitting lid)
salt and pepper to taste
 Directions:
1. Place the tofu, miso, ginger, vinegar, lemon juice, zest and dry ranch into the food processor and mix well. Drizzle in the goat yogurt while the motor is running. Stop the machine and scrape down the sides, add in the chives and cilantro and pulse just to incorporate. Taste for salt and pepper and adjust seasoning.
2. Store in a glass container with a tight fitting lid and place in the fridge and let the flavors meld together for at least an hour. Eat!
We will be enjoying this dressing on my Spinach, Beet Quinoa Salad for dinners this week!
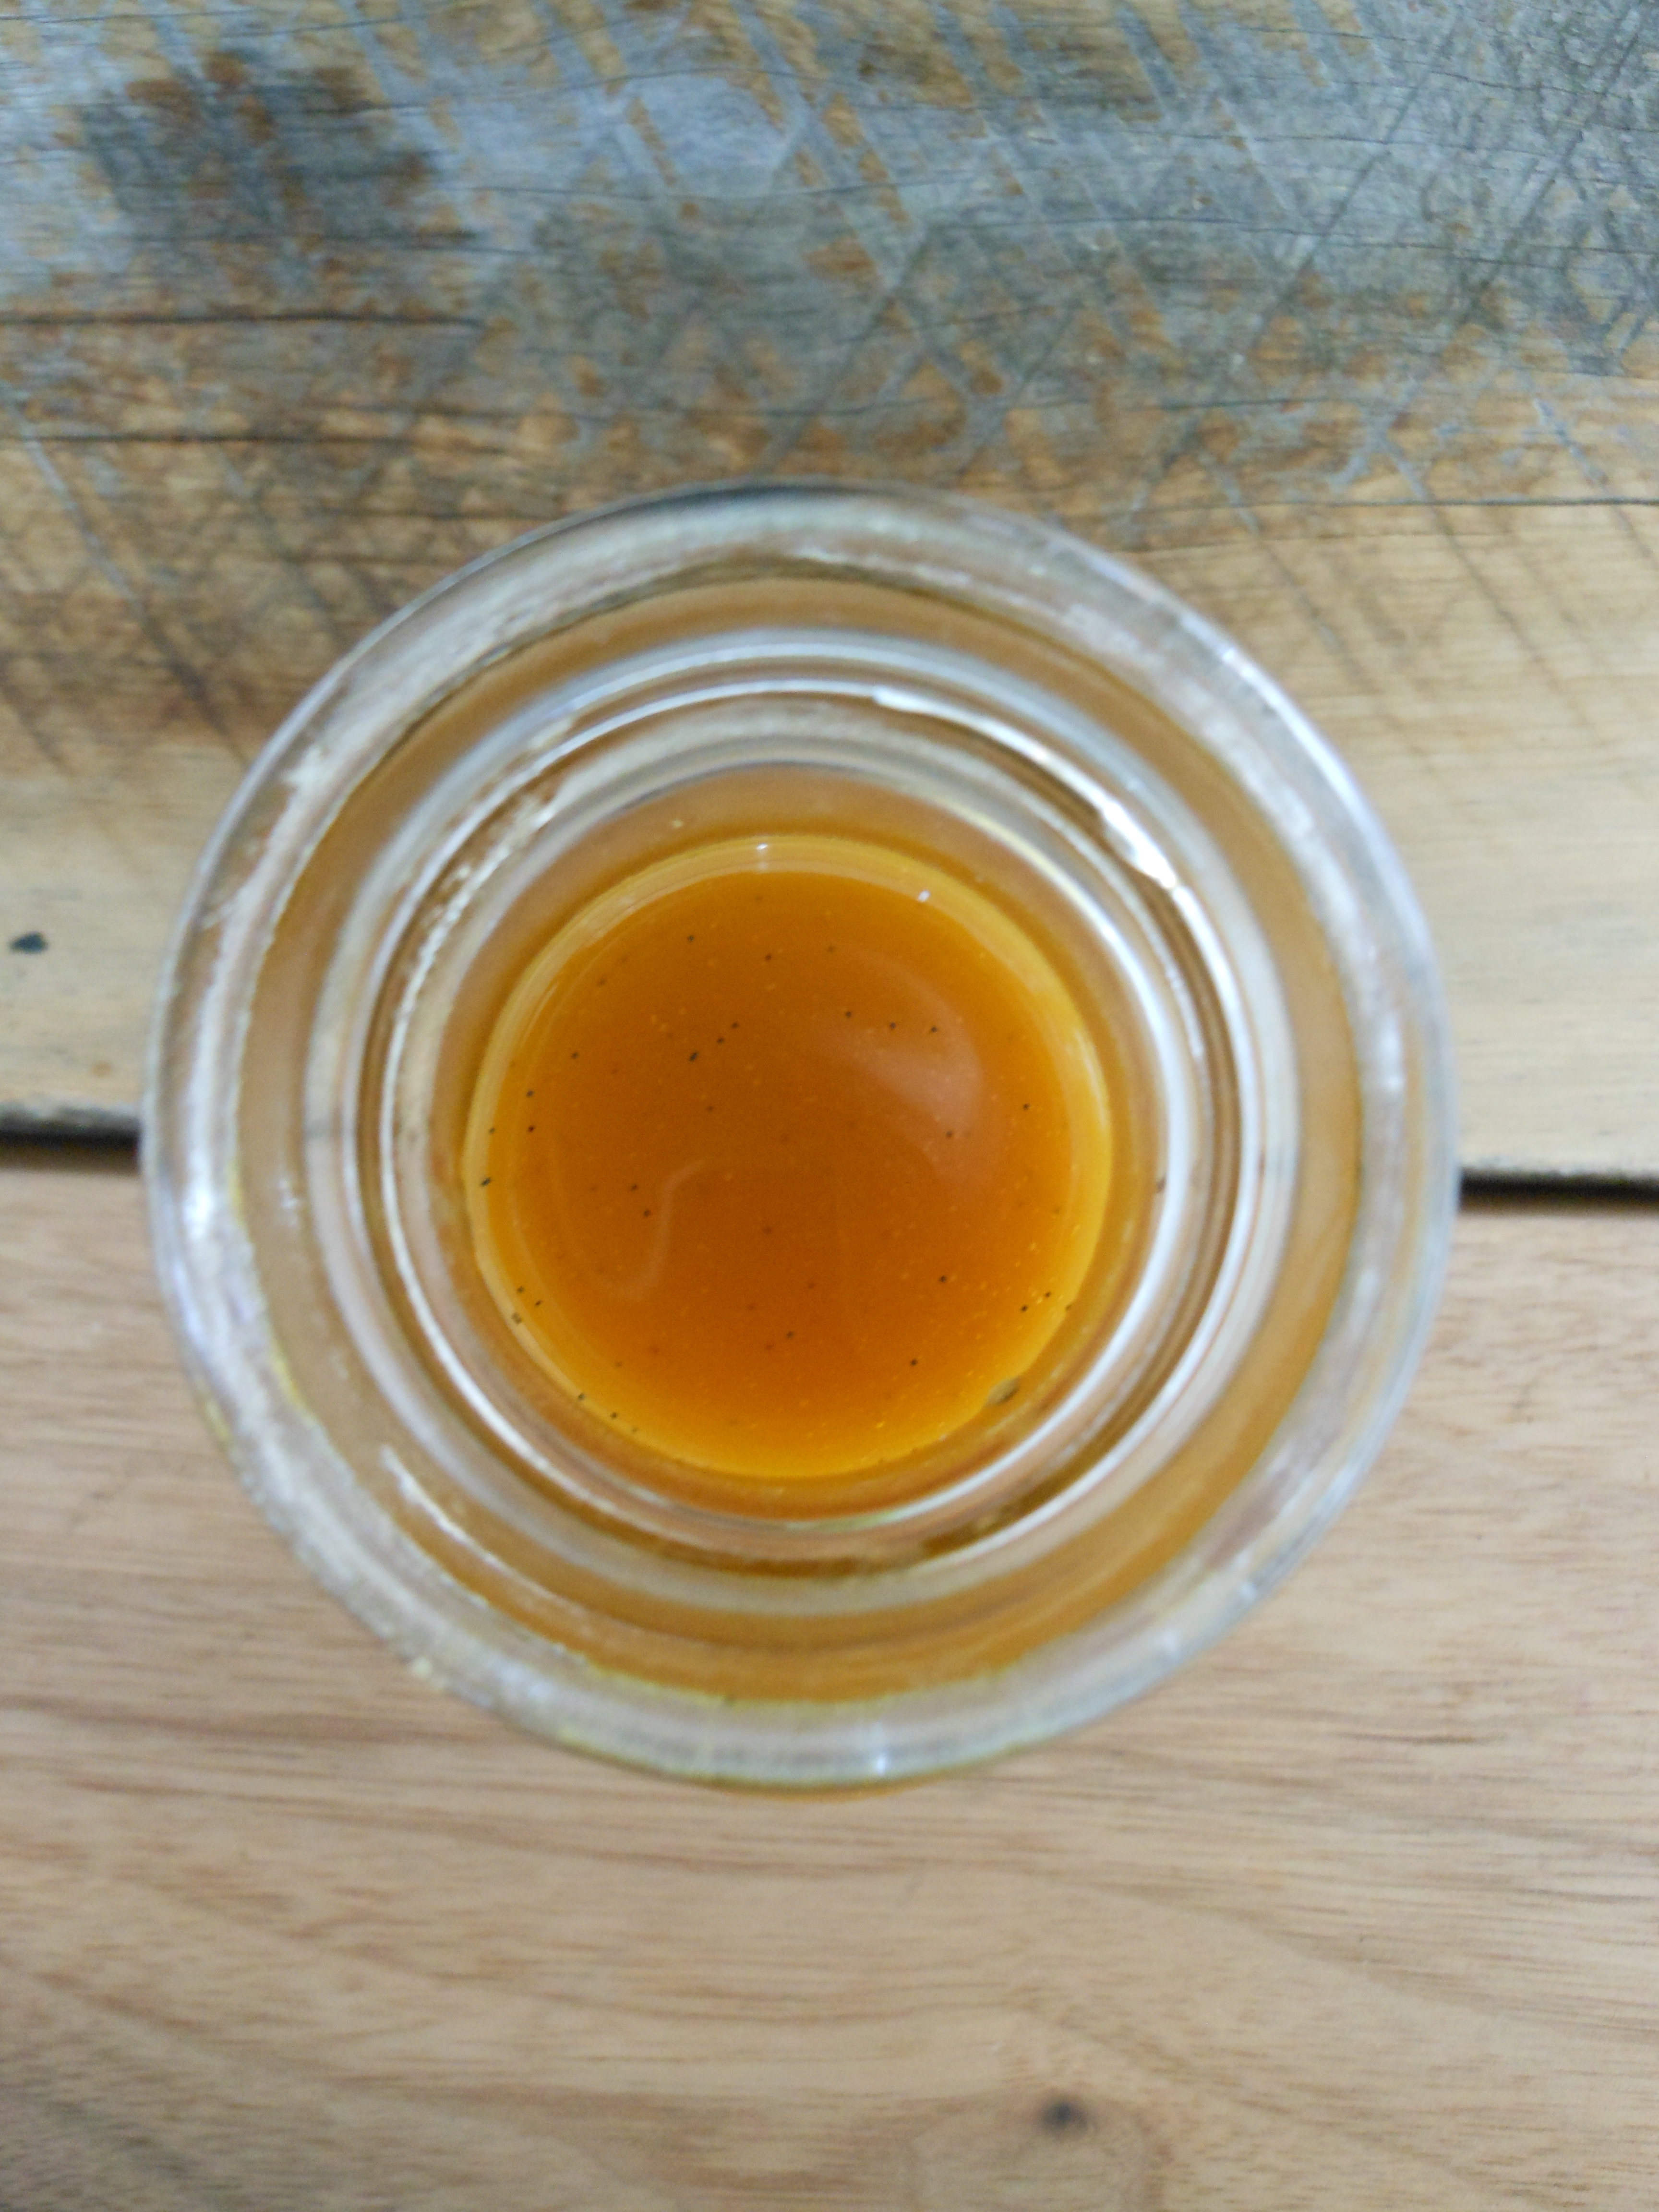
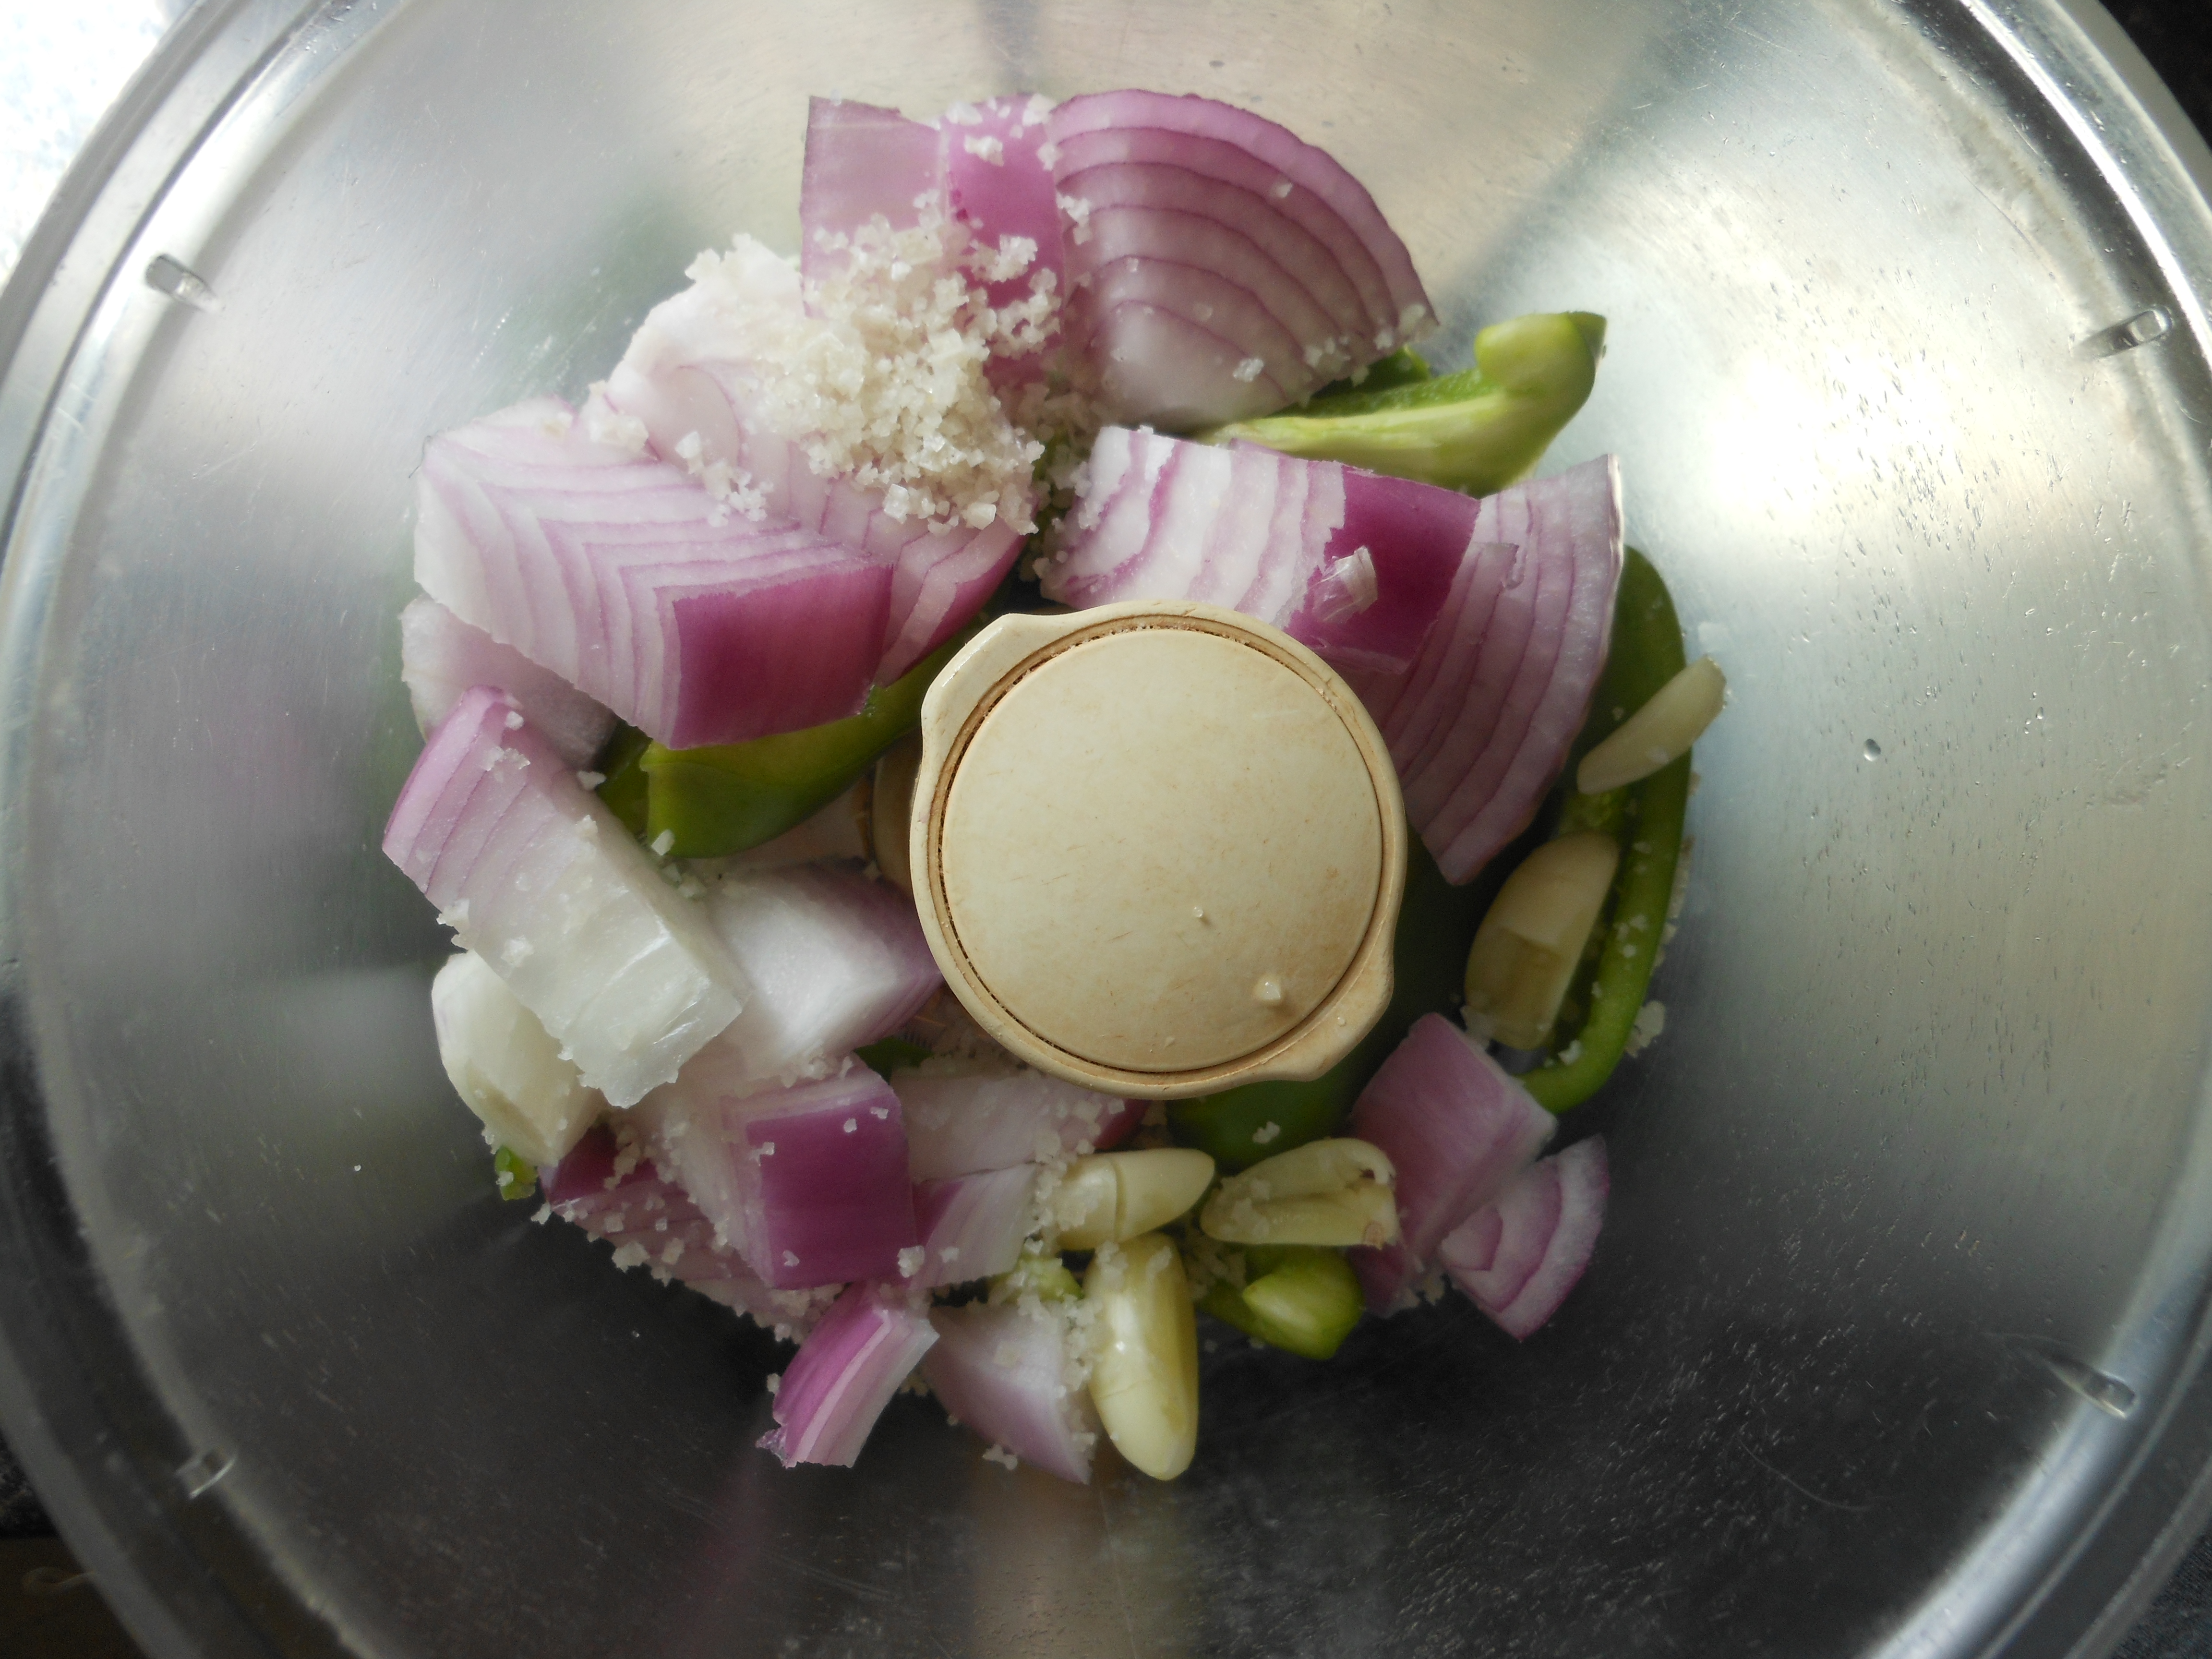
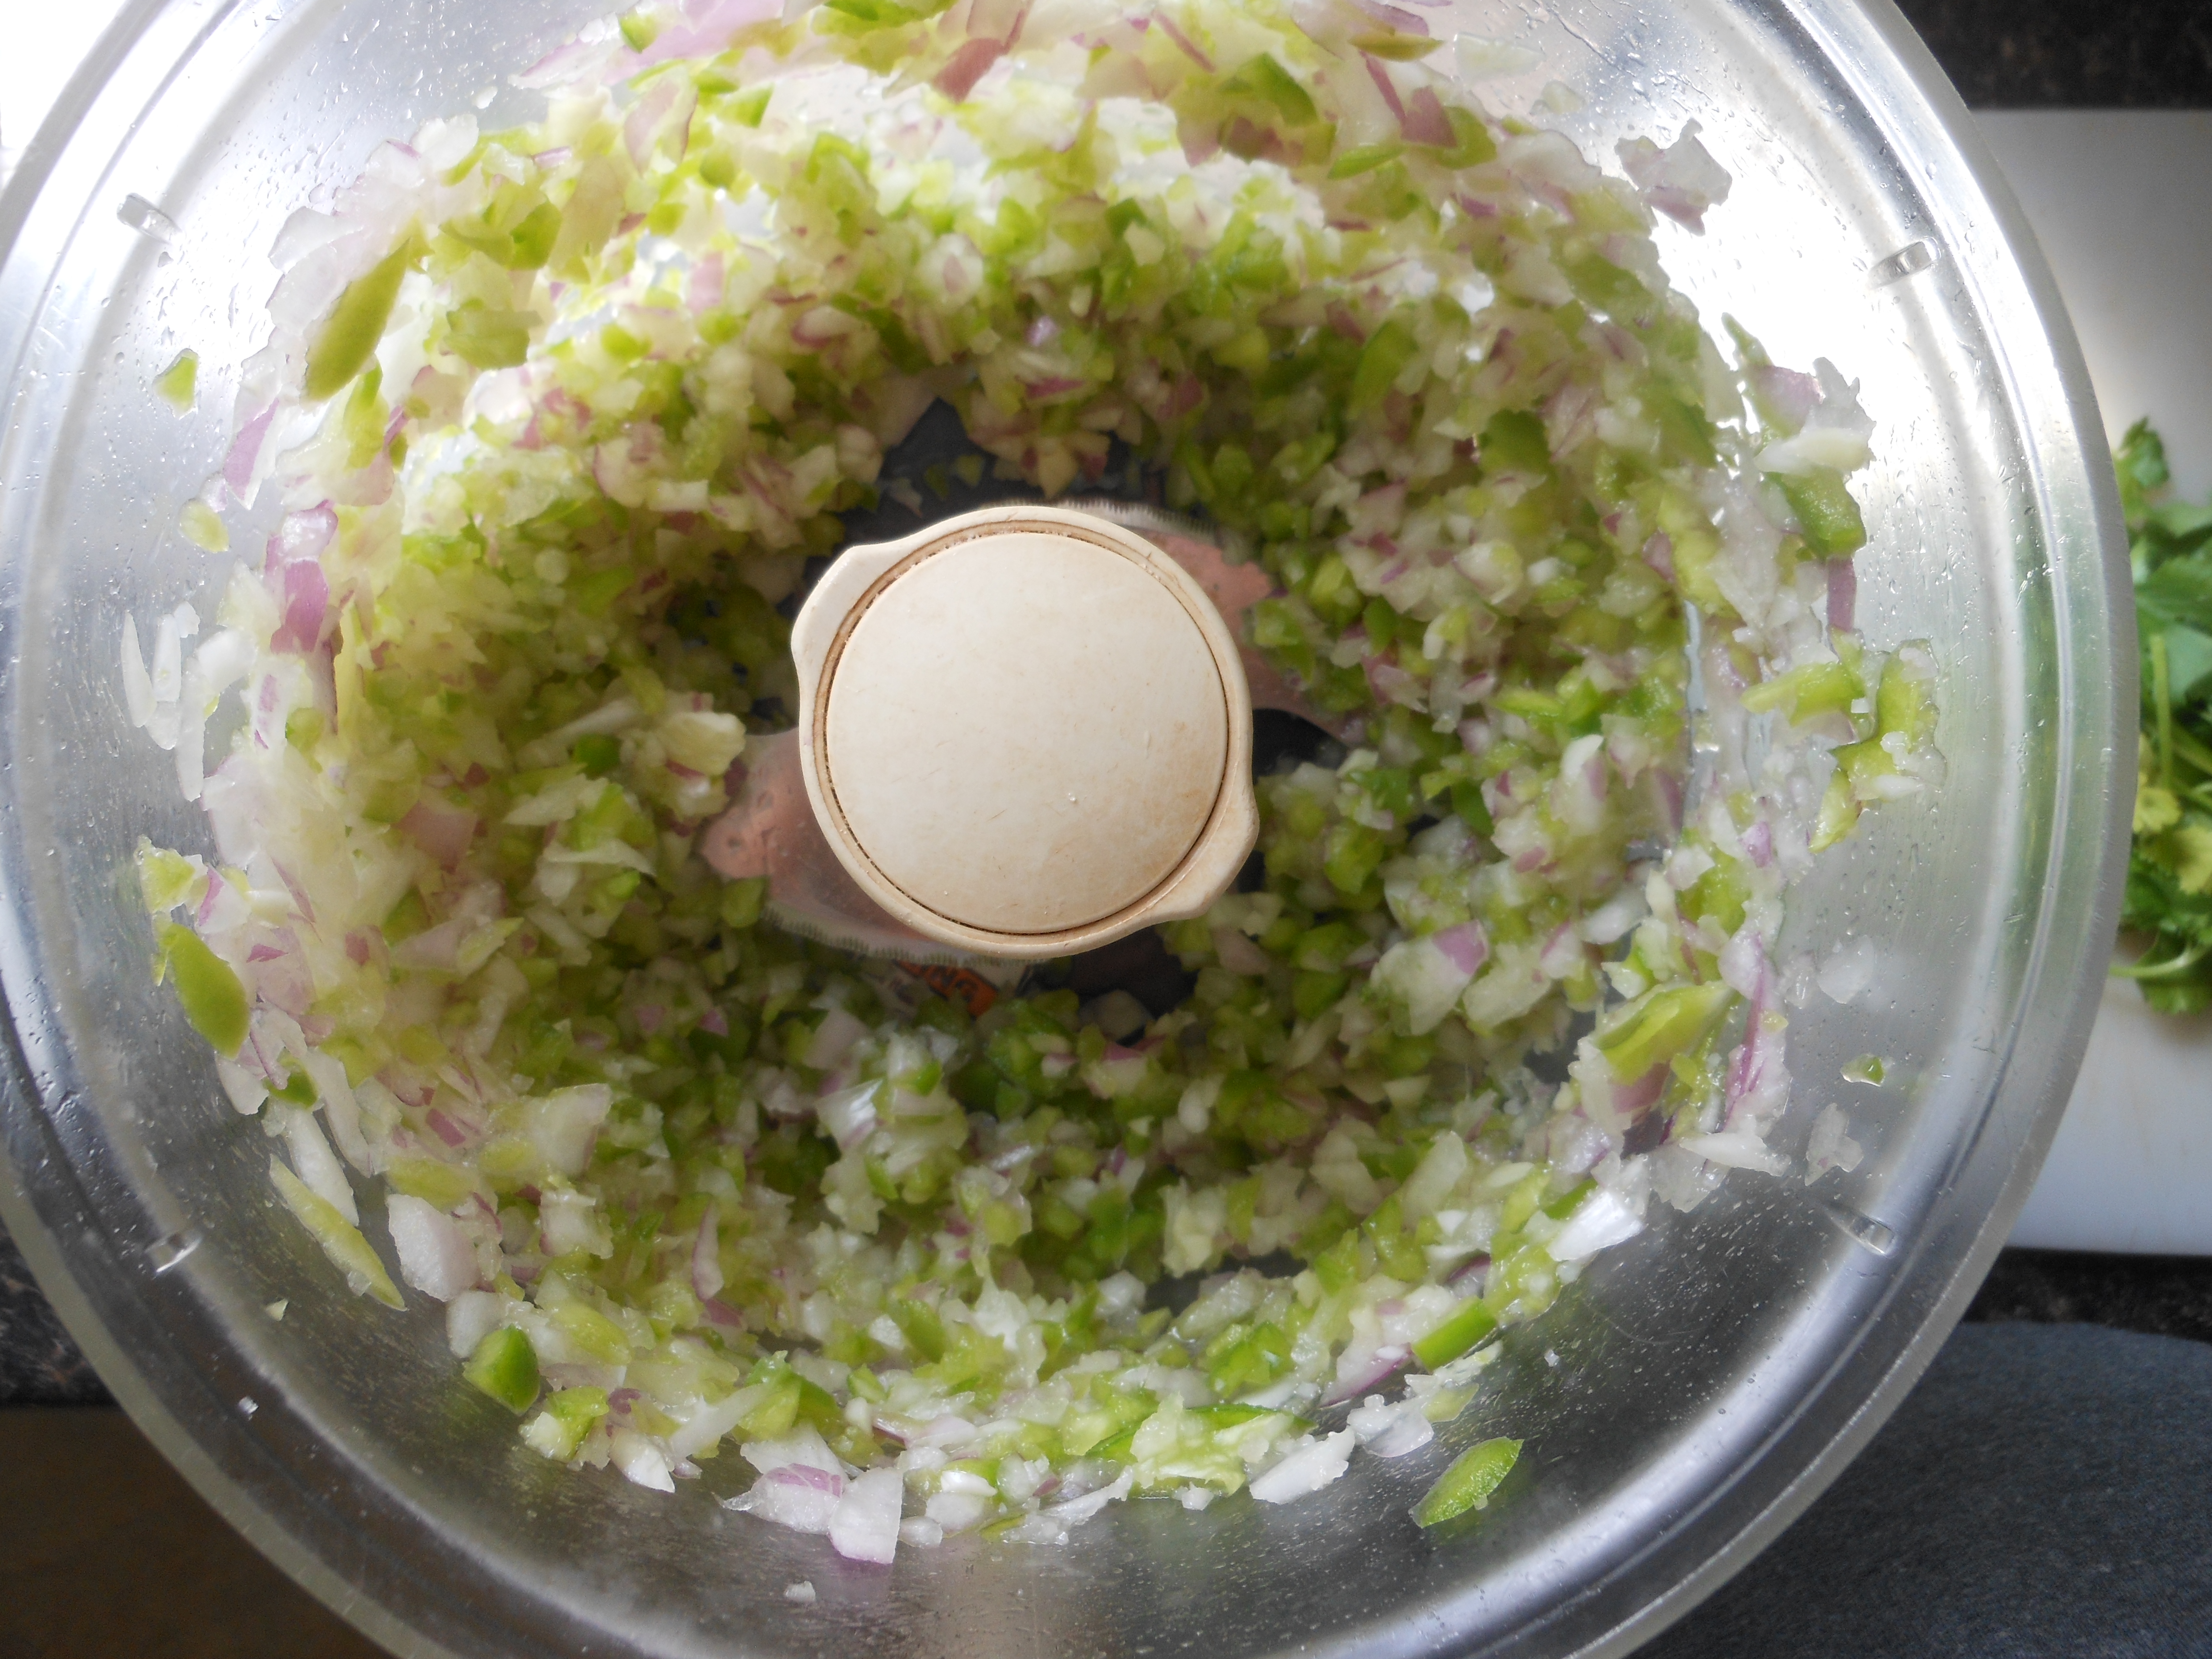
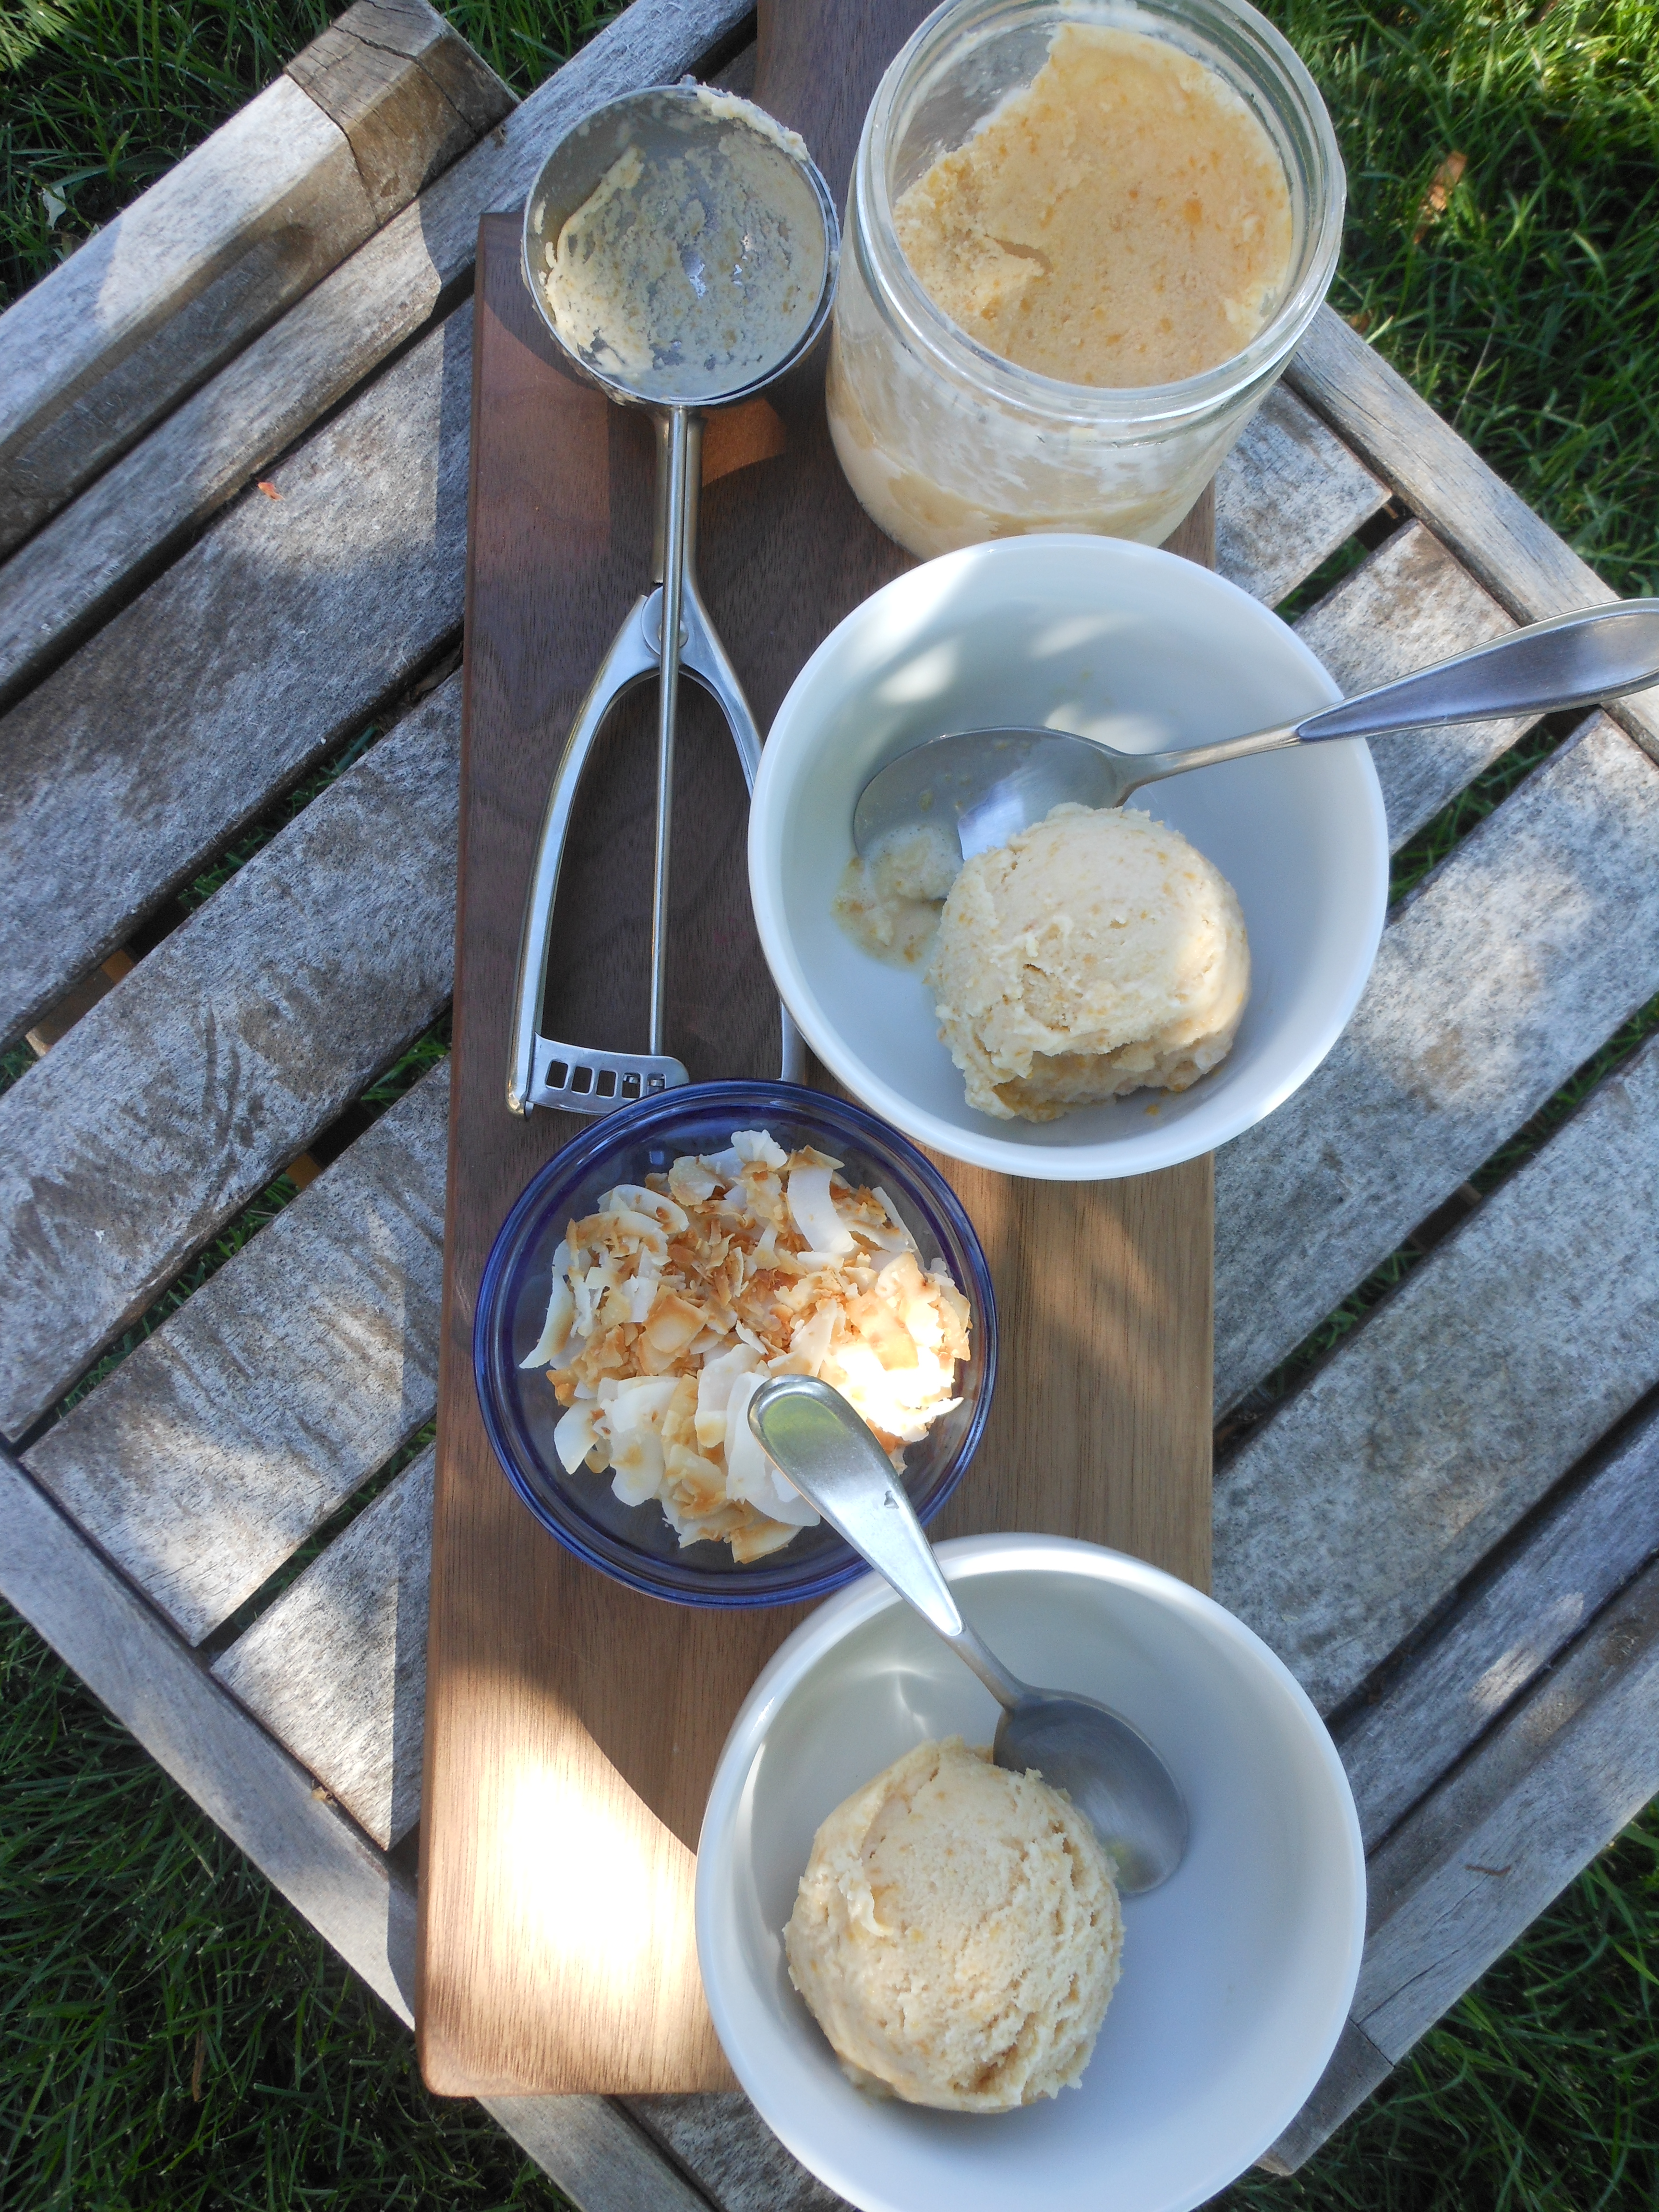
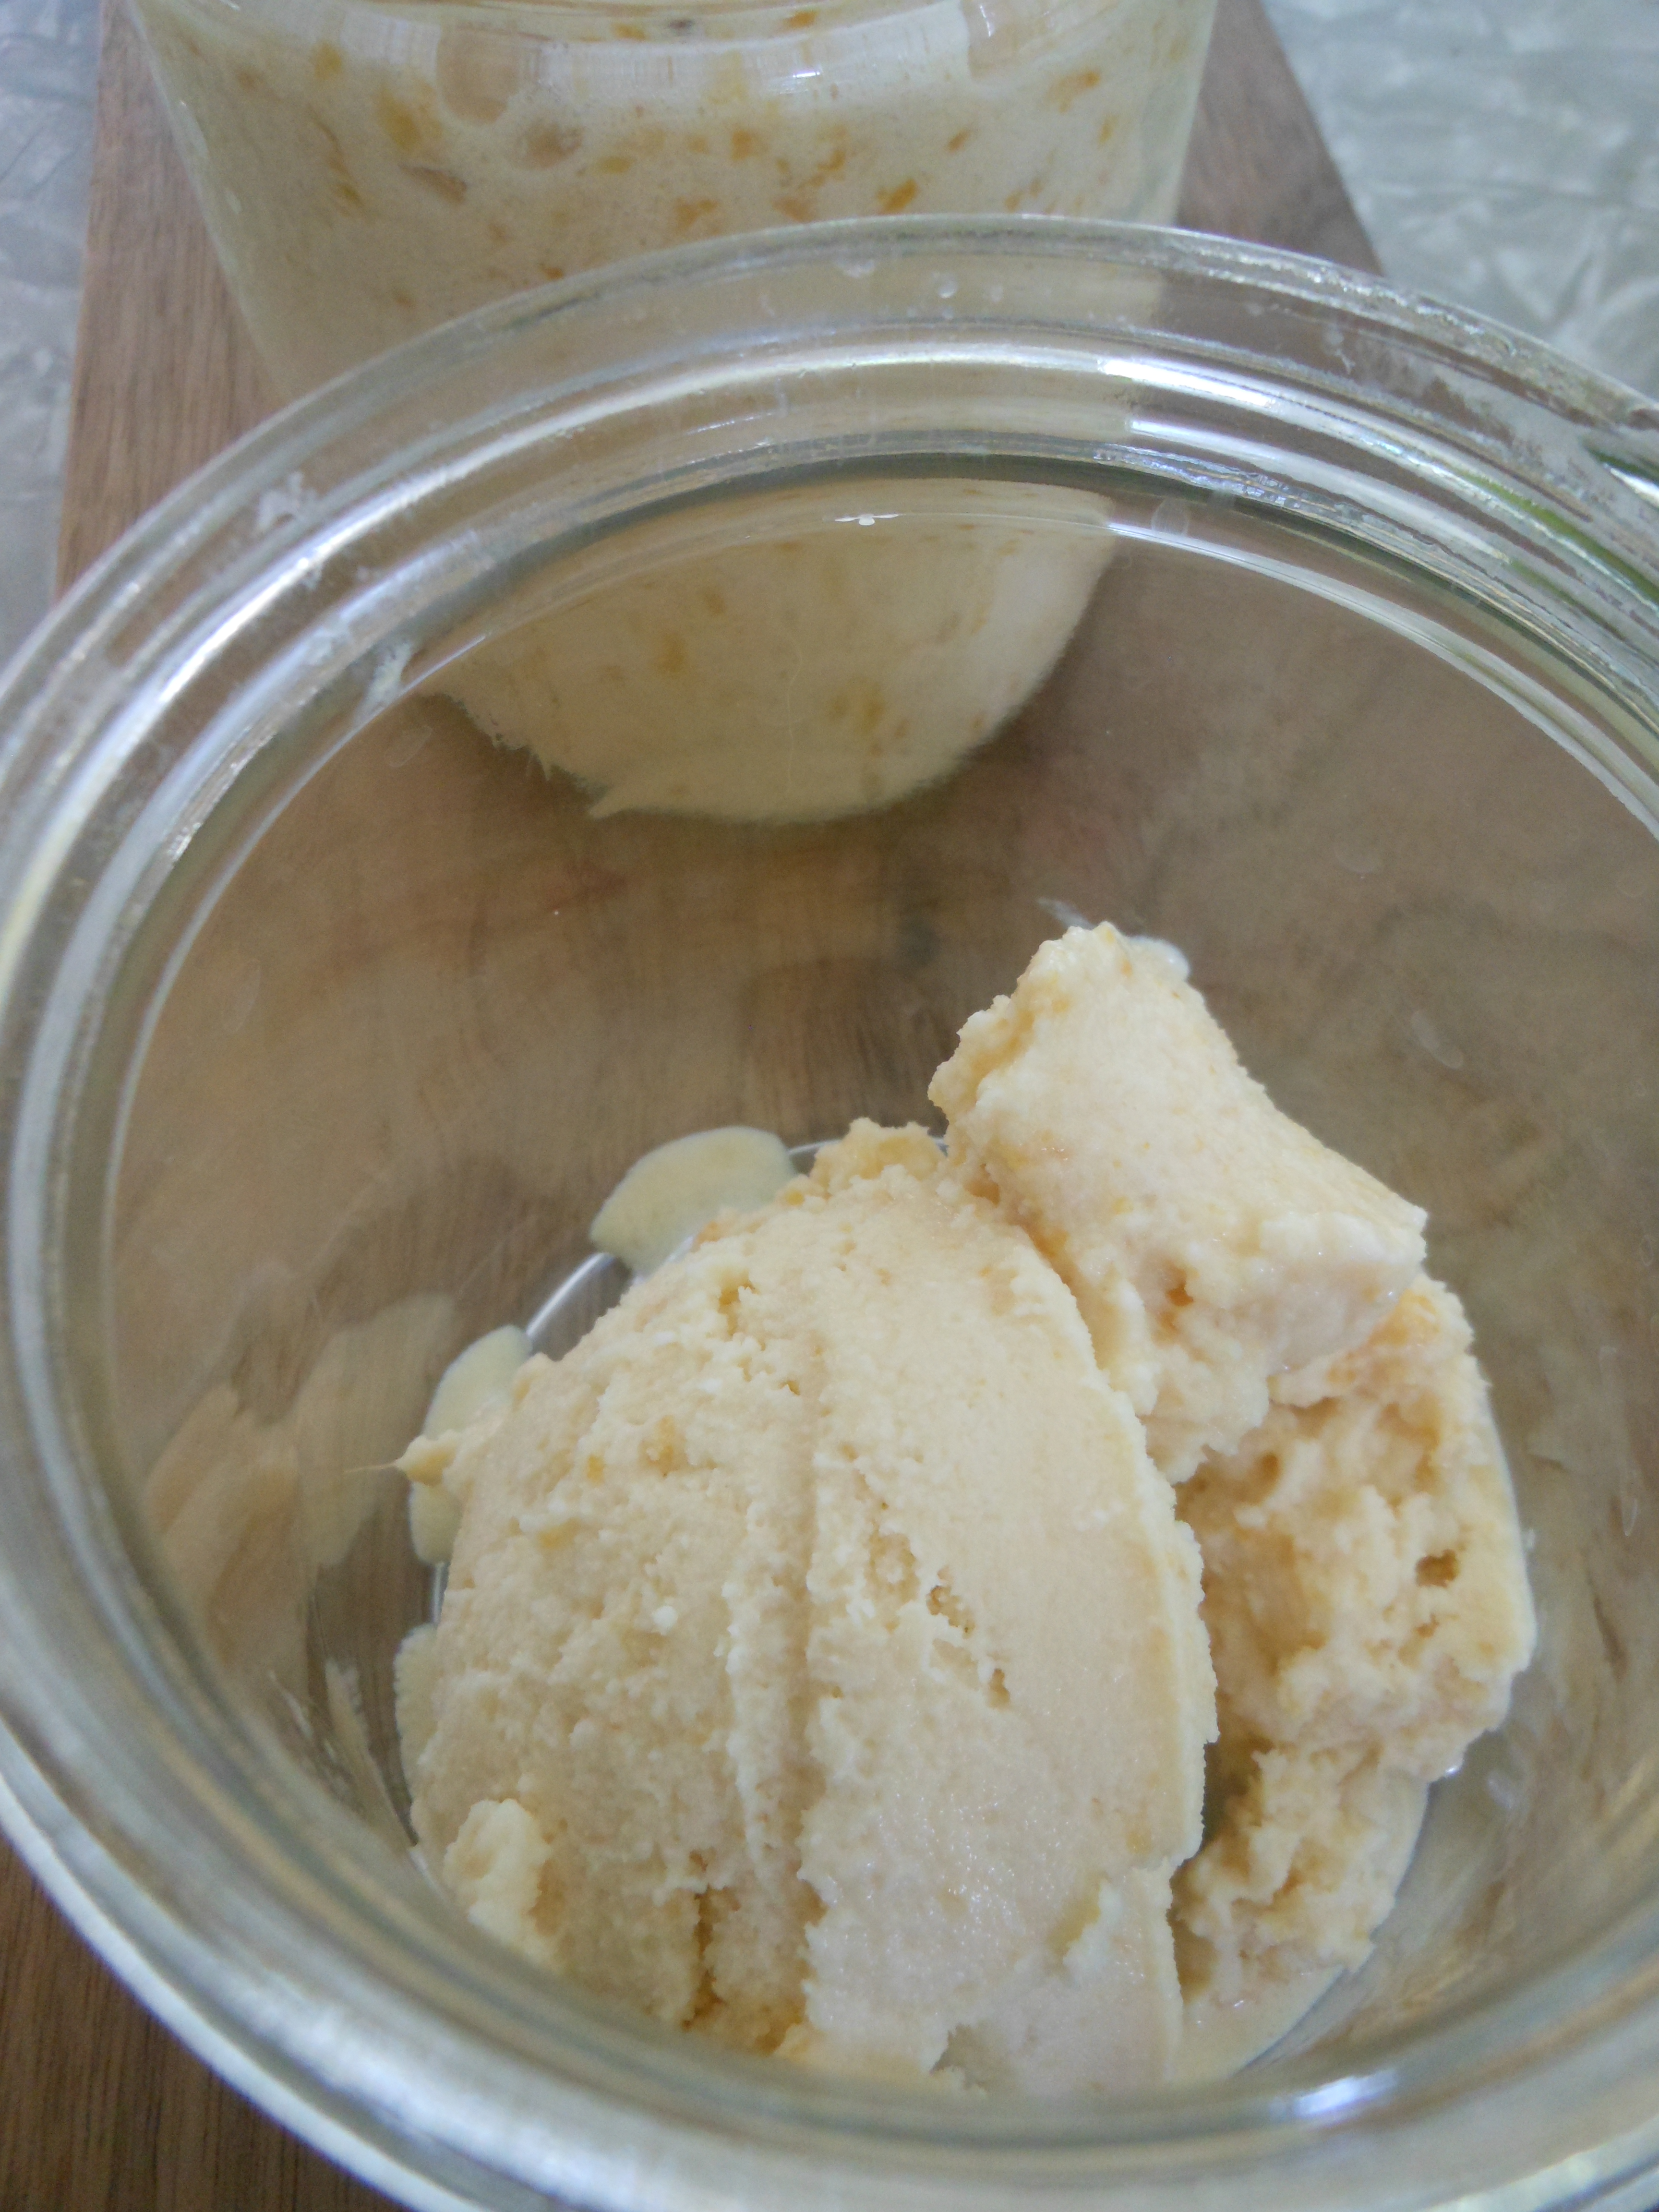
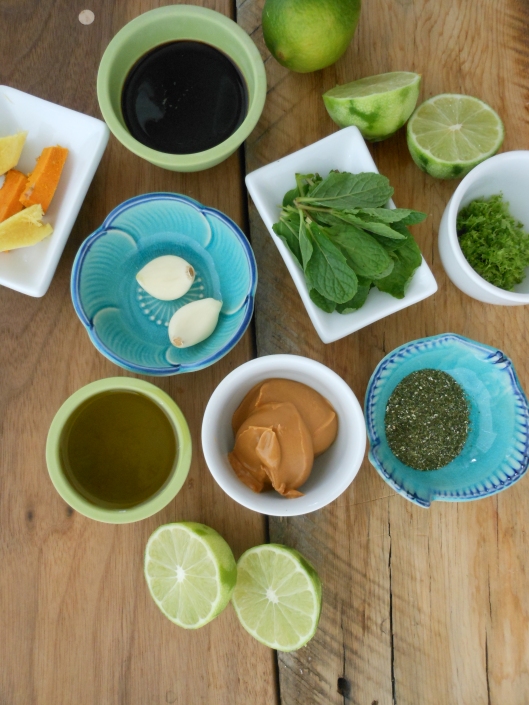
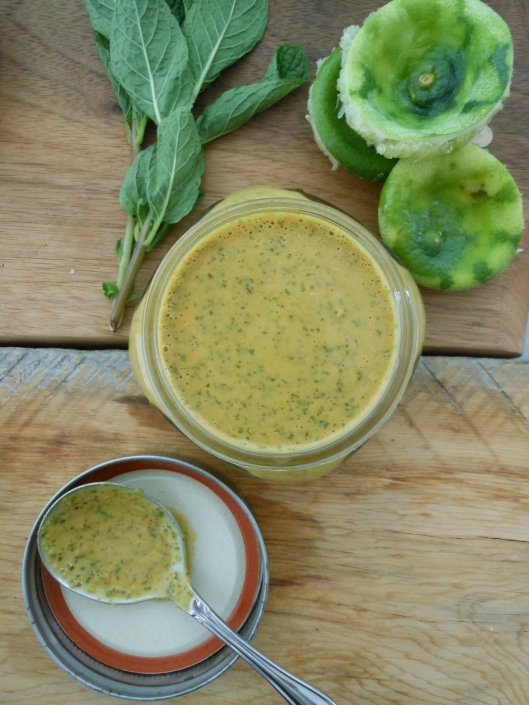
 Turmeric Mint Lime Vinaigrette
inspired by Food Matters
1/4 c. olive oil
1/3 c. fresh lime juice (this was 4 limes for me)
zest from 2 limes
1/4 c. water
2 T. almond butter
1/4 c. tamari (organic gluten-free soy sauce)
2 tsp. dry kelp seasoning
2 small garlic cloves, chopped
1 tsp. grated fresh ginger
1 tsp. grated fresh turmeric
2 T. fresh mint
 Directions:
1. All of the ingredients go into the food processor except the olive oil and mint, mix well. Next drizzle in the olive oil with the motor running. Stop the machine, scrape down the sides and add the mint, pulse just to combine.
2. Store in a glass container with a tight-fitting lid and place in the fridge for the flavors to meld together for at least an hour. Eat!
I think this dressing would be killer on my “SLO” Salad.
 Nutrition:
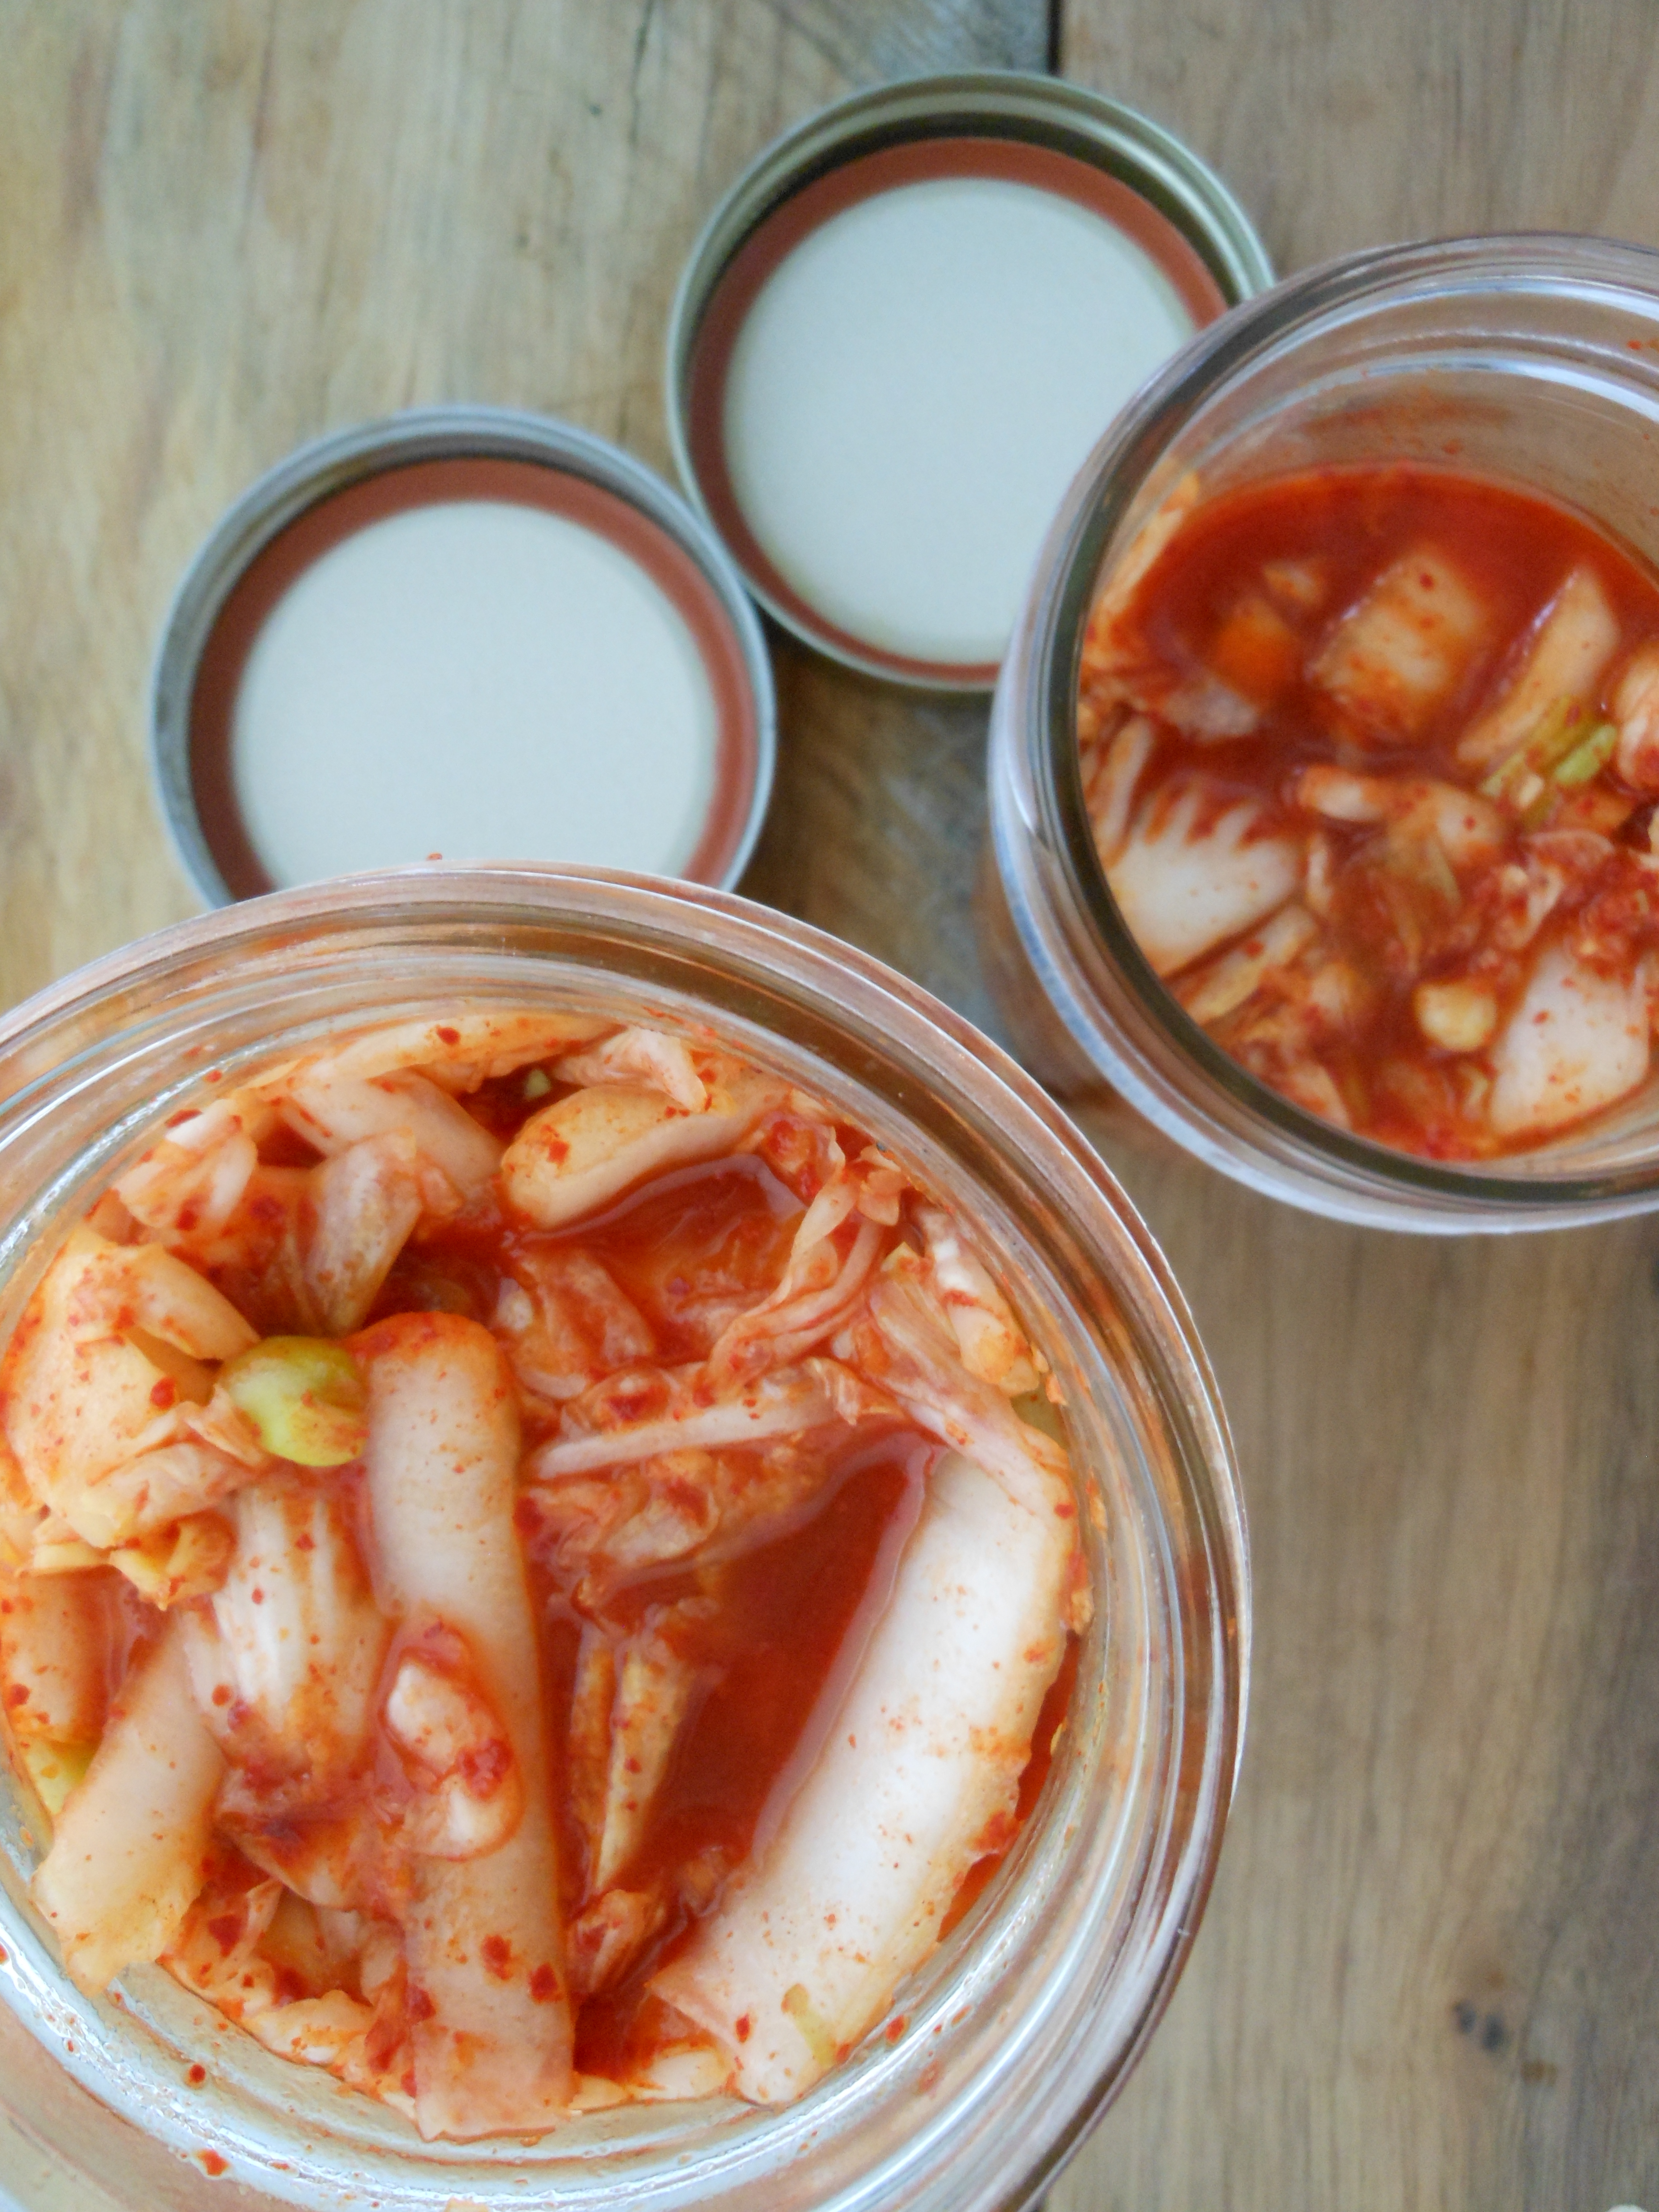
Tofu- In my opinion soy gets a bad wrap, maybe because we are using soy in everything and all soy isn’t created equal. I suggest you stick to sprouted tofu (sprouted anything is always better and easier to digest), tempeh, miso (which are fermented and fermented means good gut bacteria and better digestion), and edamame. Always look for Non-GMO! Silken tofu if a great veggie/plant based protein to add to your smoothies.
Miso- Miso is full of good bacteria, best when eaten raw like in this dressing to maximize all it has to offer. Can be added to soup, just remember to add it to the soup after it has been taken off the heat so you don’t kill the living bacteria. I LOVE MISO!
Turmeric- The list a benefits for turmeric is a mile long, most notable is that it is a big cancer fighter and a anti-inflammatory. I dare say that this will be the year of turmeric. Spicy like ginger, add it to soups, dressing, stir-fry’s and even juice it or add it to smoothies!
Kelp- One of the benefits for kelp is that its abundance of vitamins and minerals that promote healthy hair and skin. Kelp is mostly taken for its naturally high iodine content, which helps the functioning of the thyroid gland. Iodine is essential for the formation of thyroid hormones, which regulate the body’s energy production, promote growth and development, and help burn excess fat. It also adds a nice salty taste without actually adding salt, great sprinkled on eggs, veggies and grains.
Love:
These two wonderful tasty dressings have been on my “to-do” list for about a month! My friend Kim who runs the Downtown SLC Farmers Market asked me to come up with some fun dressings that would get you all excited for spring greens that will be popping up at future farmers market. Well, finally I am ready to share these dressings, I have made them a few different ways, photographed them twice and they are getting checked off my list today!
I am very picky about salad dressings, probably because I grew up eating my salads with vinegar and oil just like my grandpa. We loved vinegar and oil so much that when we were done with our salads if any dressing remained we slurped it up! That’s right we drank our leftover vinegar and oil! My grandpa and I also shared a love of mashed potatoes and gravy and though I didn’t share his passion for root beer floats I was always in charge of making them for him at family get togethers. Sadly my grandpa passed away two weeks ago, this is one of the reason’s I have been MIA on my blog. I am doing my best to keep up with life and it’s demands but when someone who has been a constant figure in your life passes away everything else seems to stand still, at least for me. I miss him terribly and I am trying to find peace in knowing (trusting) that him and my grandma are together and all is right in their world, whatever that may be. Sometimes the “to-do” list can wait, it is important to me that what I share with you is the best it can possibly be and from time to time that may take me just a little longer.
I love these two new dressings and I think you will to, they are very different and should get you excited about a new season of bounty headed our way. ENJOY!

 Food:
Food:

 Nutrition: