 Food:
Food:
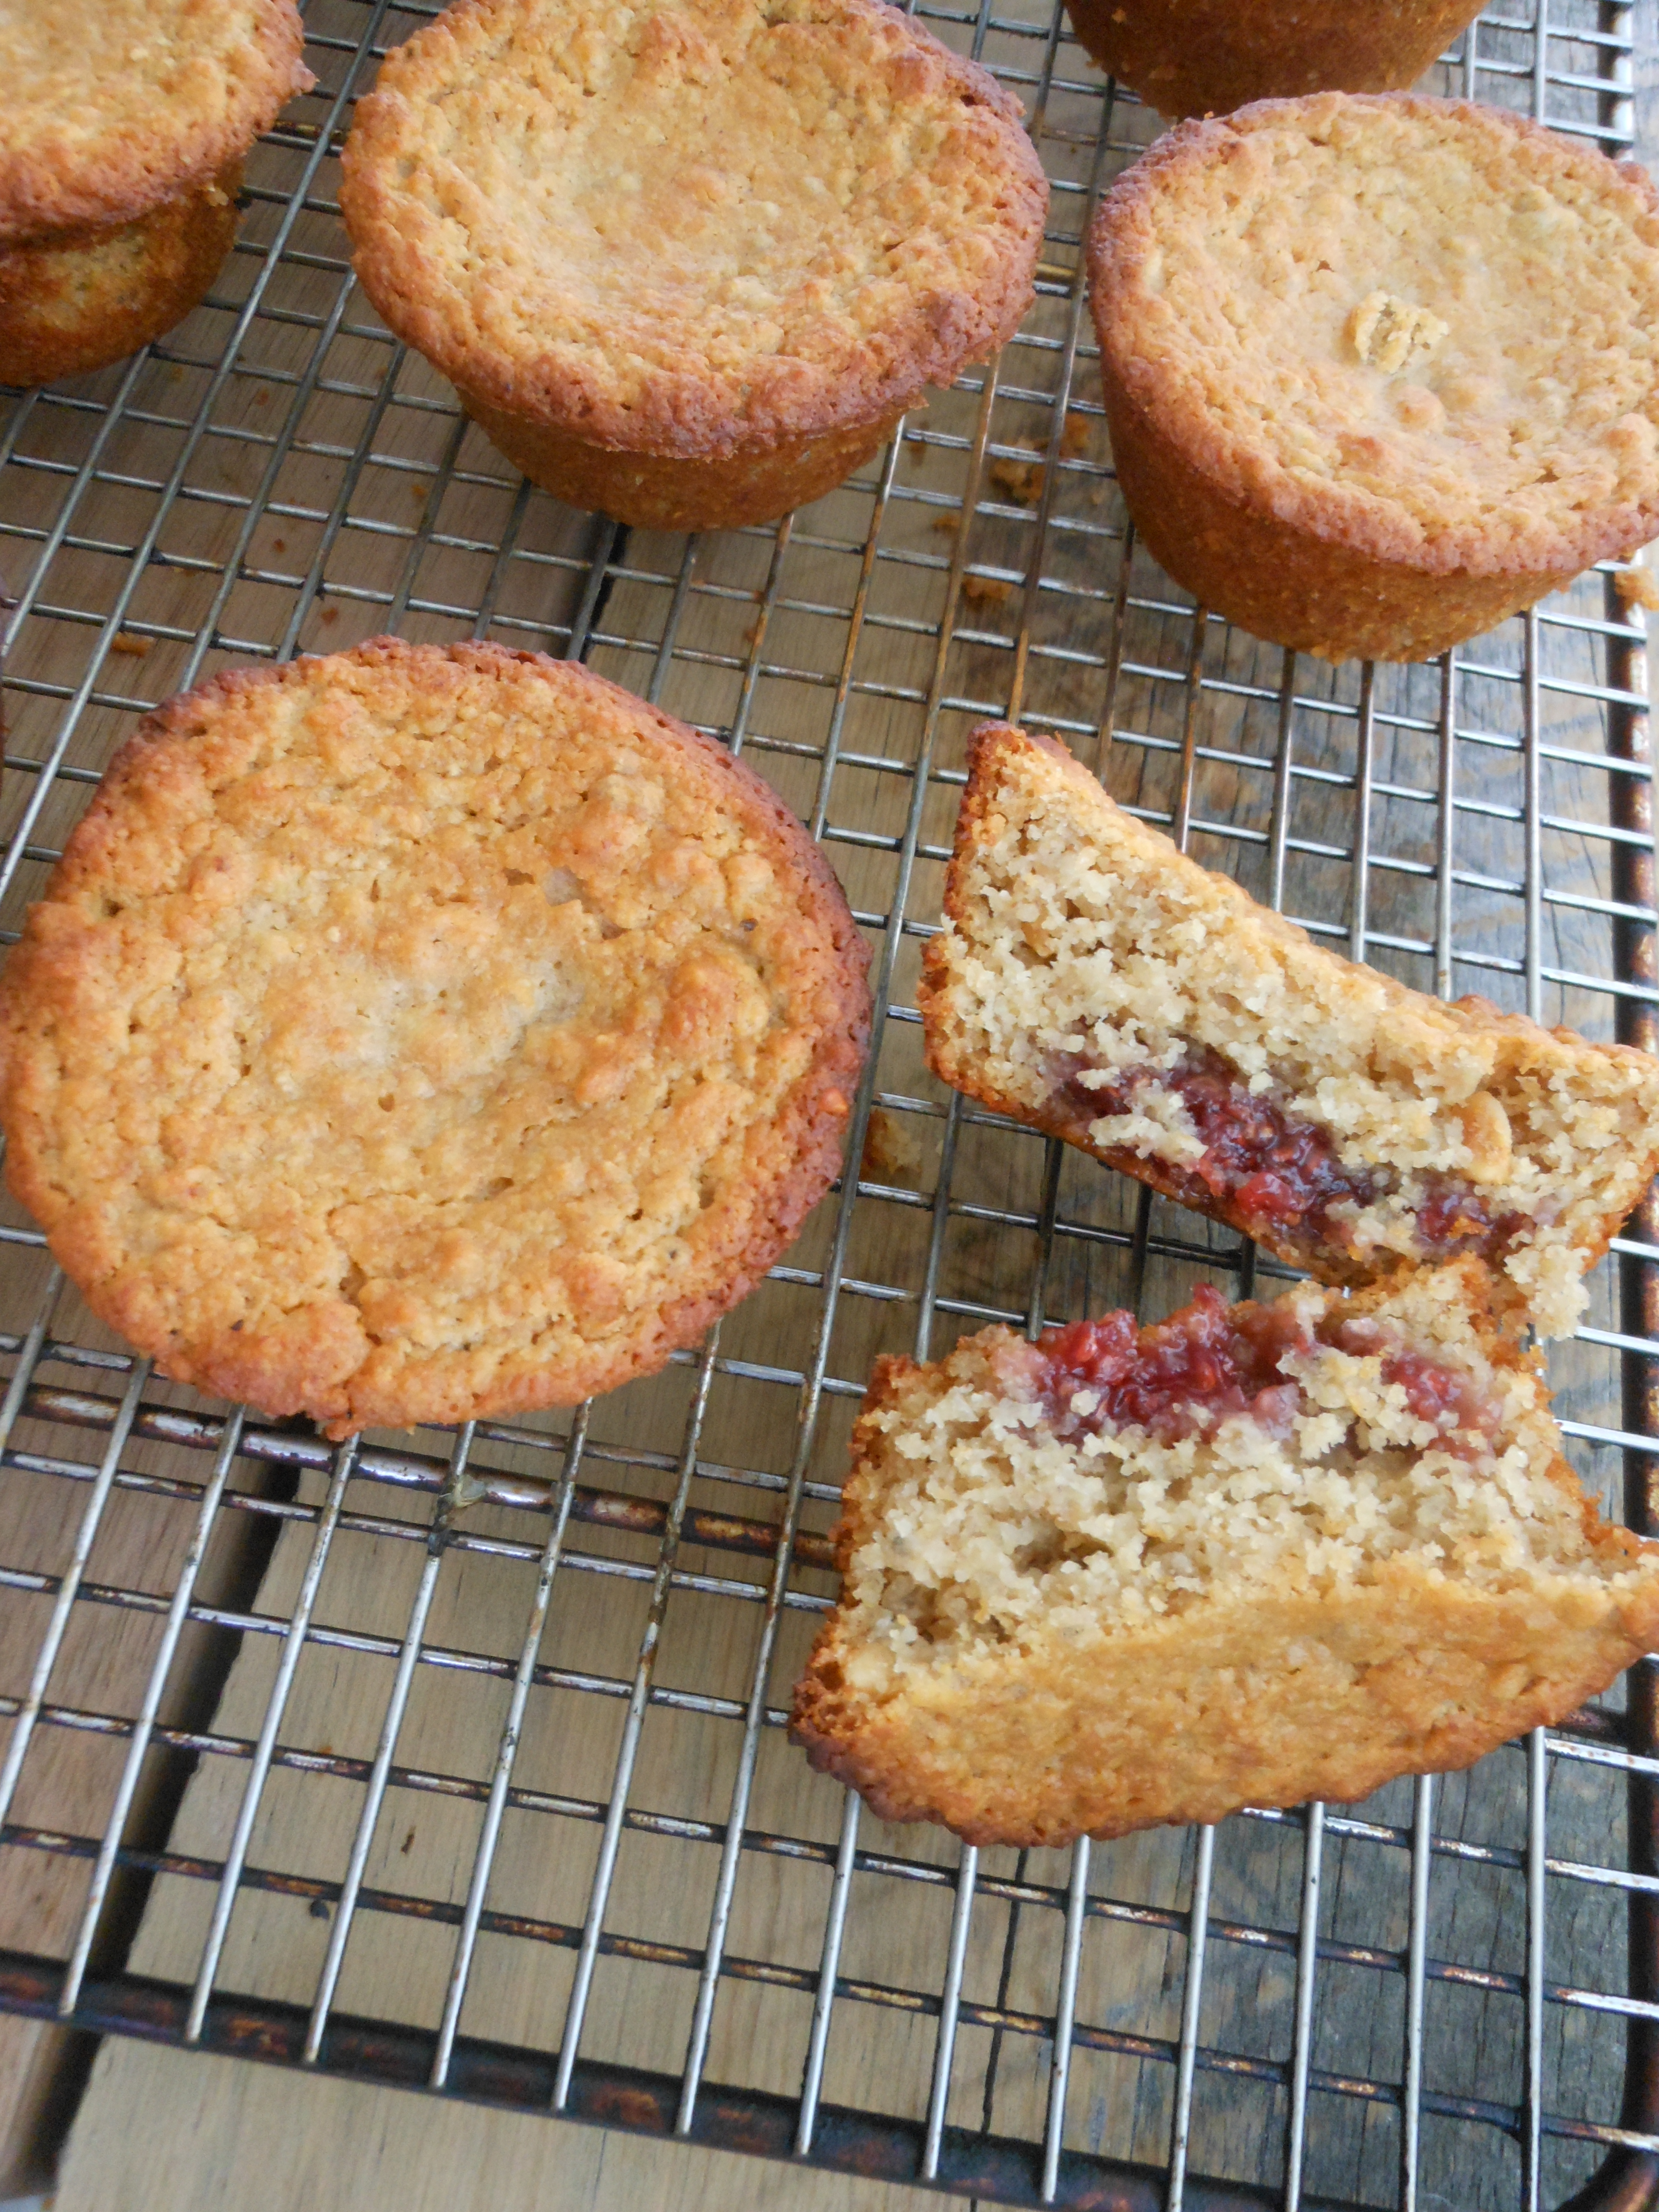
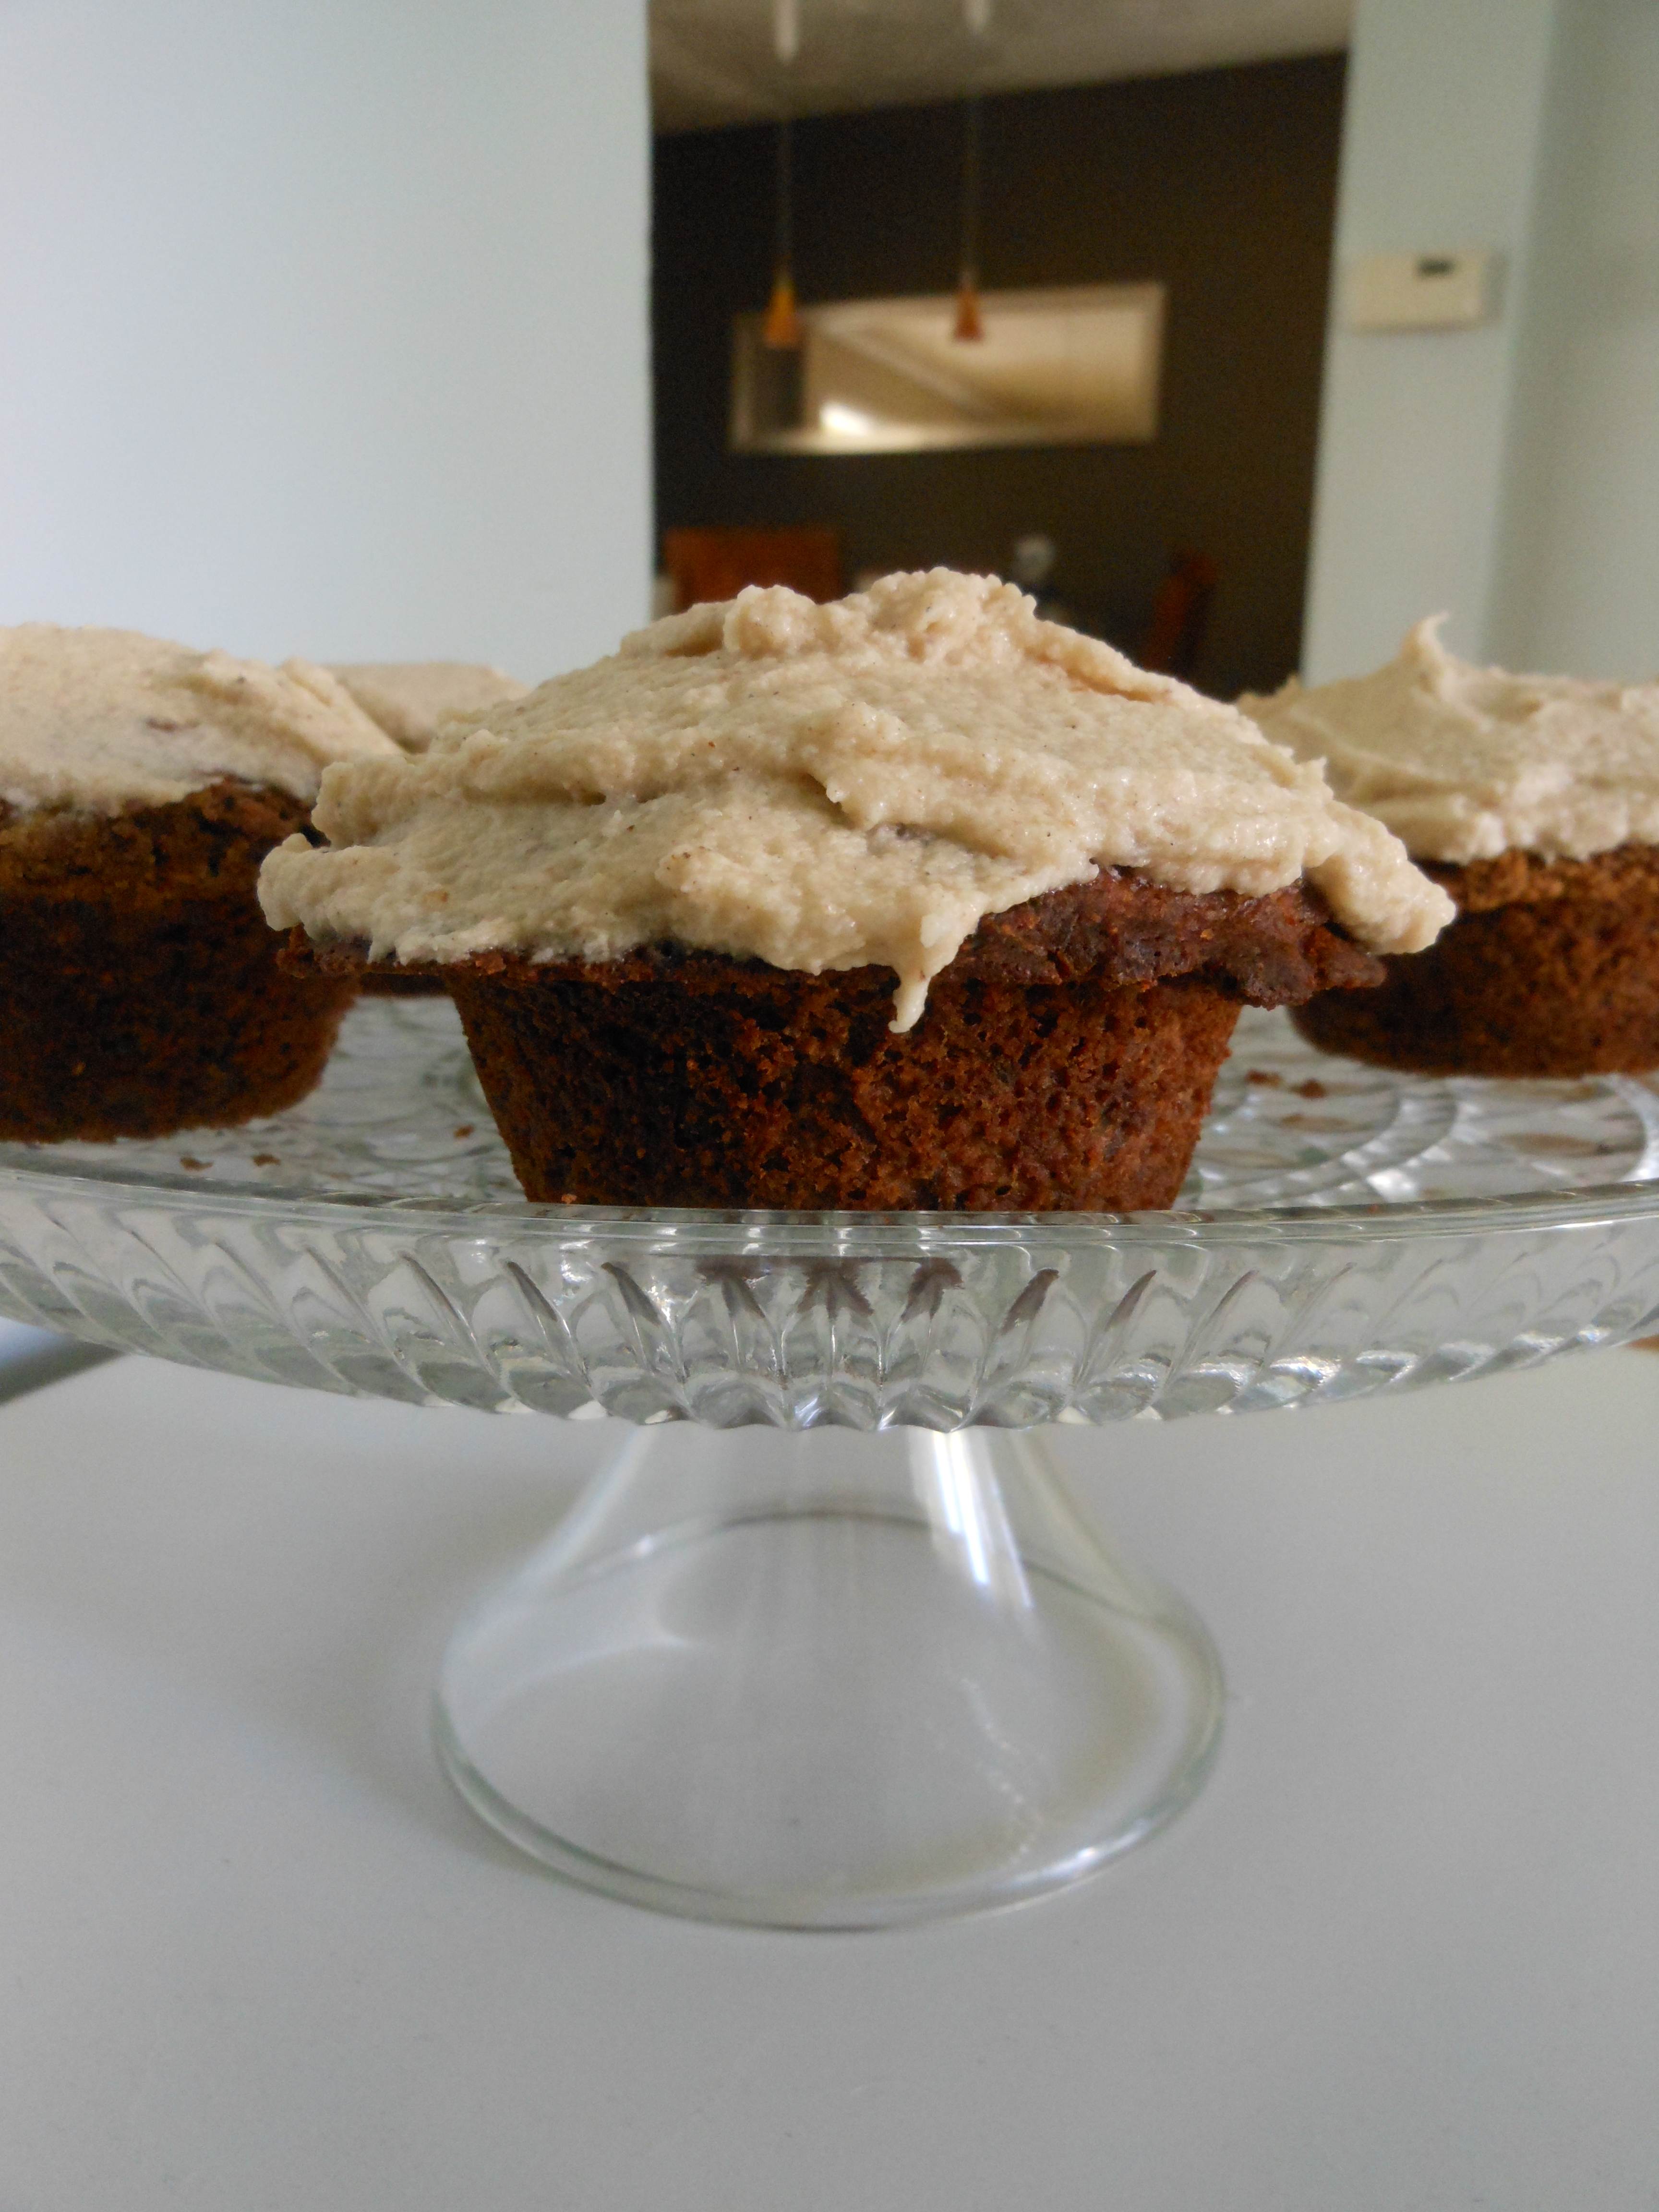
Spiced Apple Zucchini Cupcakes (Muffins) w/Chai Butter Cream Frosting
makes 12-16
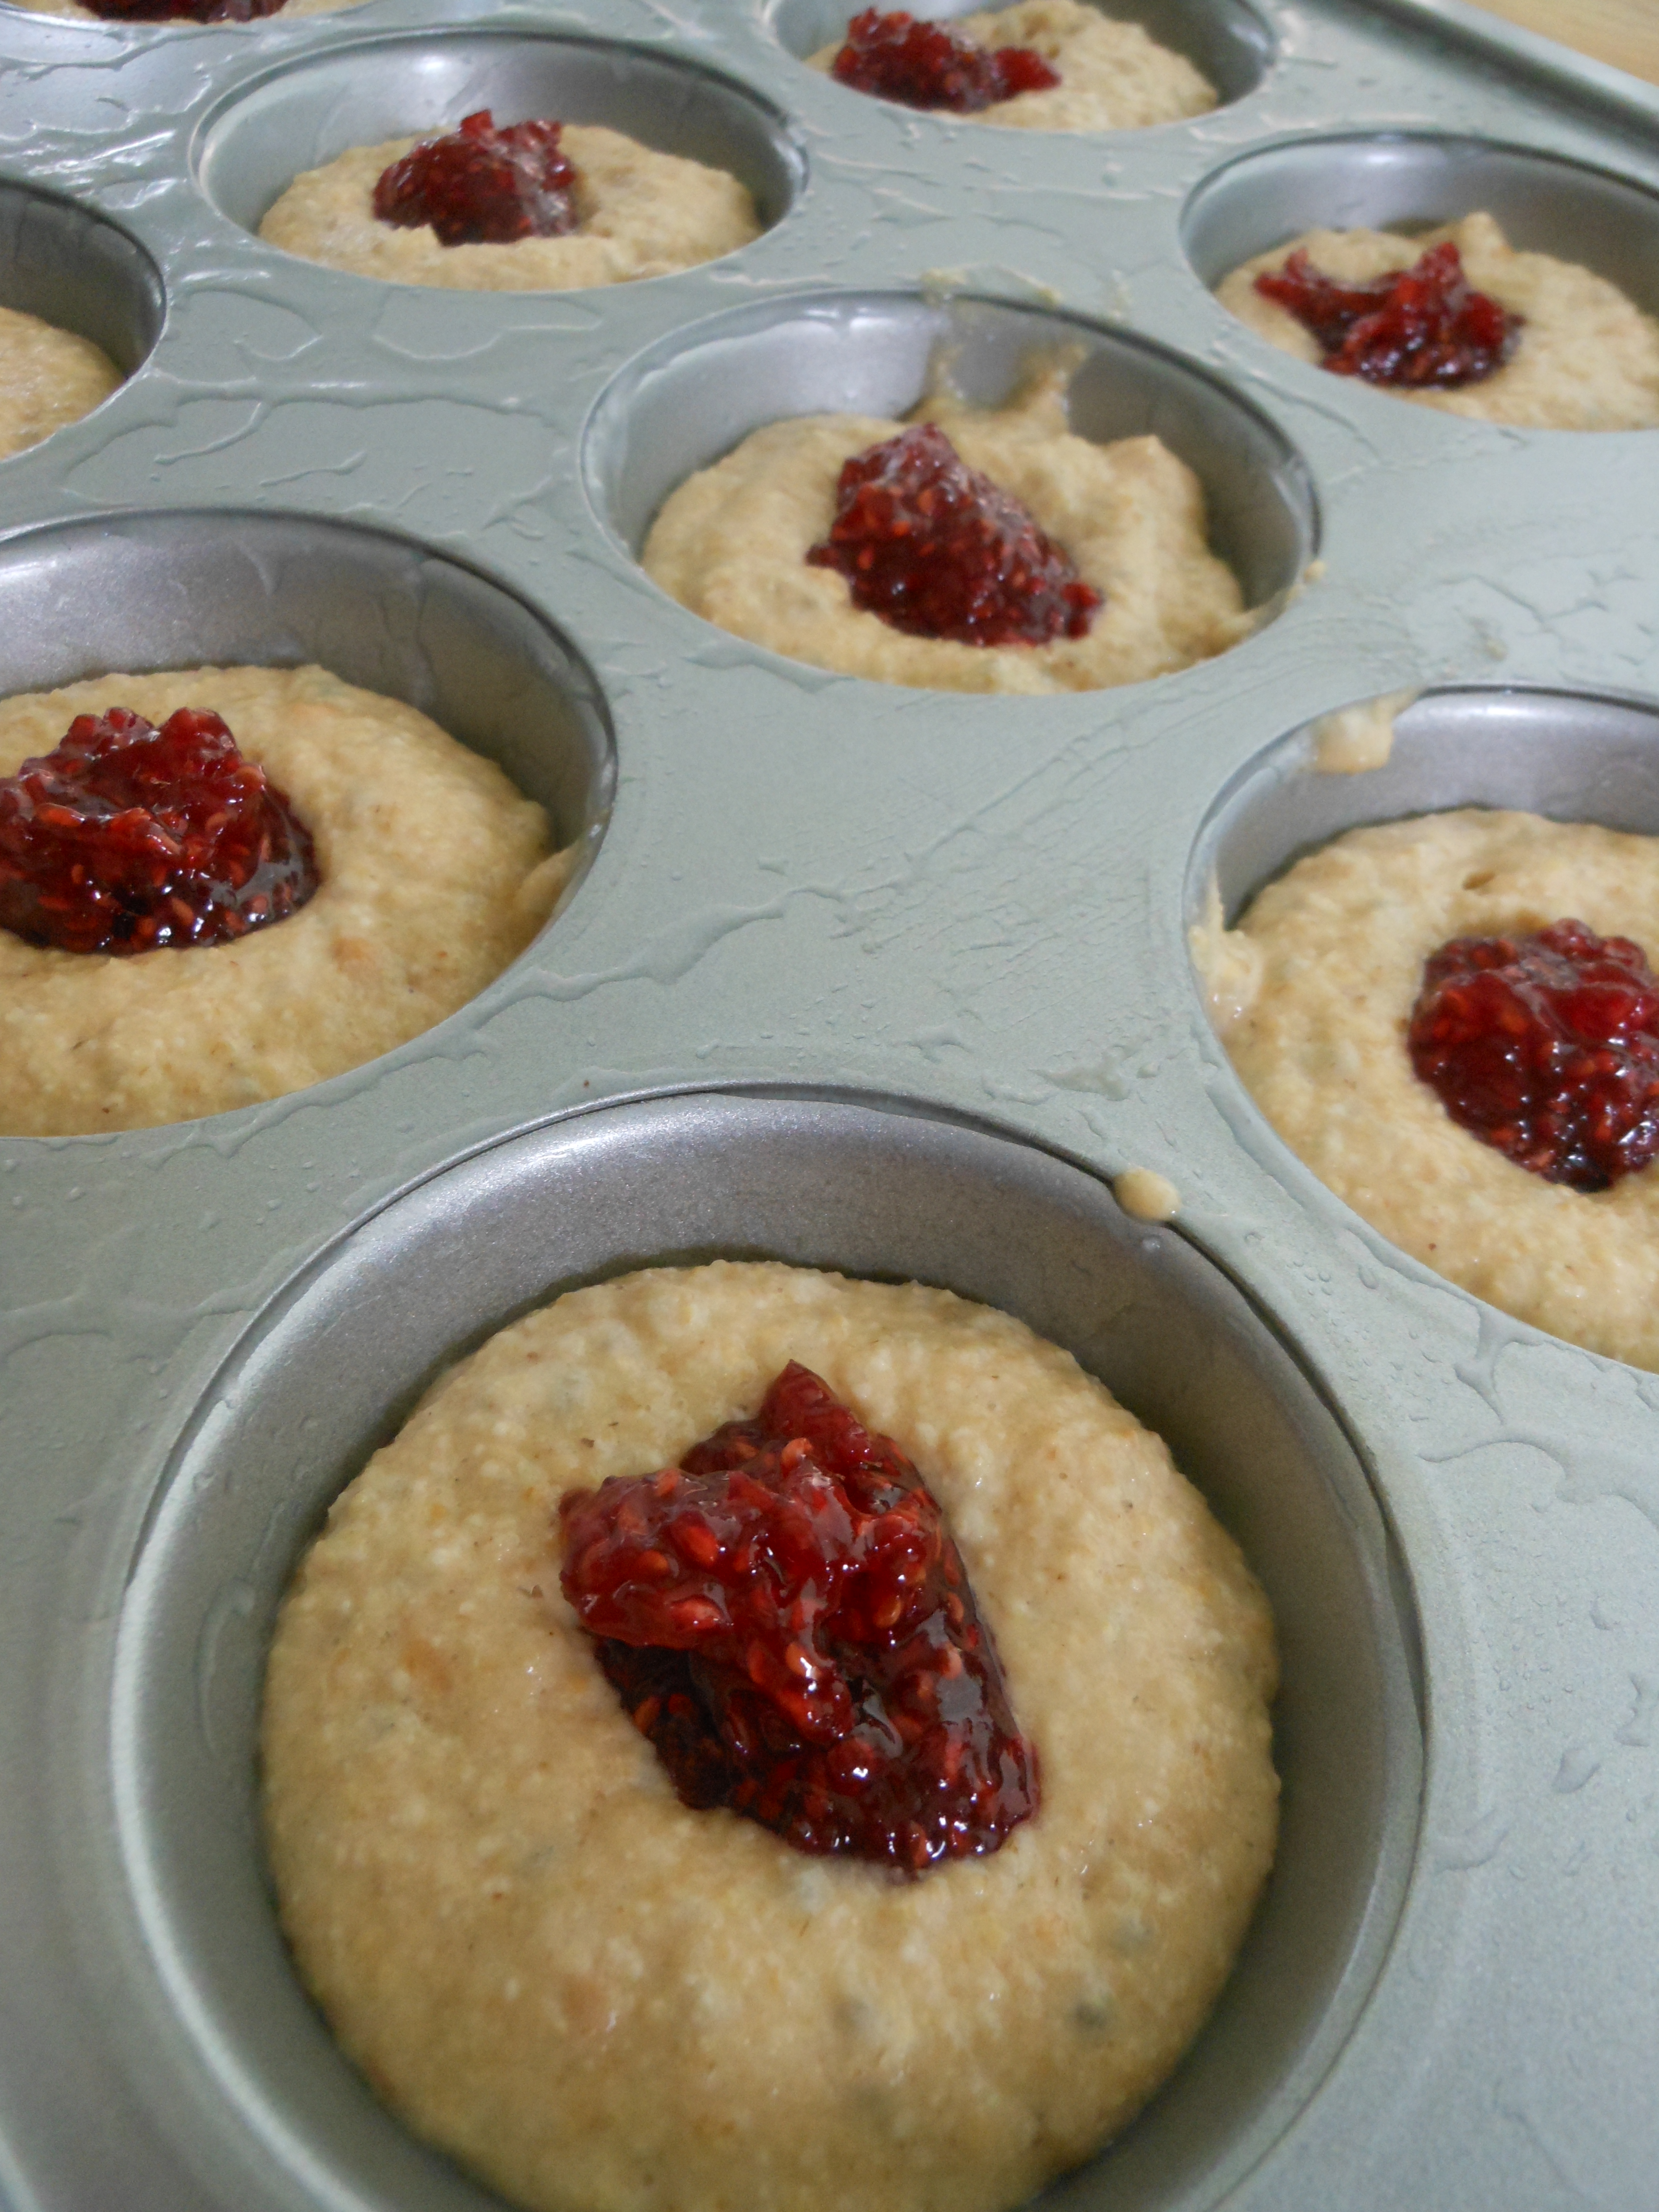
(In my picture below I didn’t have cupcake liners when I photographed these muffins, I HIGHLY recommend that you use them!)
2 1/3 c. flour (I use a combo of 1 c. buckwheat flour, 1 c. oat or rye flour and 1/3 c. coconut flour)
2 t. baking soda
2 t. cinnamon
1 t. allspice
1 t. nutmeg
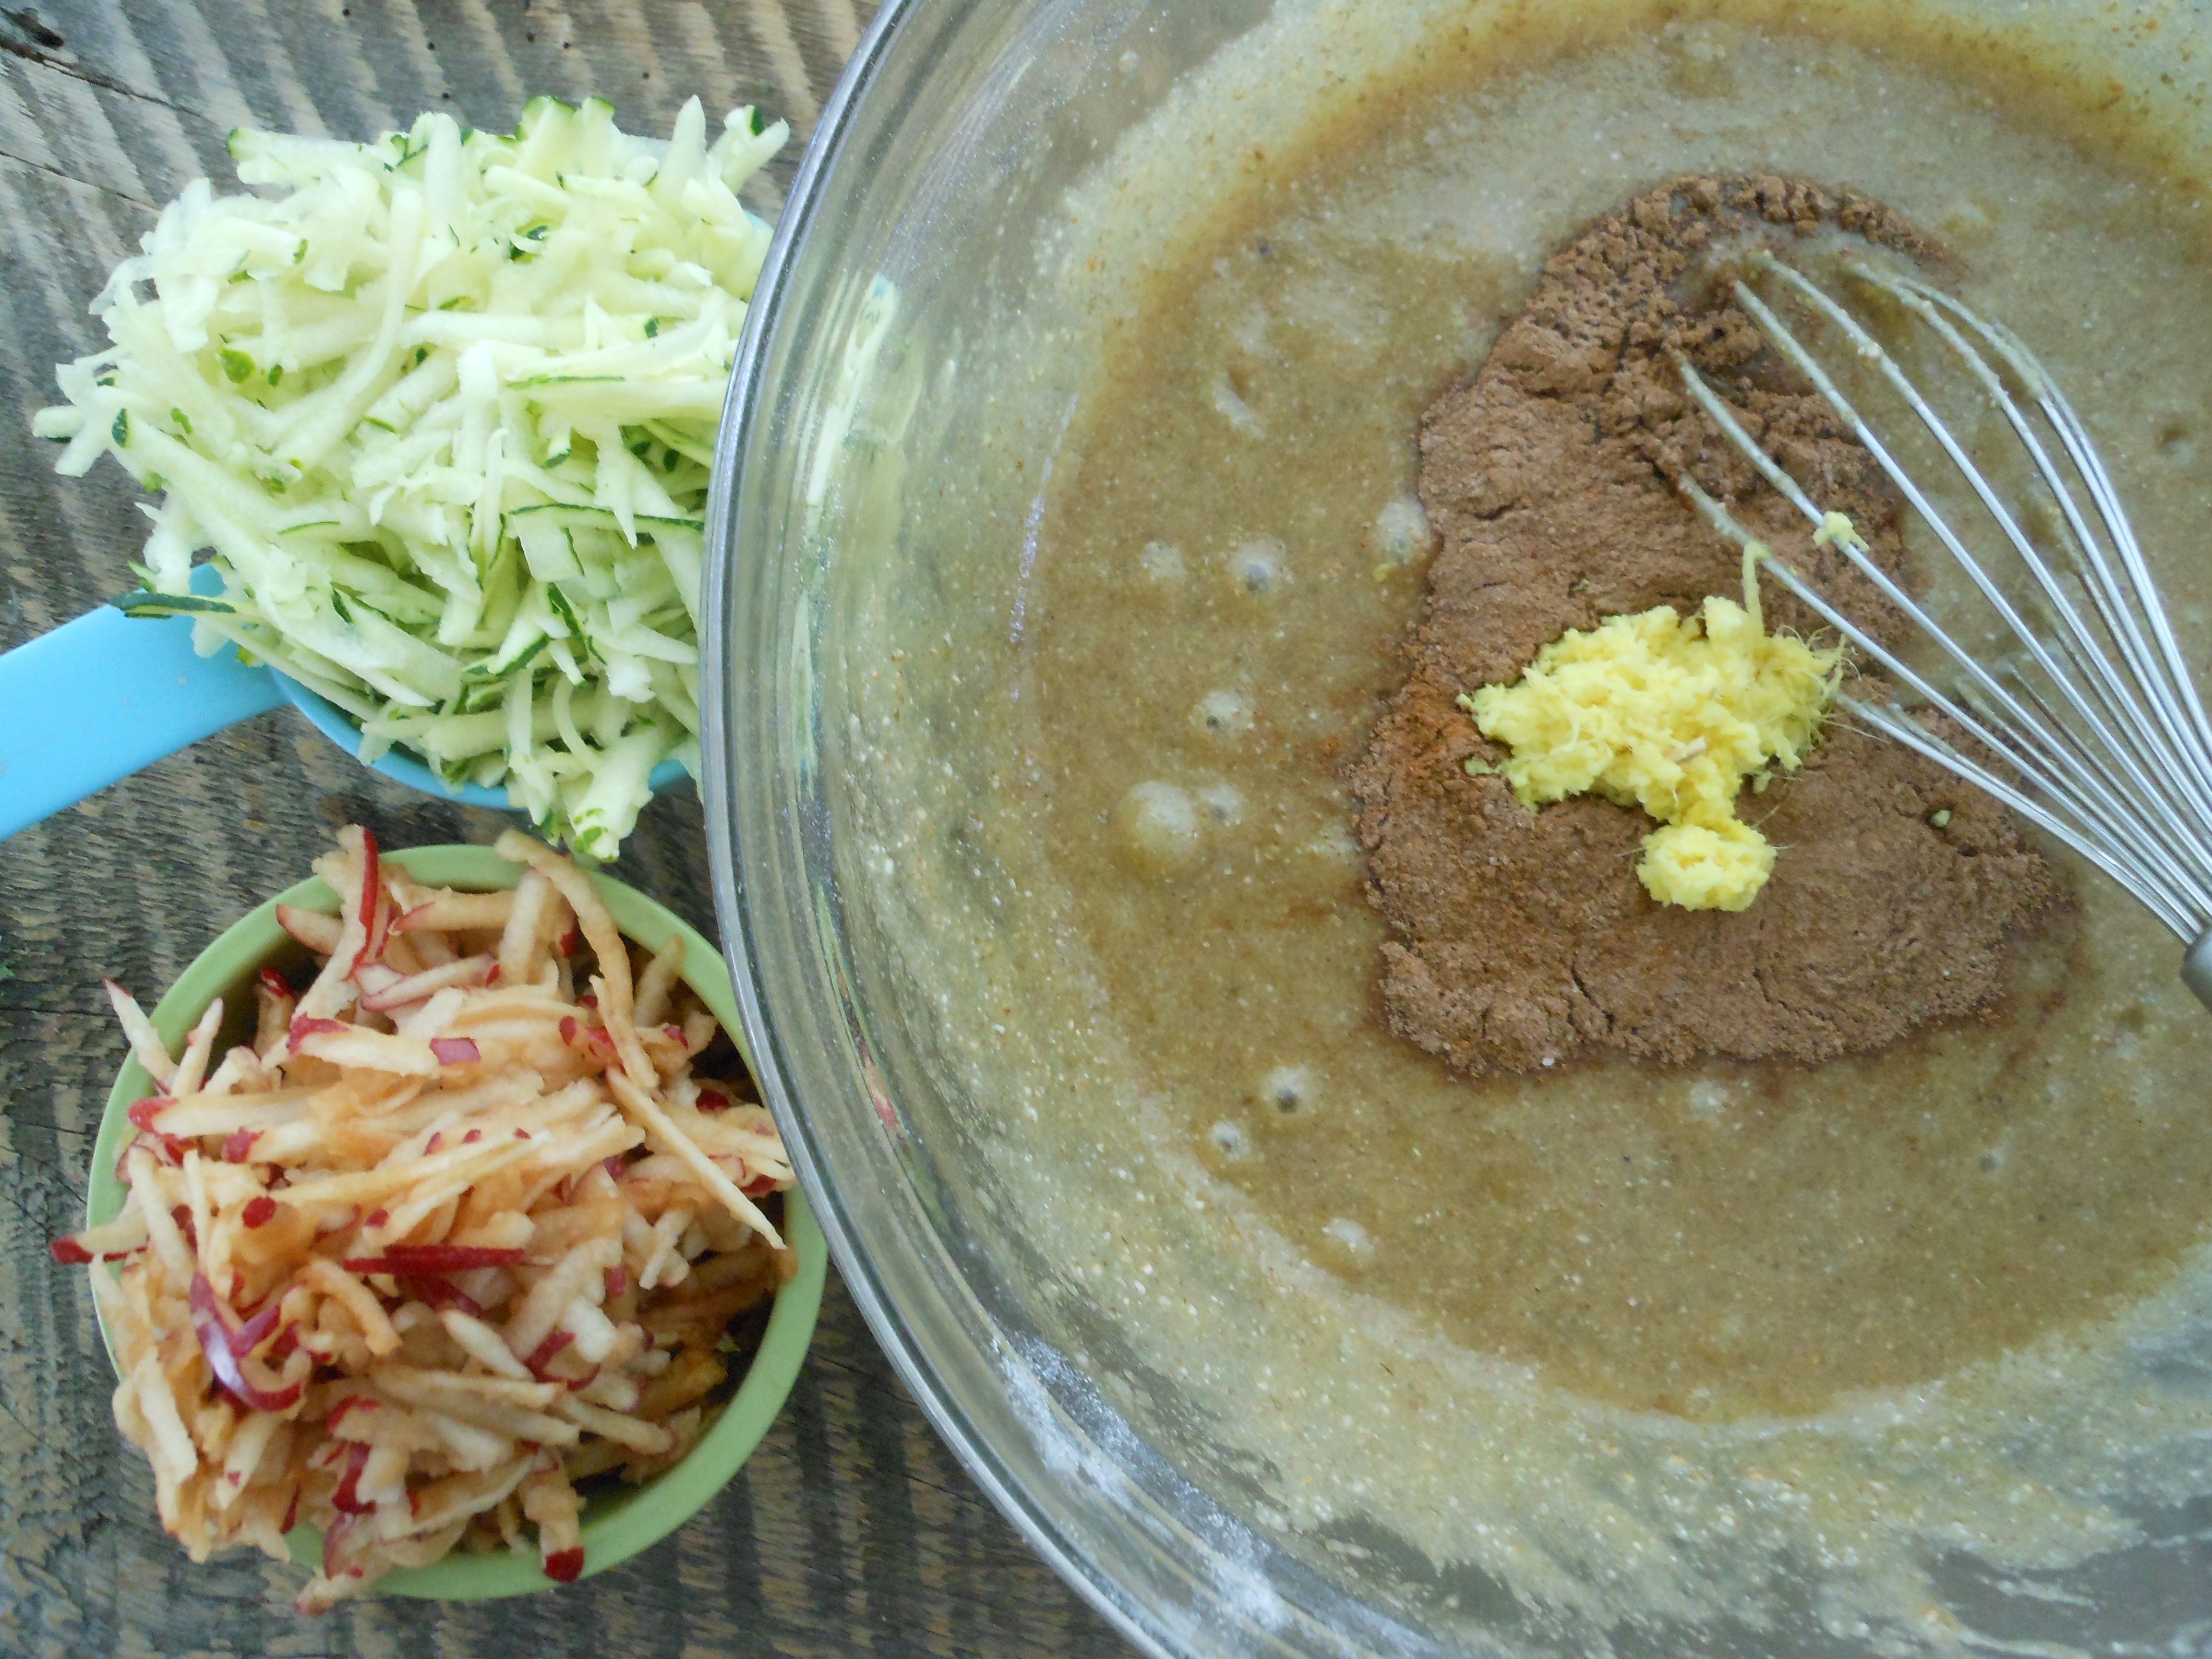
1 inch ginger, peeled and grated
½ t. salt
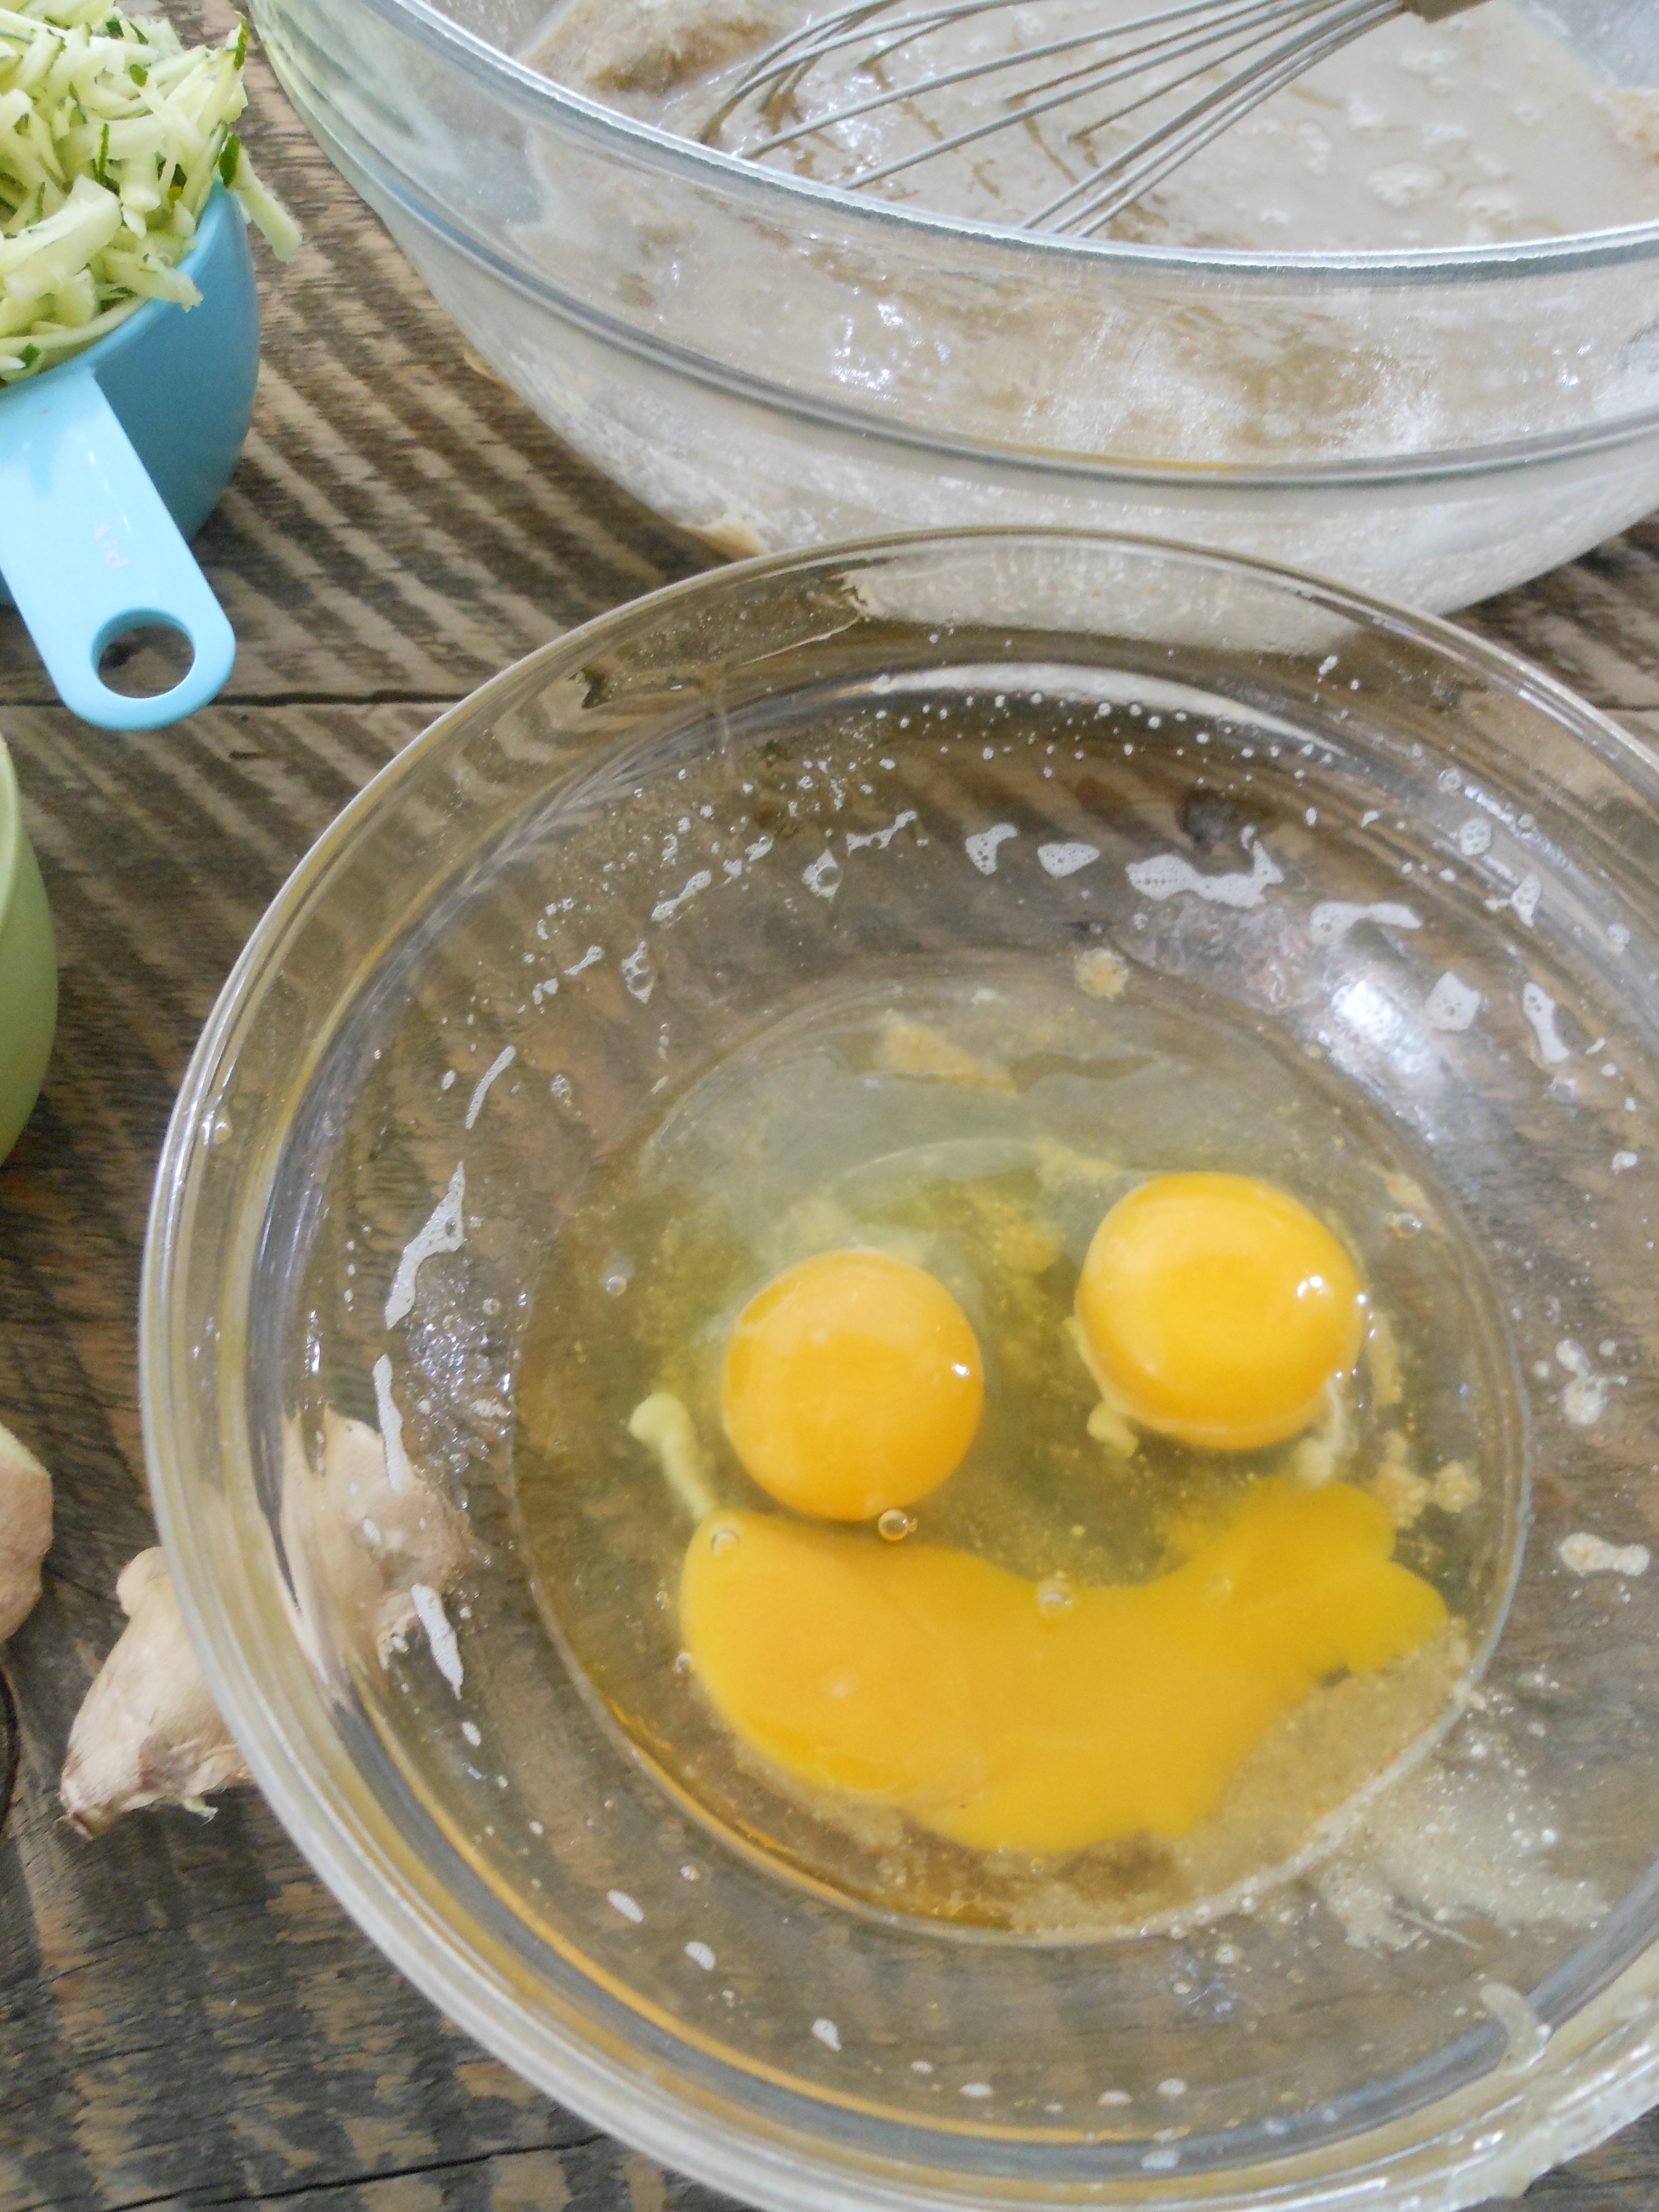
3 local eggs
1 c. local honey
1 c. coconut oil
1 – 1 1/2c. zucchini grated (you could sub carrots)
1 c. apple, grated
1 ½ c. walnuts, toasted and chopped
Directions:
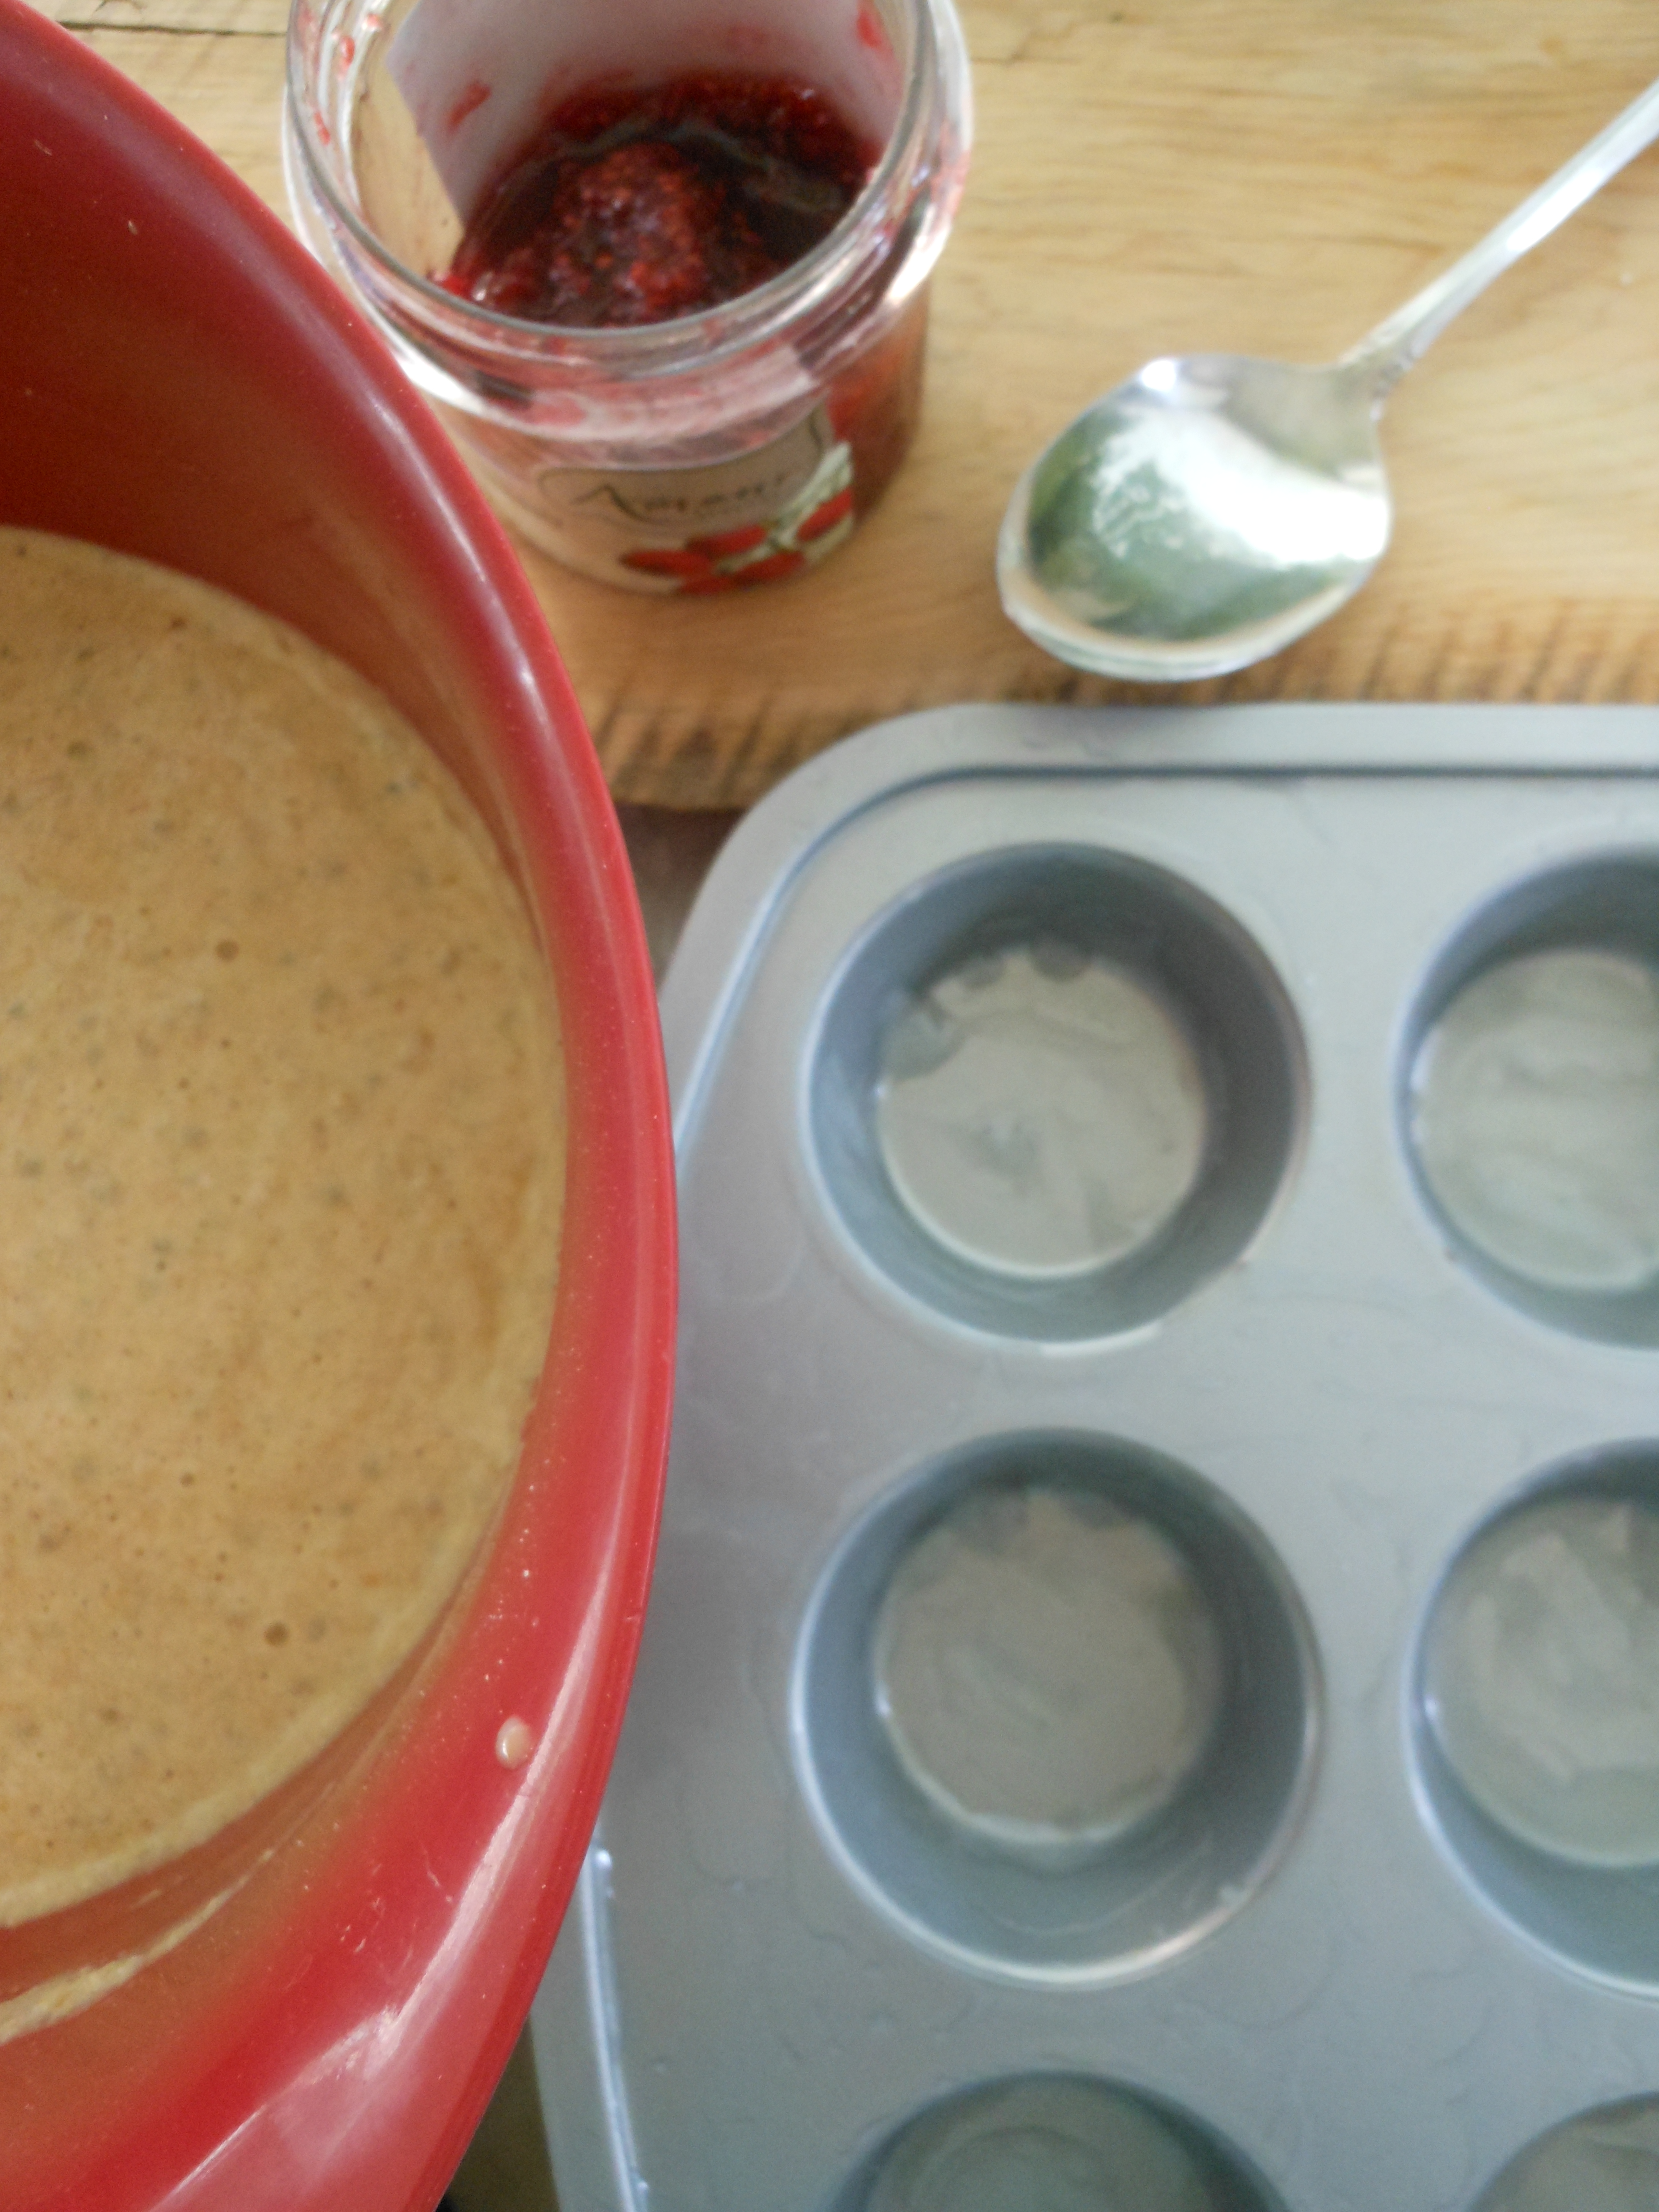
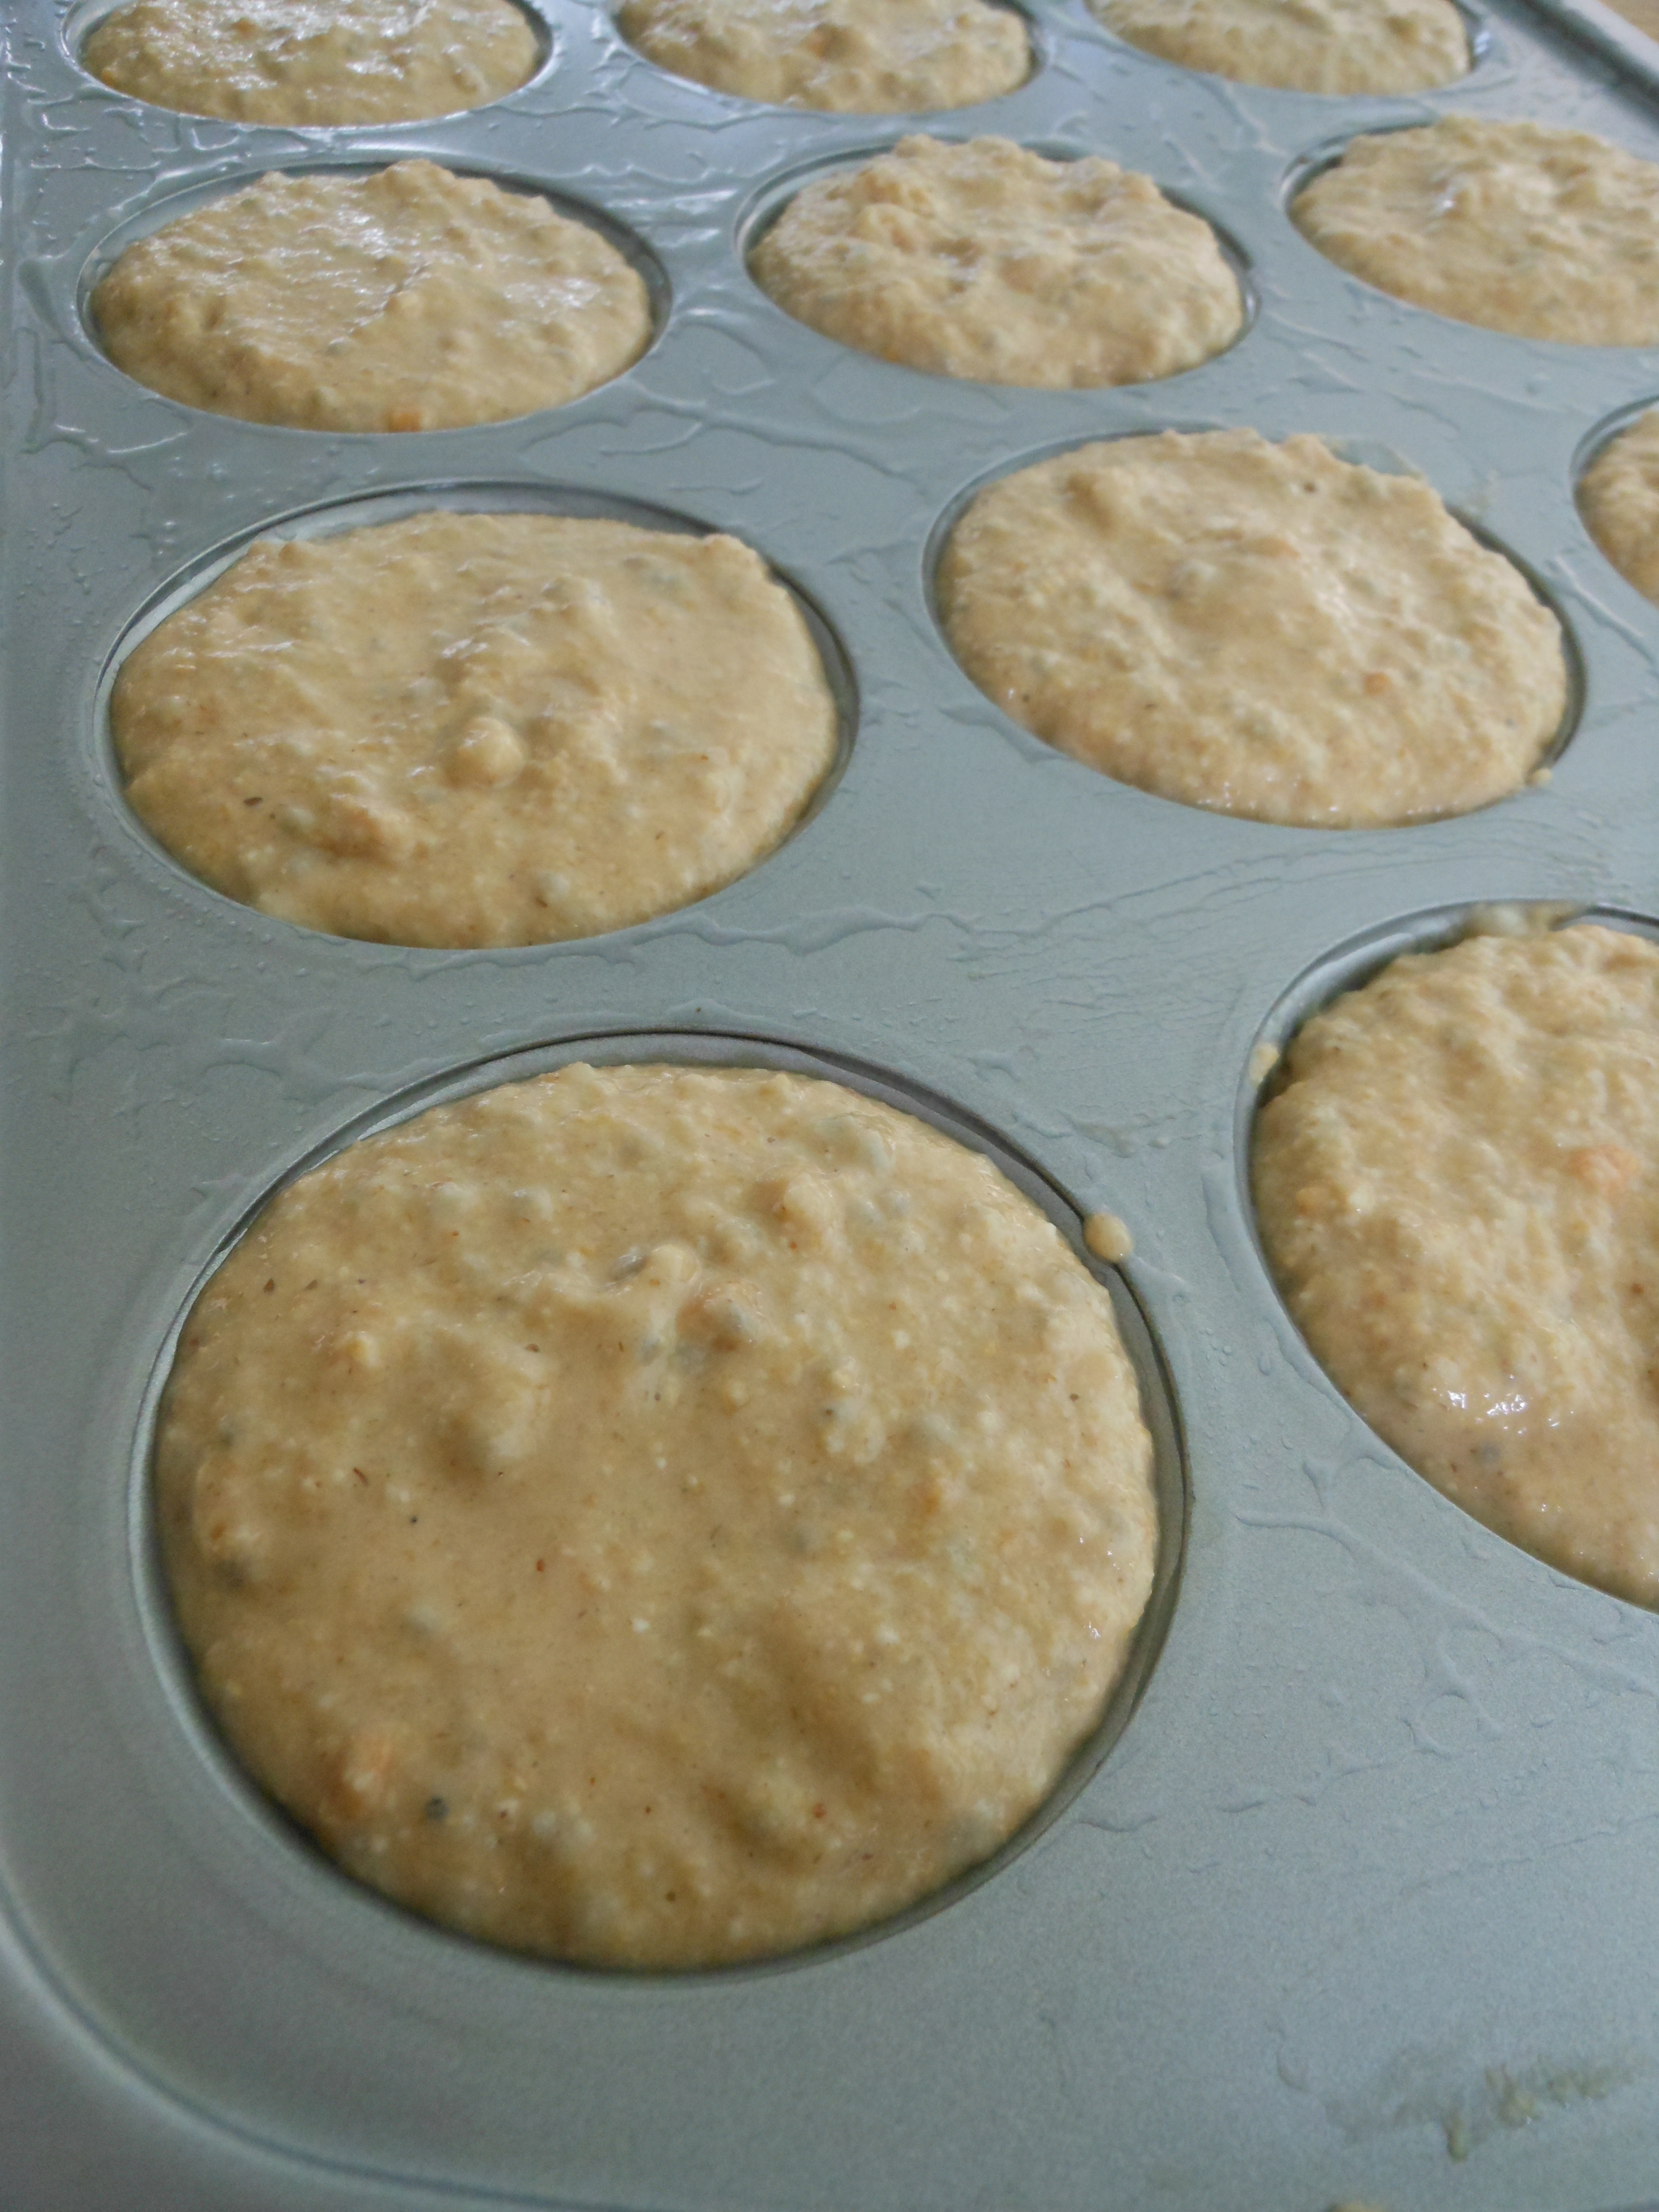
1. Pre heat oven to 350 degrees, line a muffin pan with liners. Sift all the dry ingredients together in a large bowl and set aside.
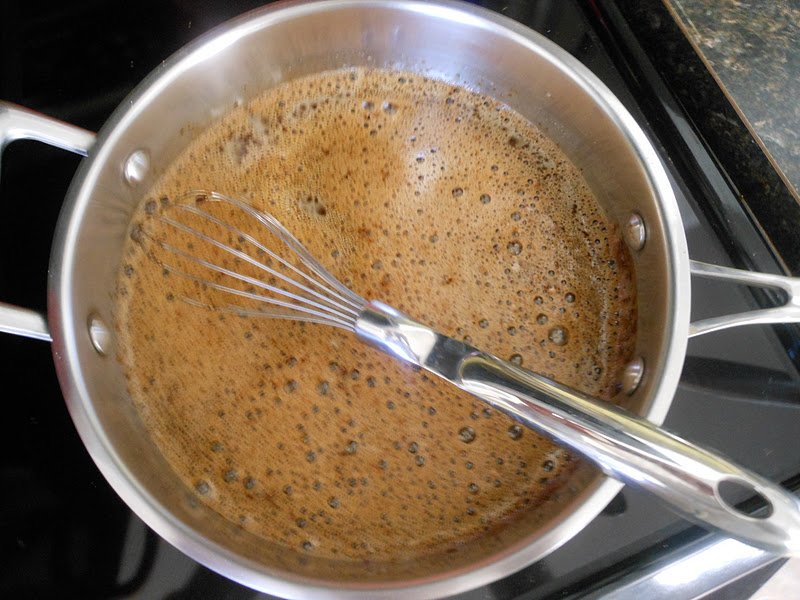
2. In a small saucepan melt the coconut oil and honey together until just melted, to not over heat or bring to a boil. Remove the mixture from the heat and let cool just a bit, whisk in eggs one at a time.
3. Add the wet mixture to the dry ingredients, add the fresh ginger and whisk just to combine.
4. Add the grated zucchini and apples, fold into the mixture. Add the walnuts and fold them in until well blended.
5. Scoop the mixture into the prepared muffin tin and place in the warm oven. Bake for 30-35 or until a toothpick comes out clean. Let cool.
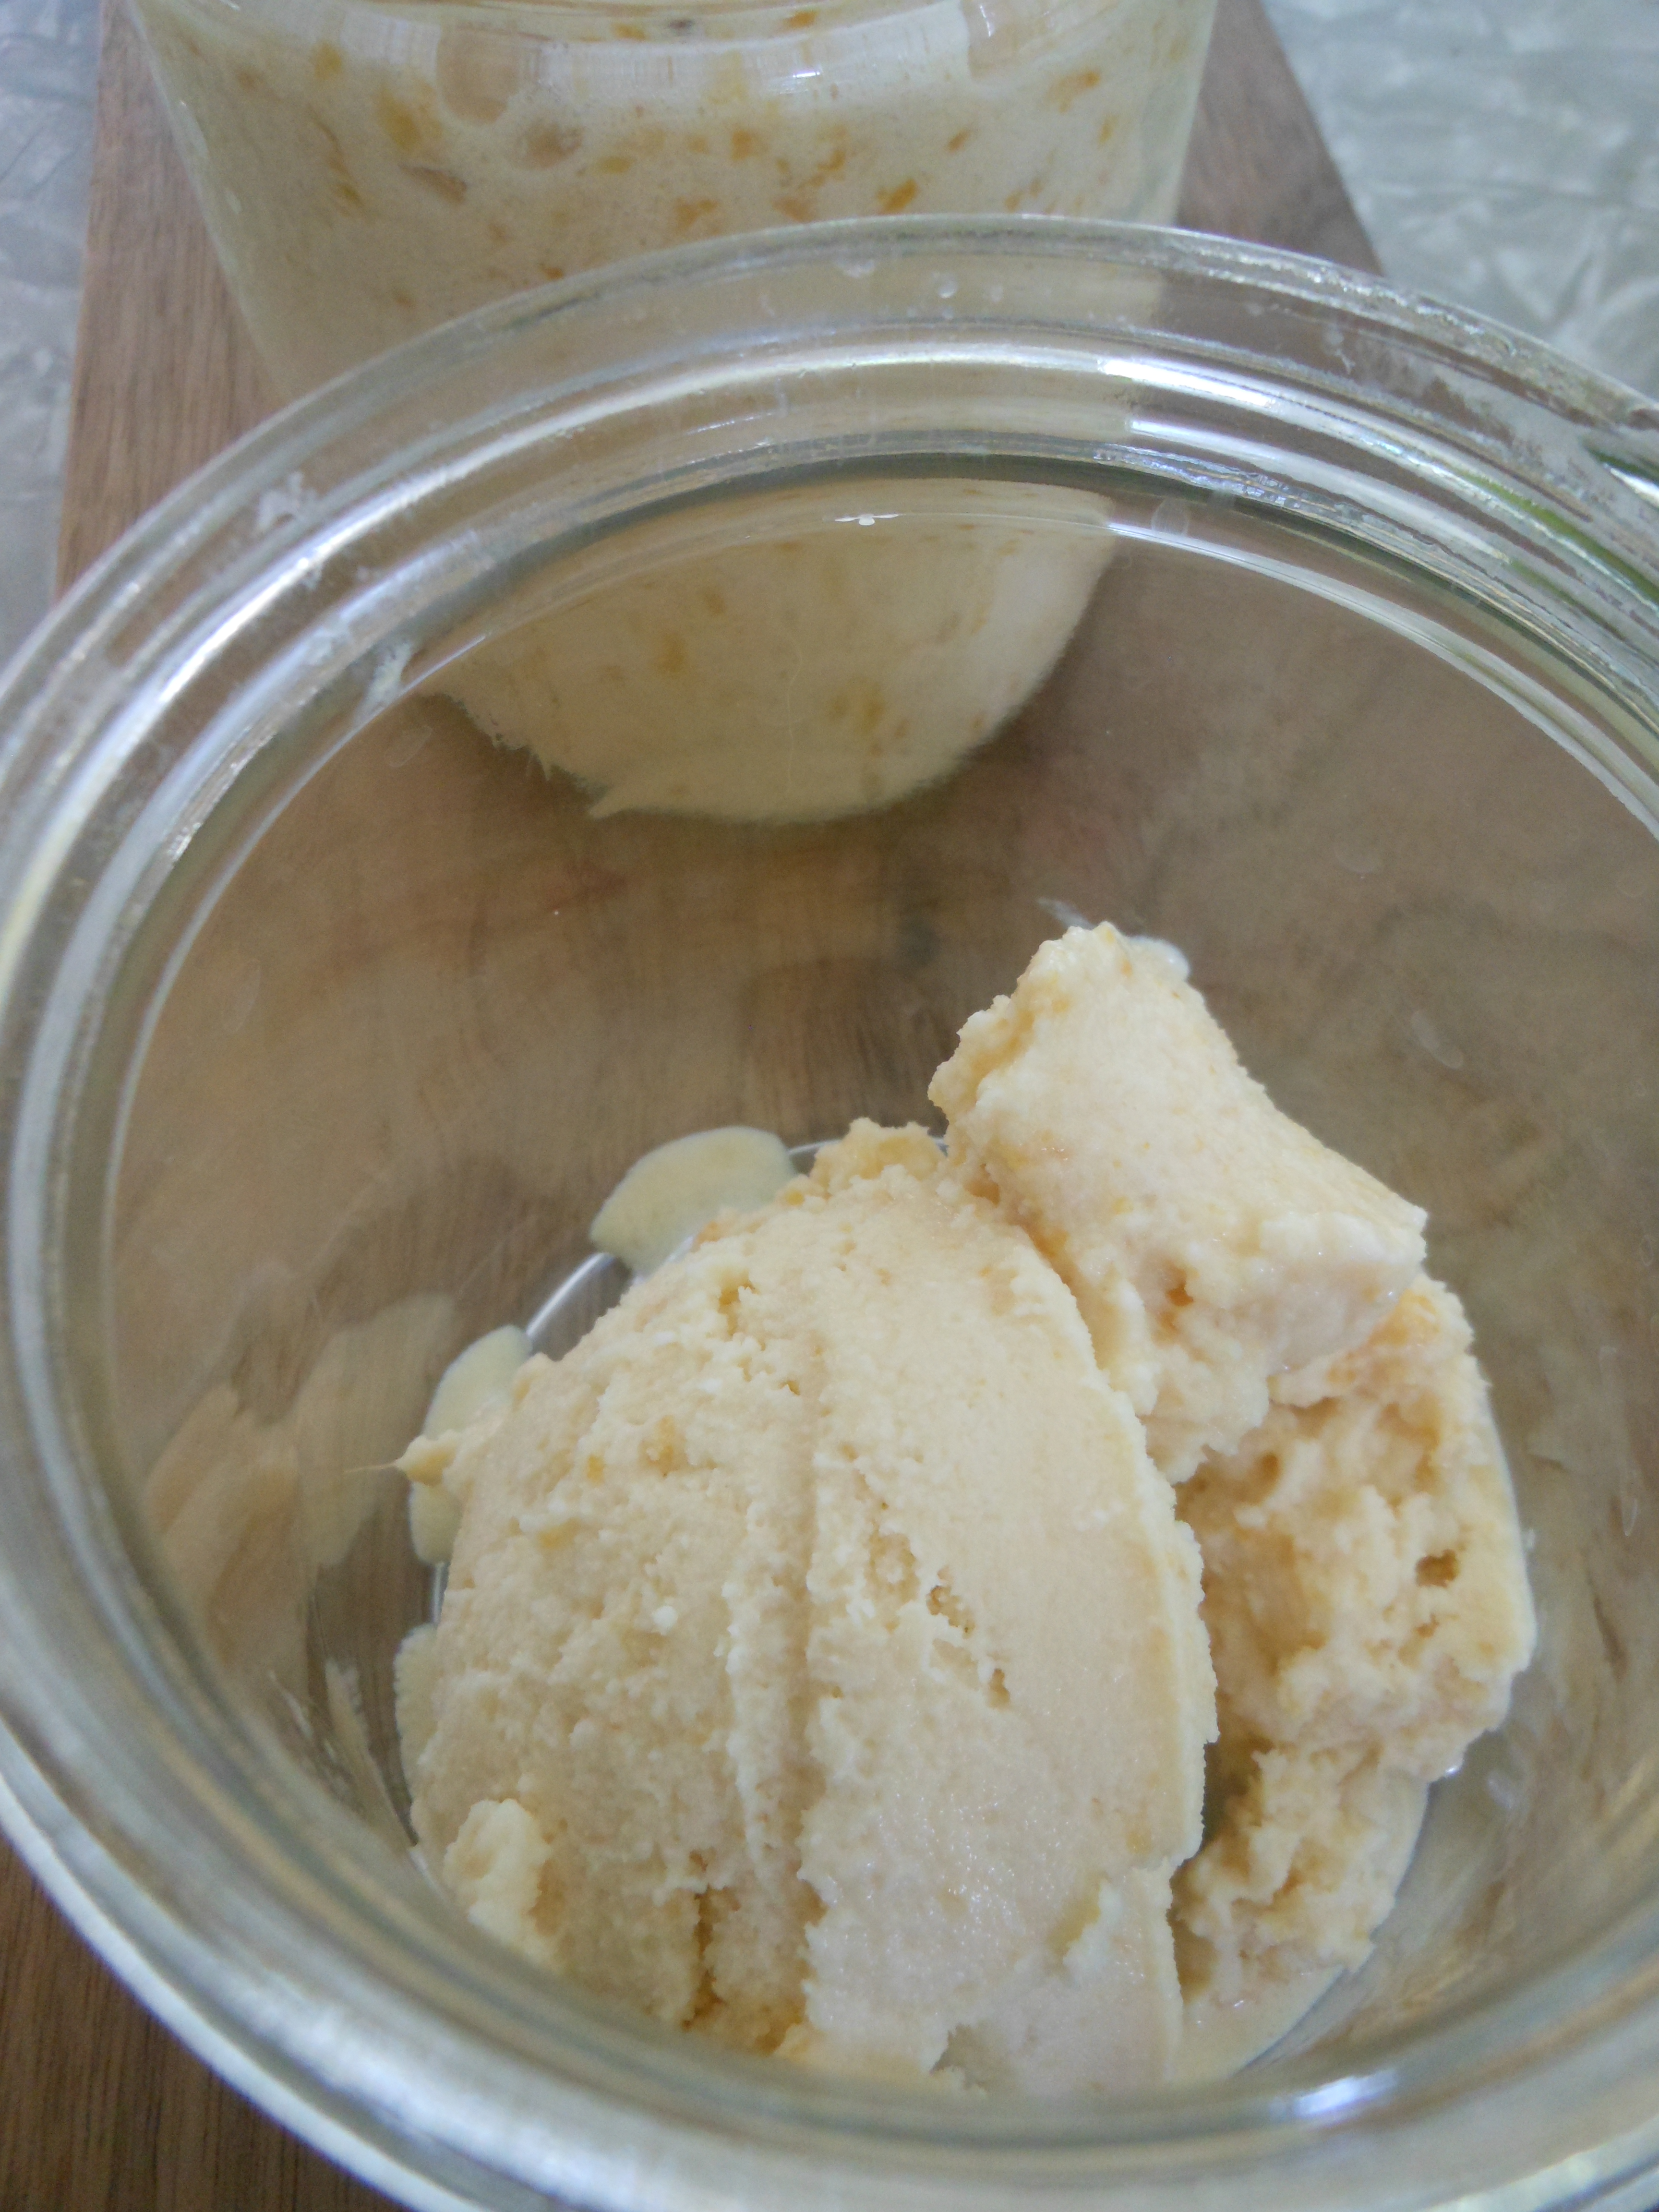
Chai Butter Cream Frosting
1 c. butter, room temp
¼ c. half and half (I think I used my homemade cashew milk)
2-4 c. powdered sugar (I use less sugar because I like my frosting a little more buttery than sugary, your preference)
½ t. cinnamon and ginger (you can use fresh ginger)
¼ t. cardamom and cloves
pinch of salt
Directions:
1. Using a standing mixer or hand held mixer blend the butter, half and half and spices until mixed.
2. Add the powdered sugar 1 c. at a time until desired frosting consistency is reached.
3. Frost the cupcakes!

 Love:
Love:
If you can believe it I still have zucchini from my garden! I thought I had planted a cucumber plant but it ended being a zucchini plant, I was overwhelmed with the abundance that just ONE plant yielded. I now know why people gift those tenacious little buggers and just like everyone else I was scrambling to find something to do with them.
Since I had all that zucchini and apples were starting to show up at my Farmers Market, these muffins where my solution to the seasons changing, utilizing what I had and the need to bake something warm and comforting.
Here’s the real deal, these are a muffin recipe that can be tricked out with butter cream frosting and passed off as a cupcake! Sneaky right? They are perfectly delectable on their own, so much so that my friend is making these for her new bakery. They are perfect with tea or coffee, a co-pilot for your green smoothie, and they are totally gluten-free! Equally as impressive frosted and served to your book club or child’s birthday party. ENJOY!