Corn Pudding and Cashew Vanilla Cream

Tags

, , , , , ,

DSCN3250Food:

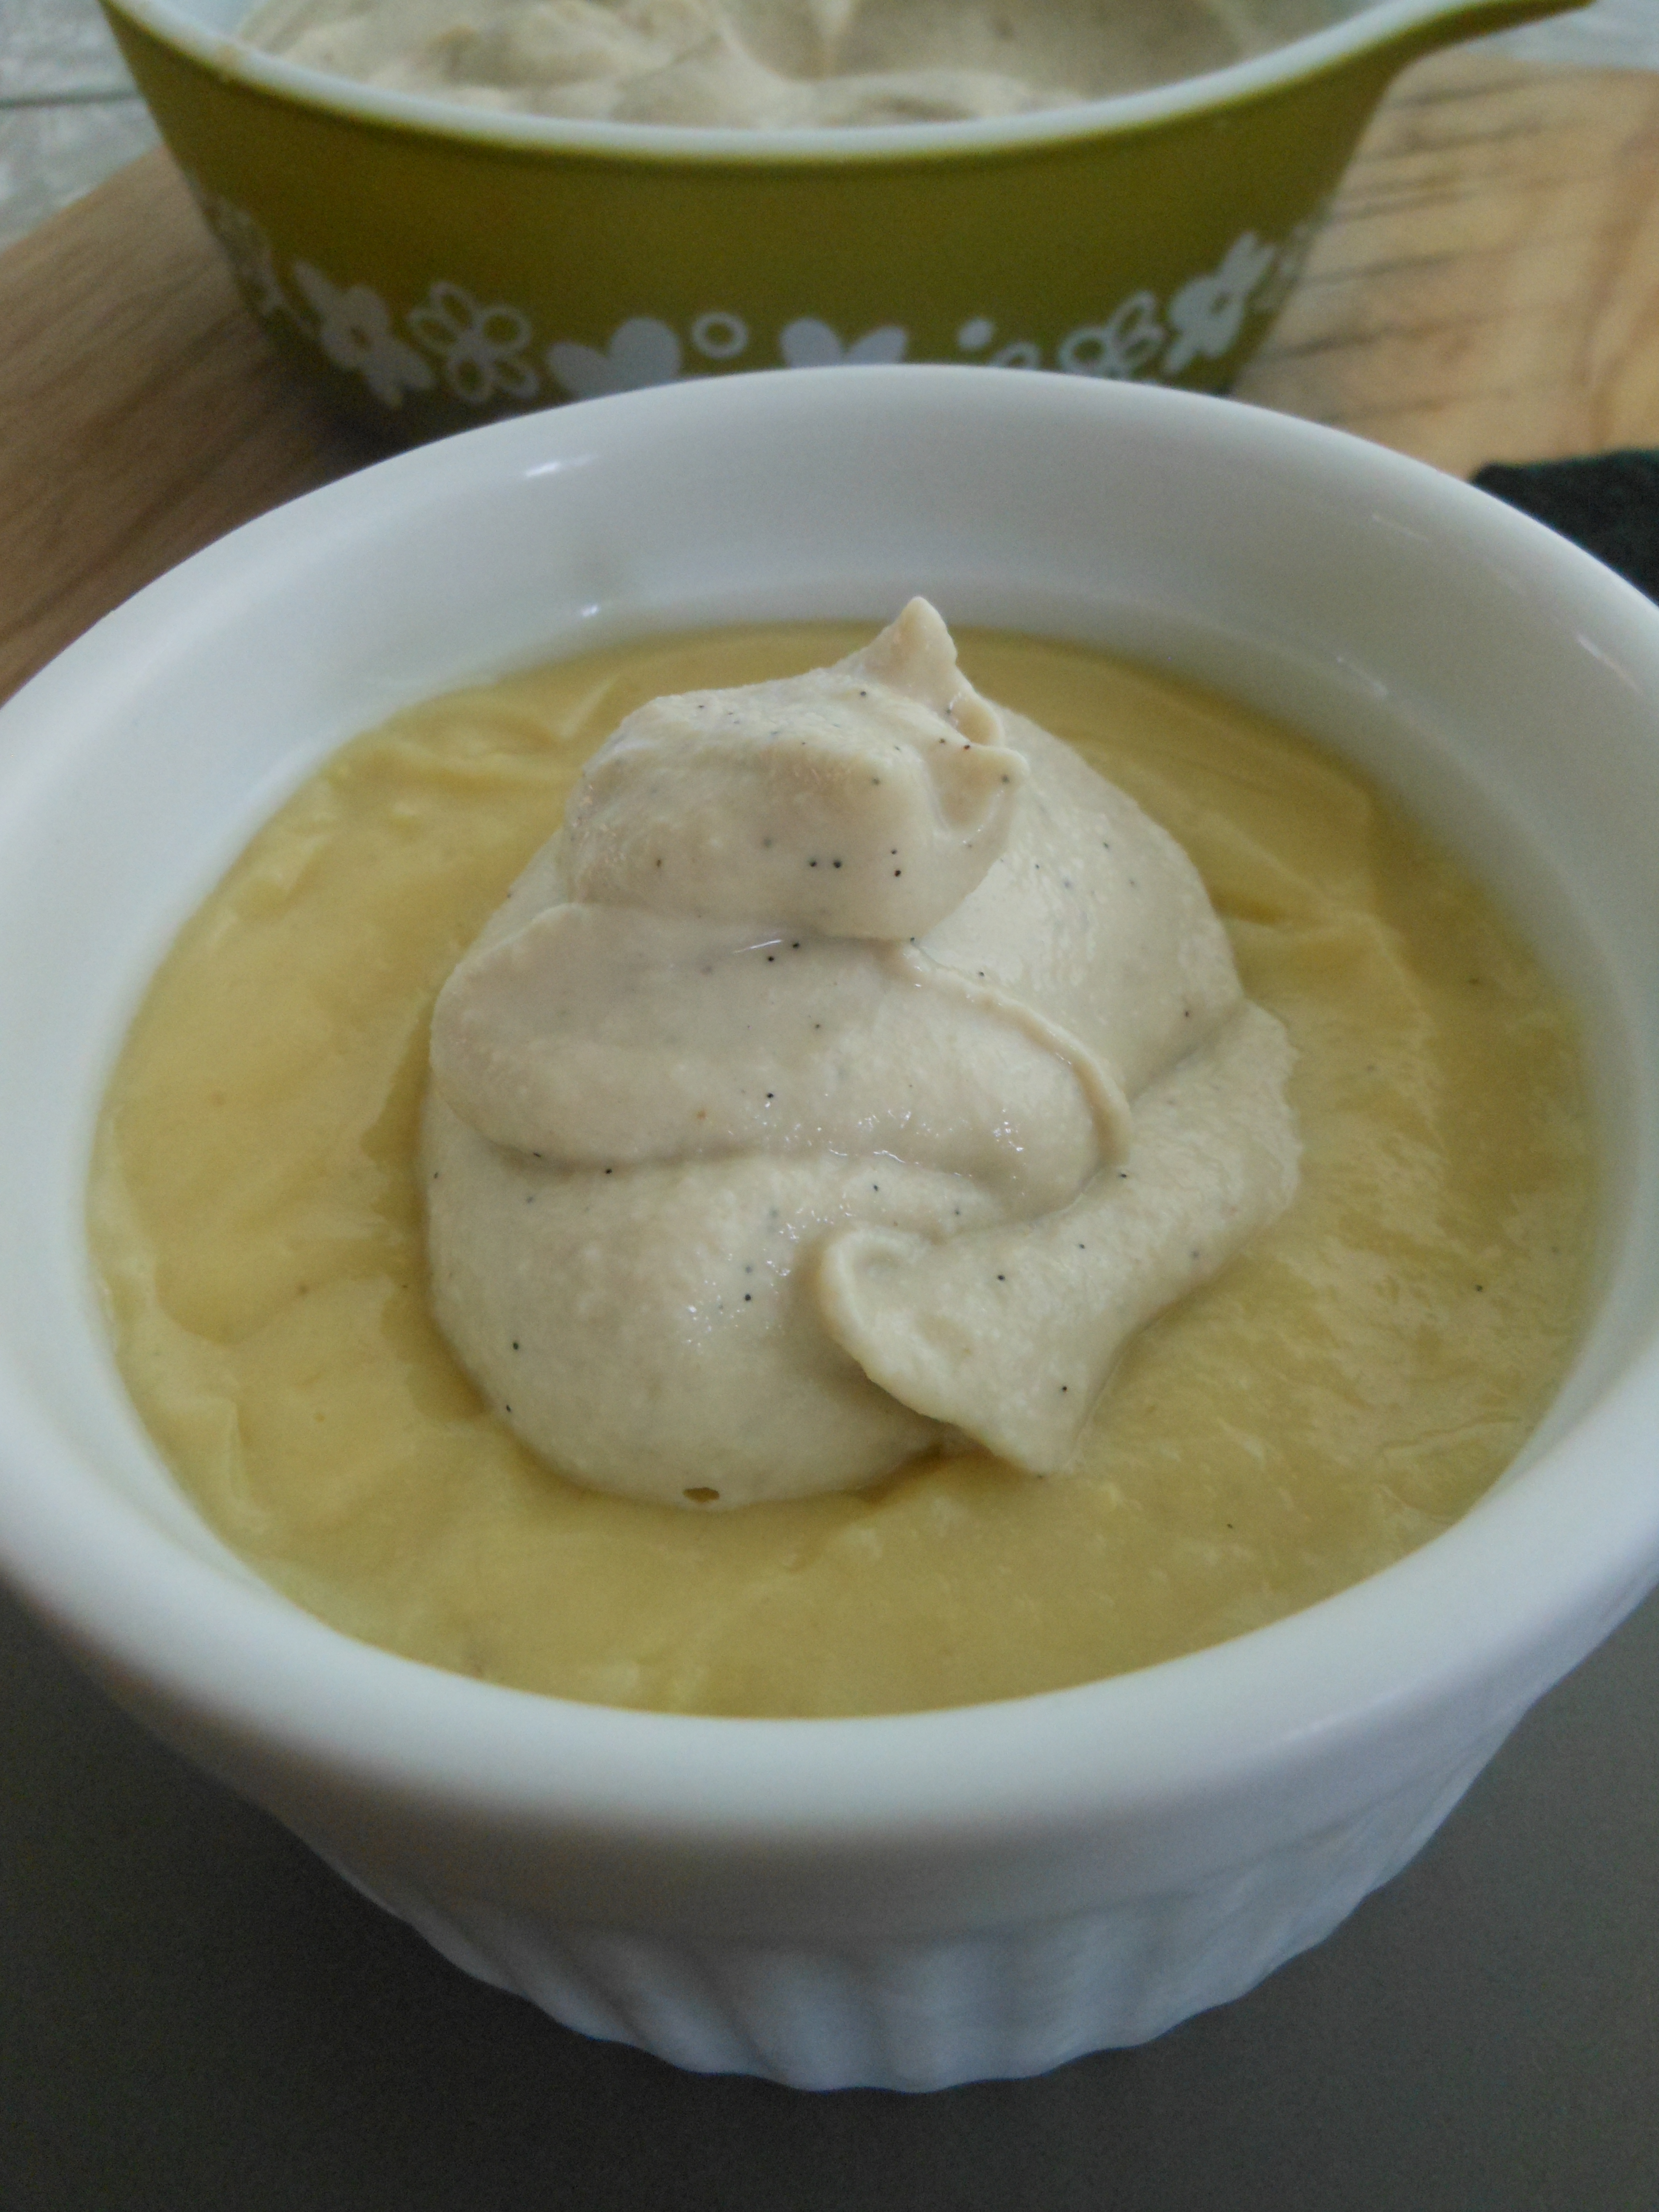
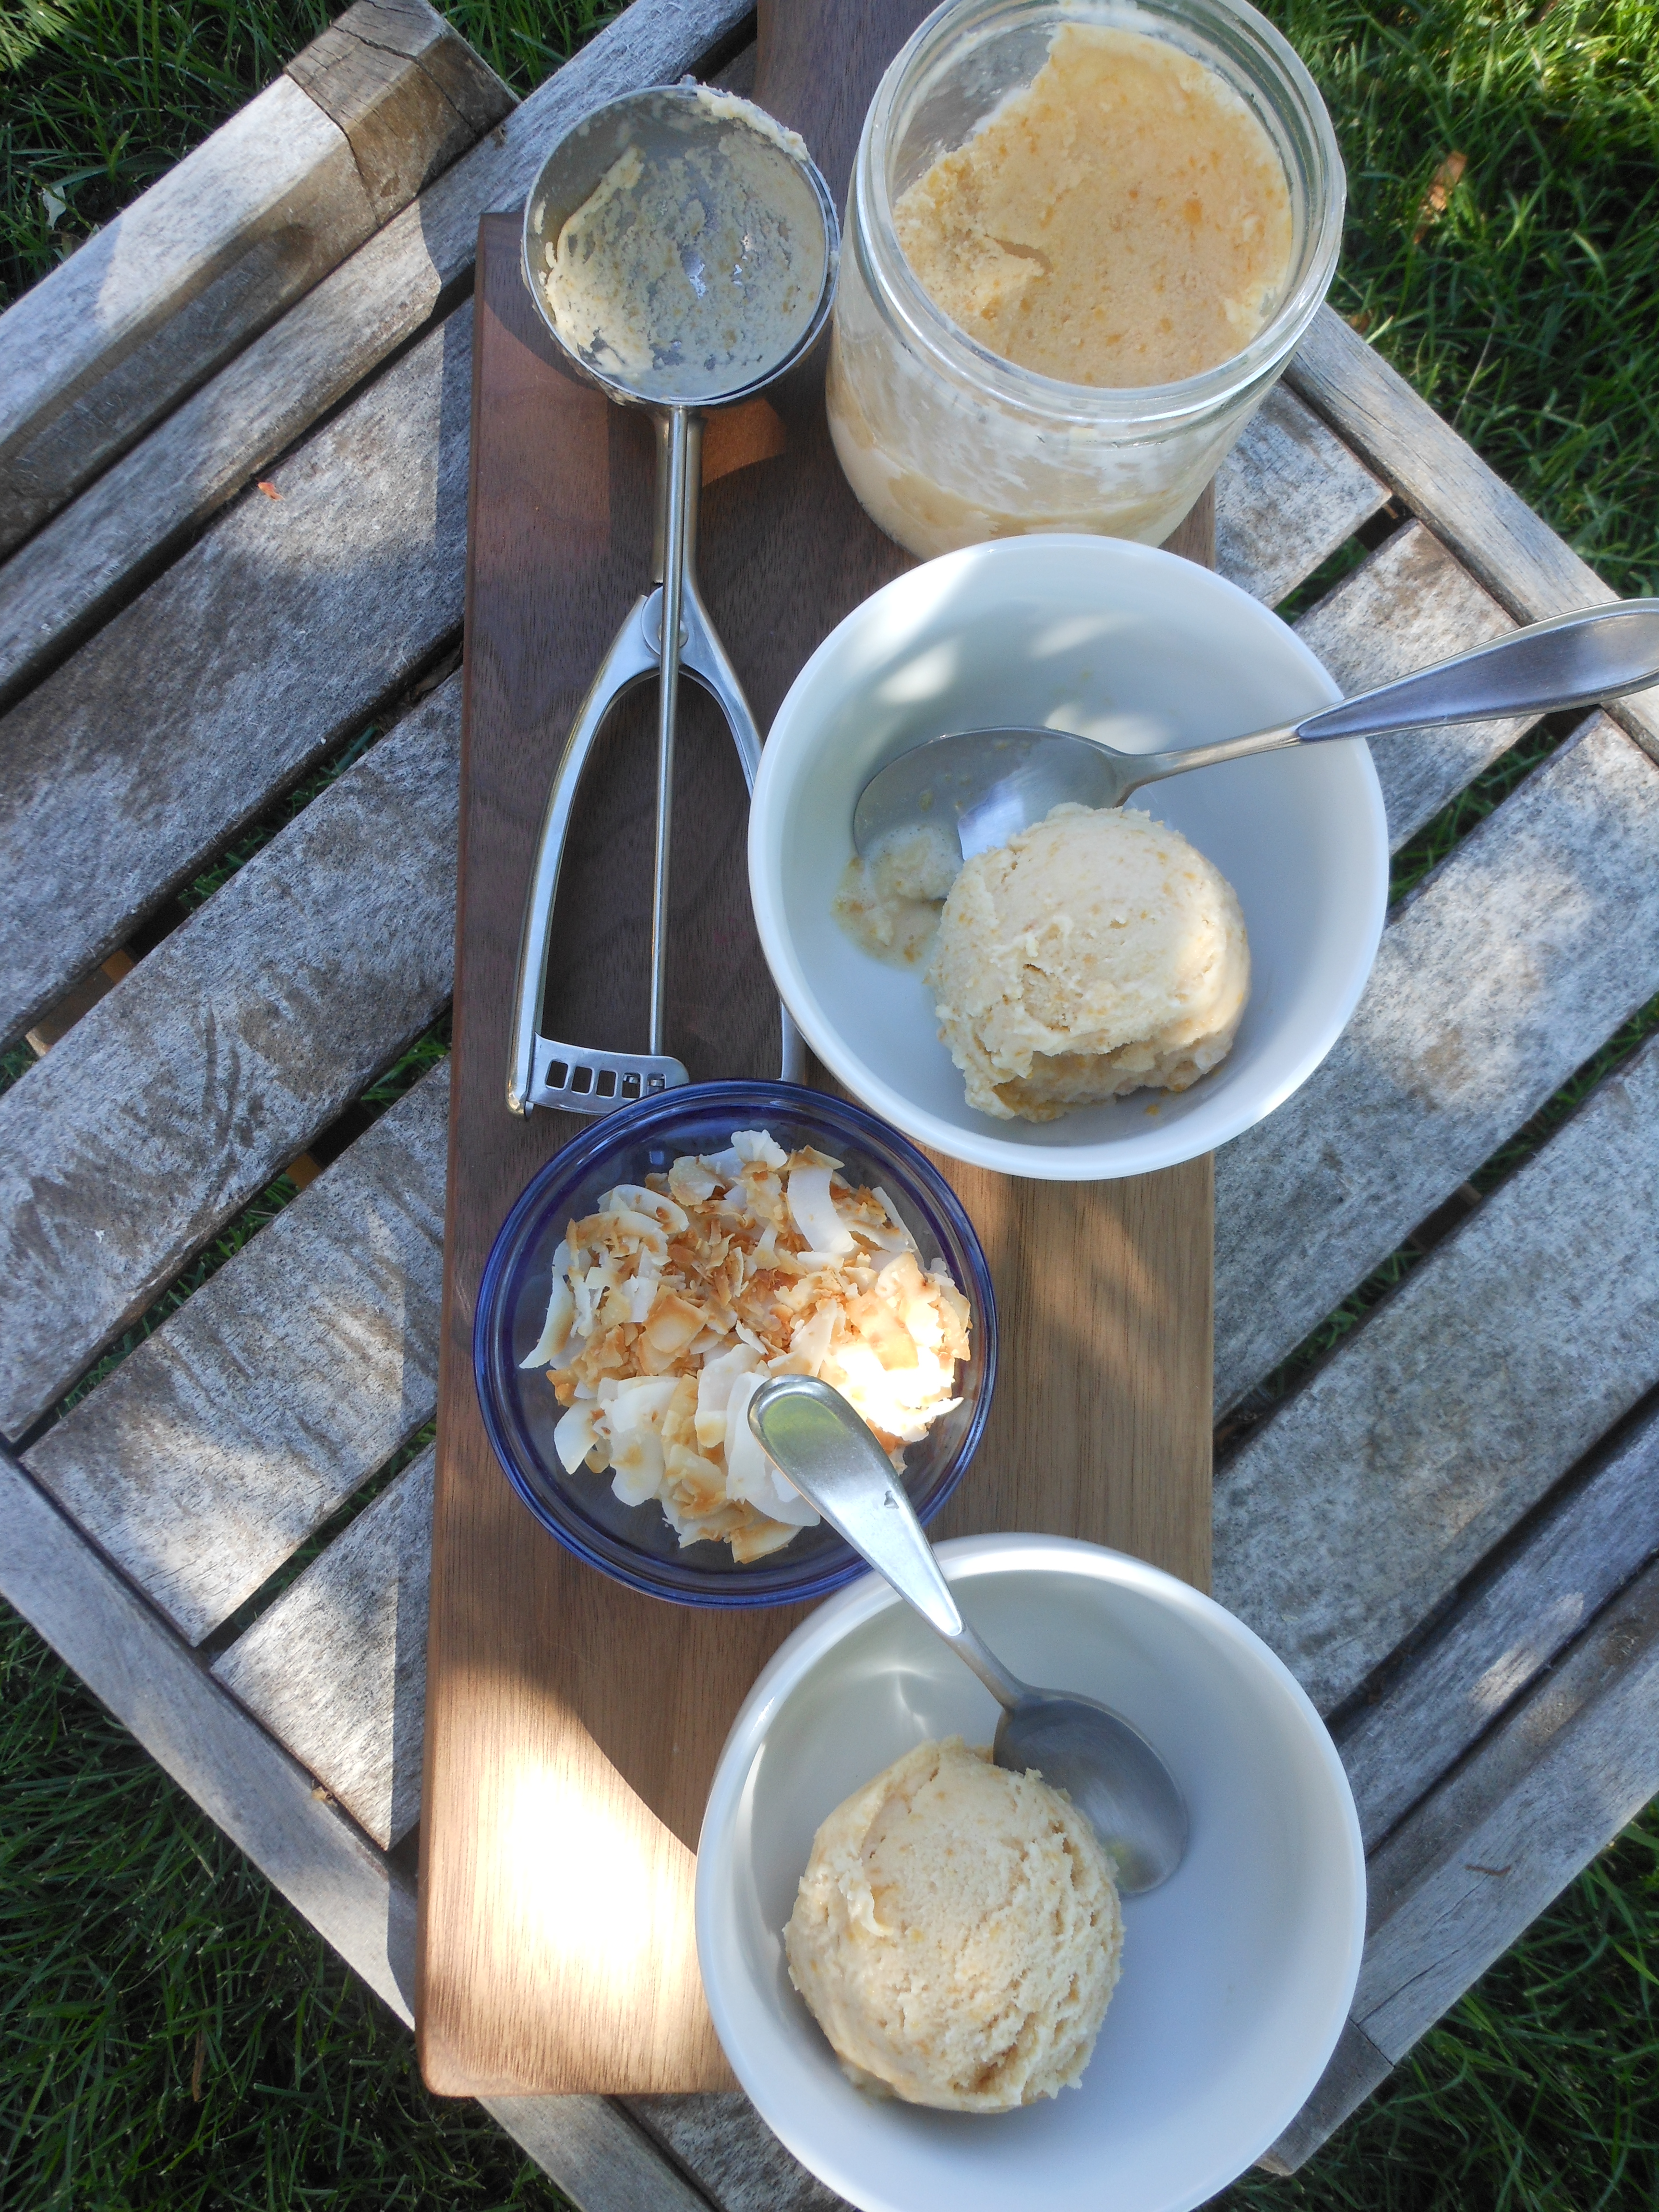
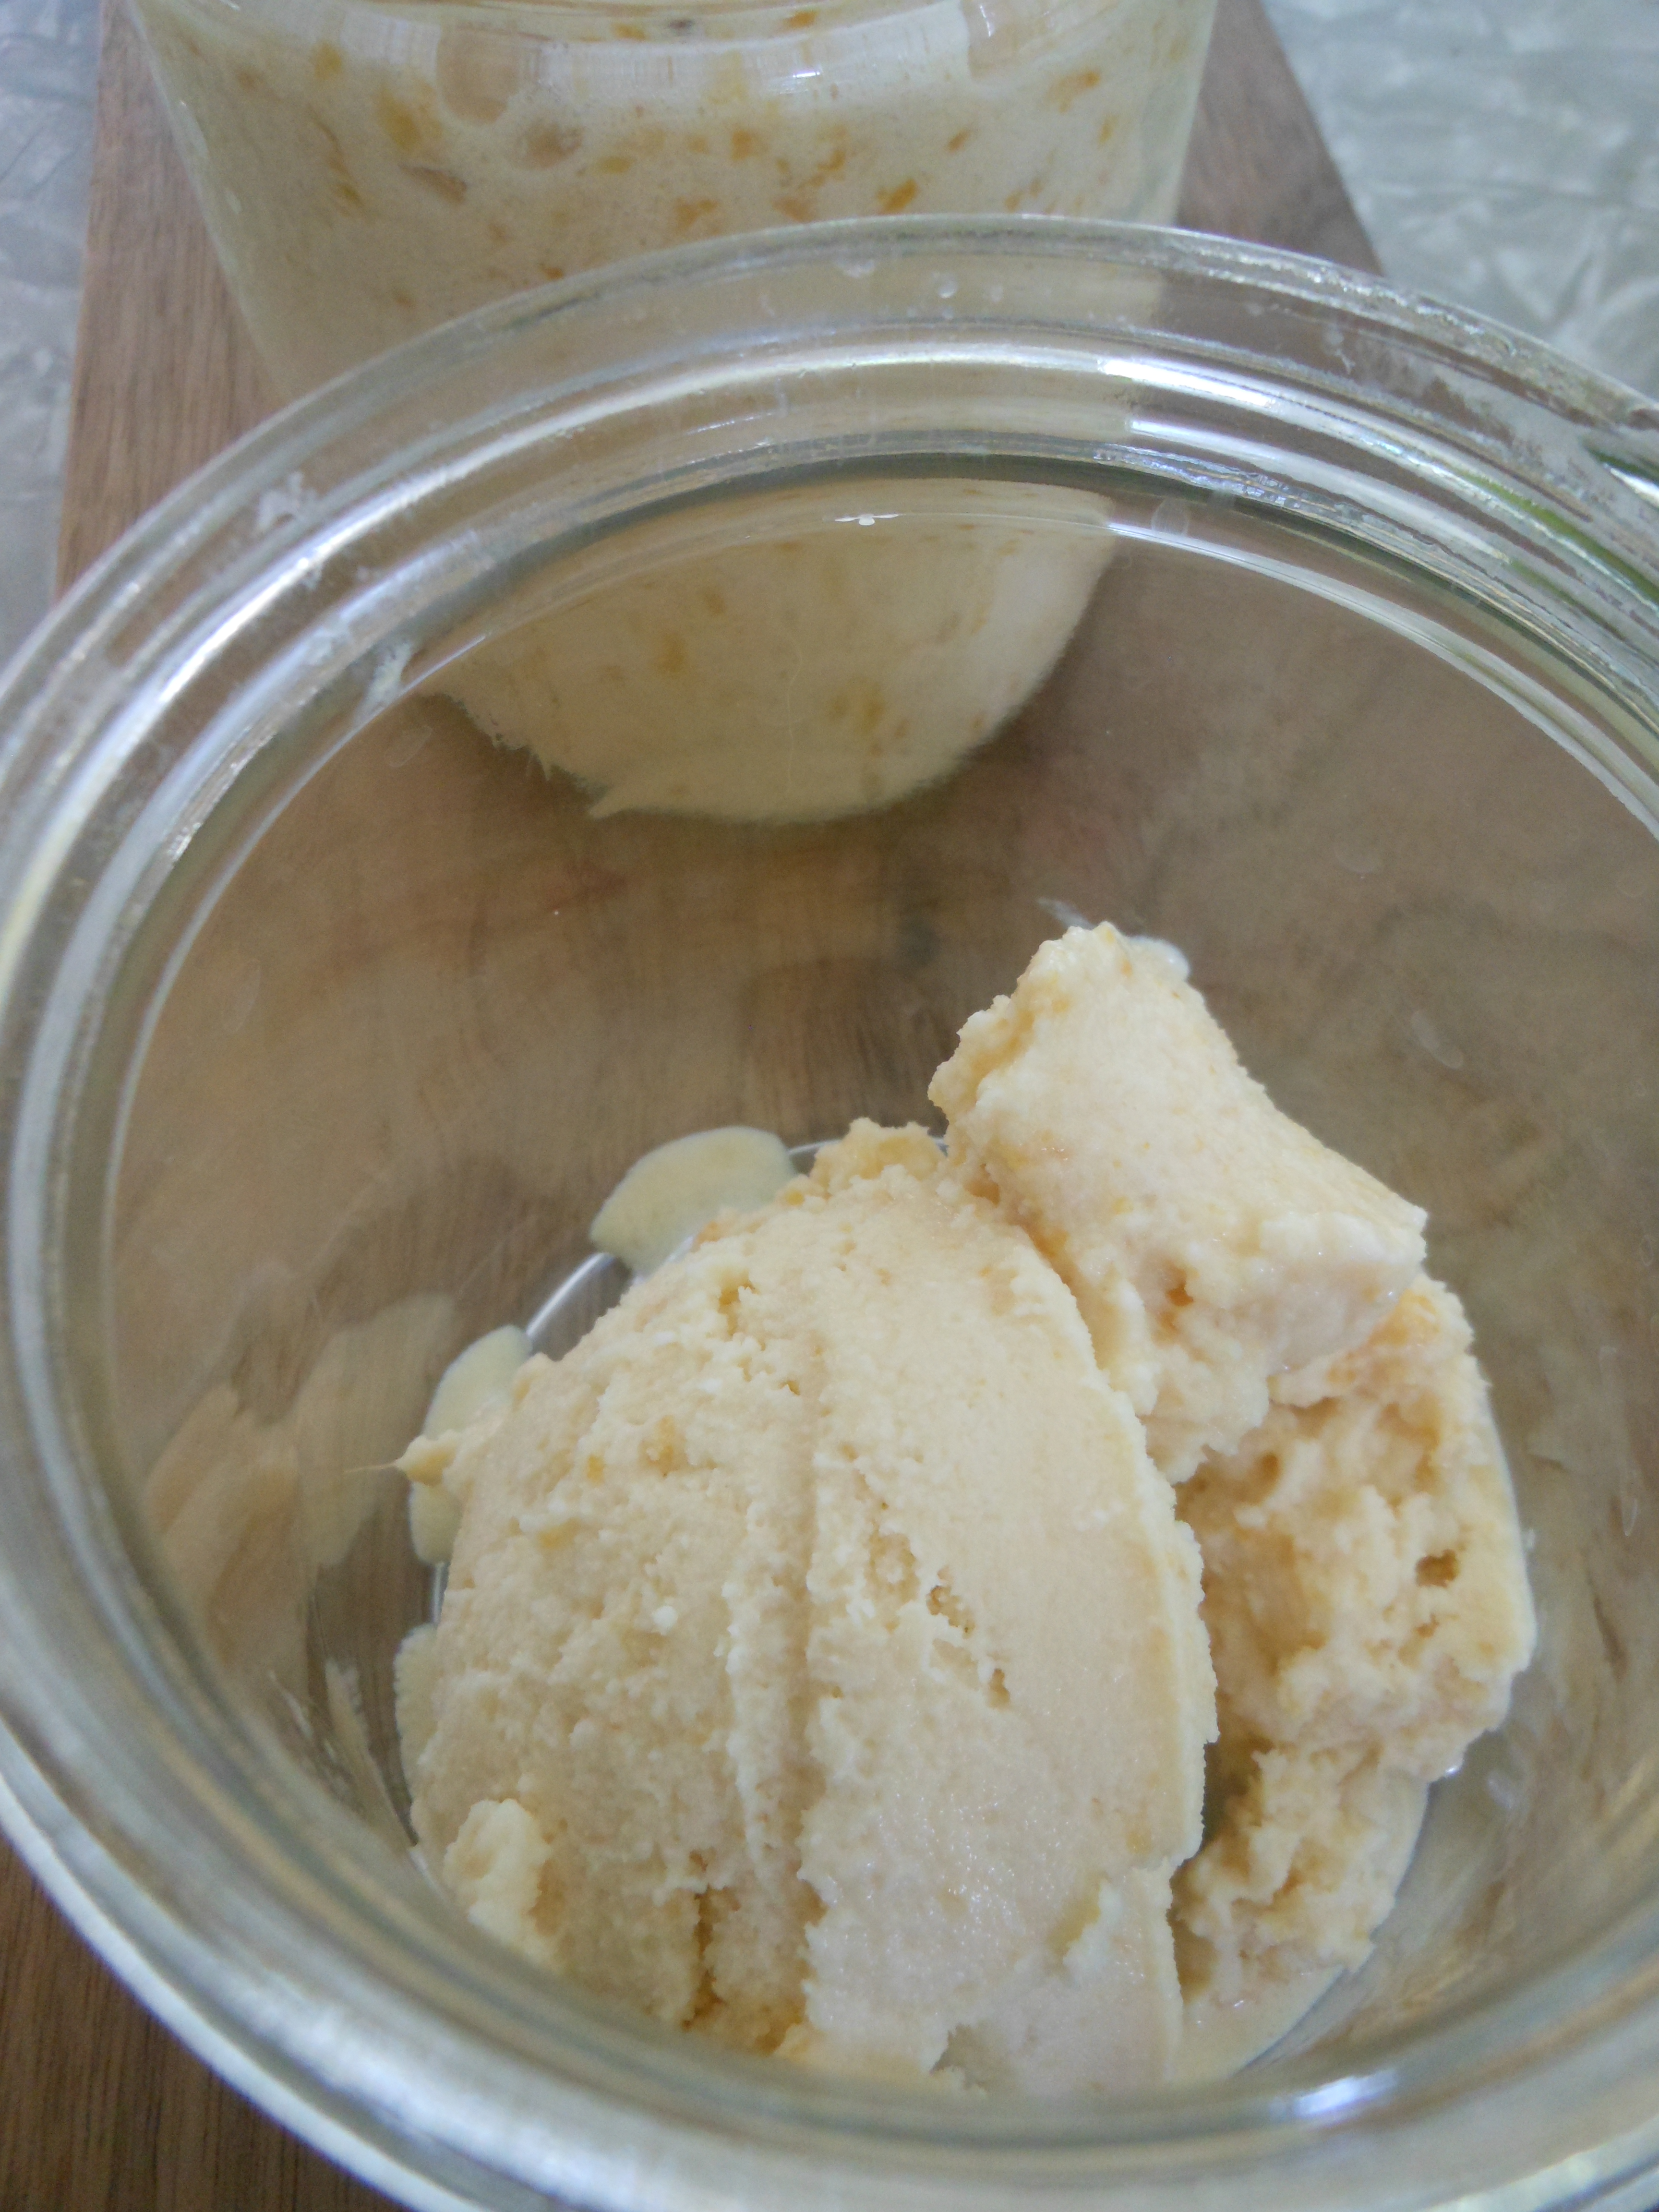
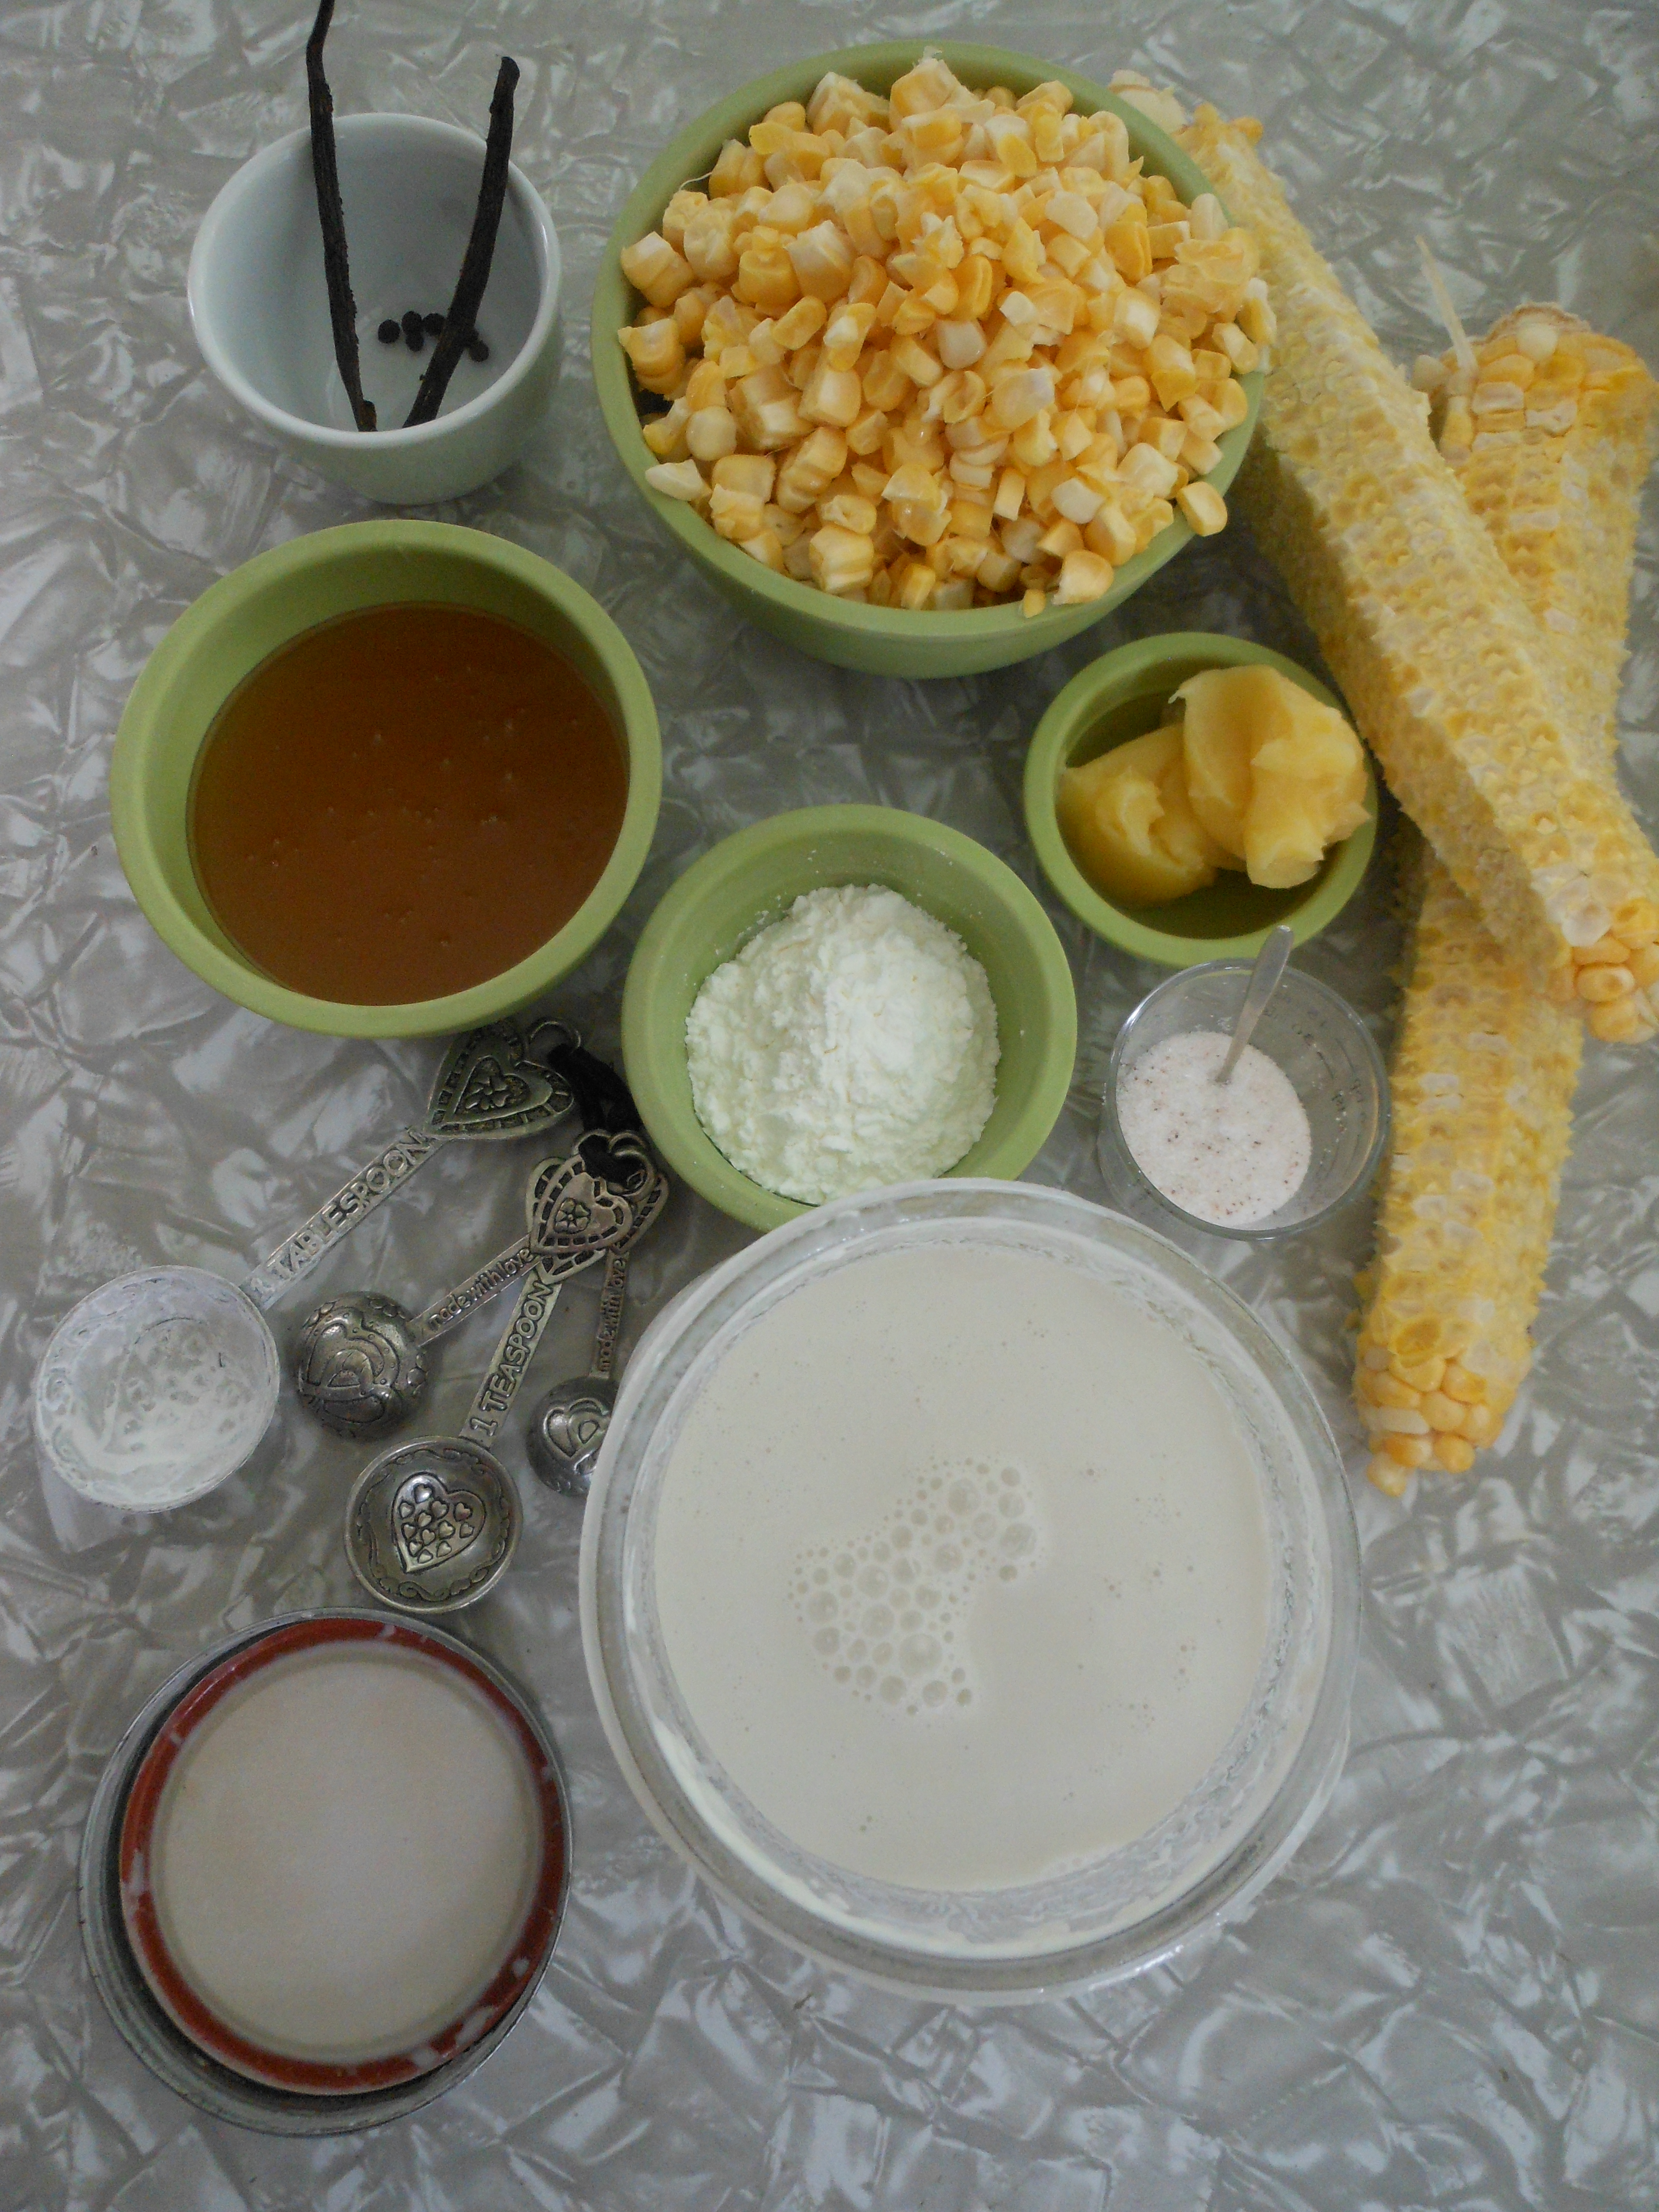
Corn Pudding and Cashew Vanilla Cream serves 6

2 1/2 c. fresh cashew milk (soak 3/4 c. cashews in water overnight, drain, rinse, place soaked cashews in blender with 3 c. water and blend until smooth. Place in a glass jar and store in the fridge.)

1/2 c. local honey (I use Clifford Farms, farmers market), if vegan use maple syrup

3 T. non-gmo cornstarch

6 peppercorns

1 fresh vanilla bean, cut in half and scraped (Caputo’s Market)

2 ears of local corn (farmers market)

pinch of real salt (local)

2 T. ghee, if vegan use coconut

DSCN3217Directions:

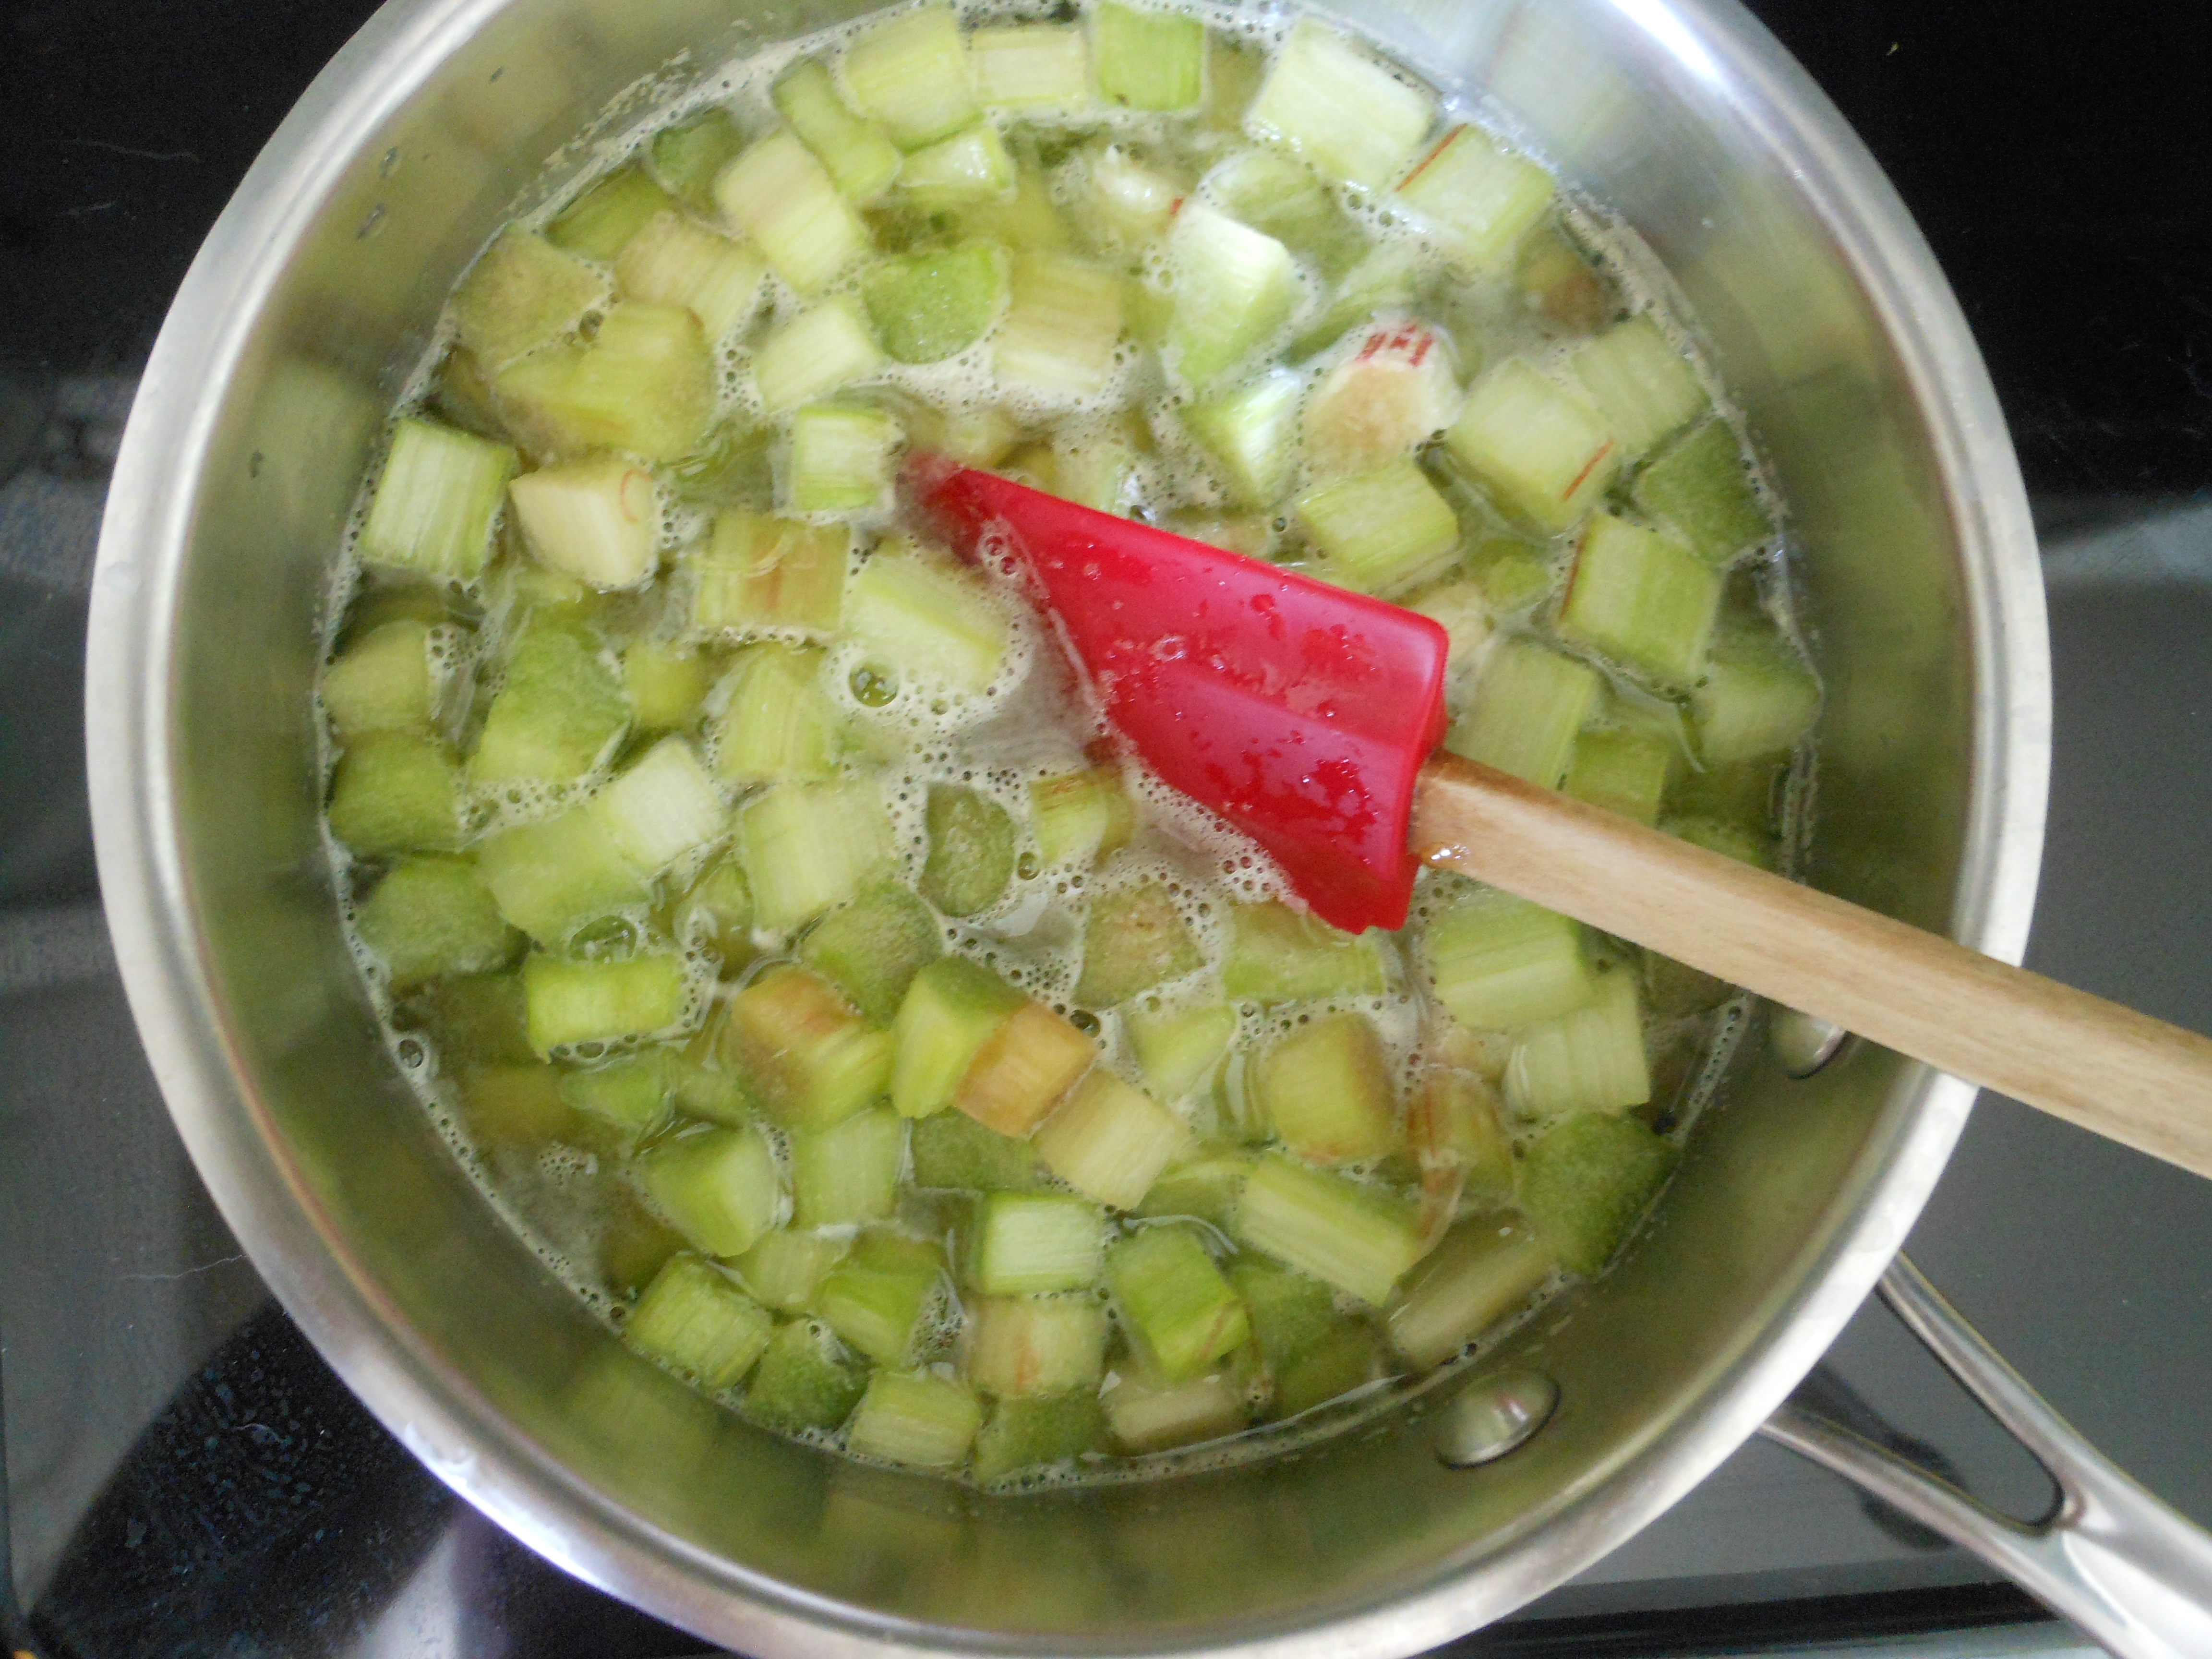
1. Start by cutting the kernels off the cobs, then cut the cobs in pieces. Place the kernels, cob pieces, 2 c. of the cashew milk, a pinch of salt, peppercorns and scraped vanilla bean (save the insides for the cashew vanilla cream) in a wide saucepan. Over medium heat bring the milk to a boil stirring occasionally, as soon as it starts to come to a boil turn the heat down to a simmer for 10-15 minutes.

2. Pull the cob pieces and the vanilla bean out of the milk mixture, pour the rest of the ingredients into a blender and blend until smooth. Strain the corn mixture through a fine mesh strainer into a bowl, push the mixture through the strainer as well as you can. Discard the solids.

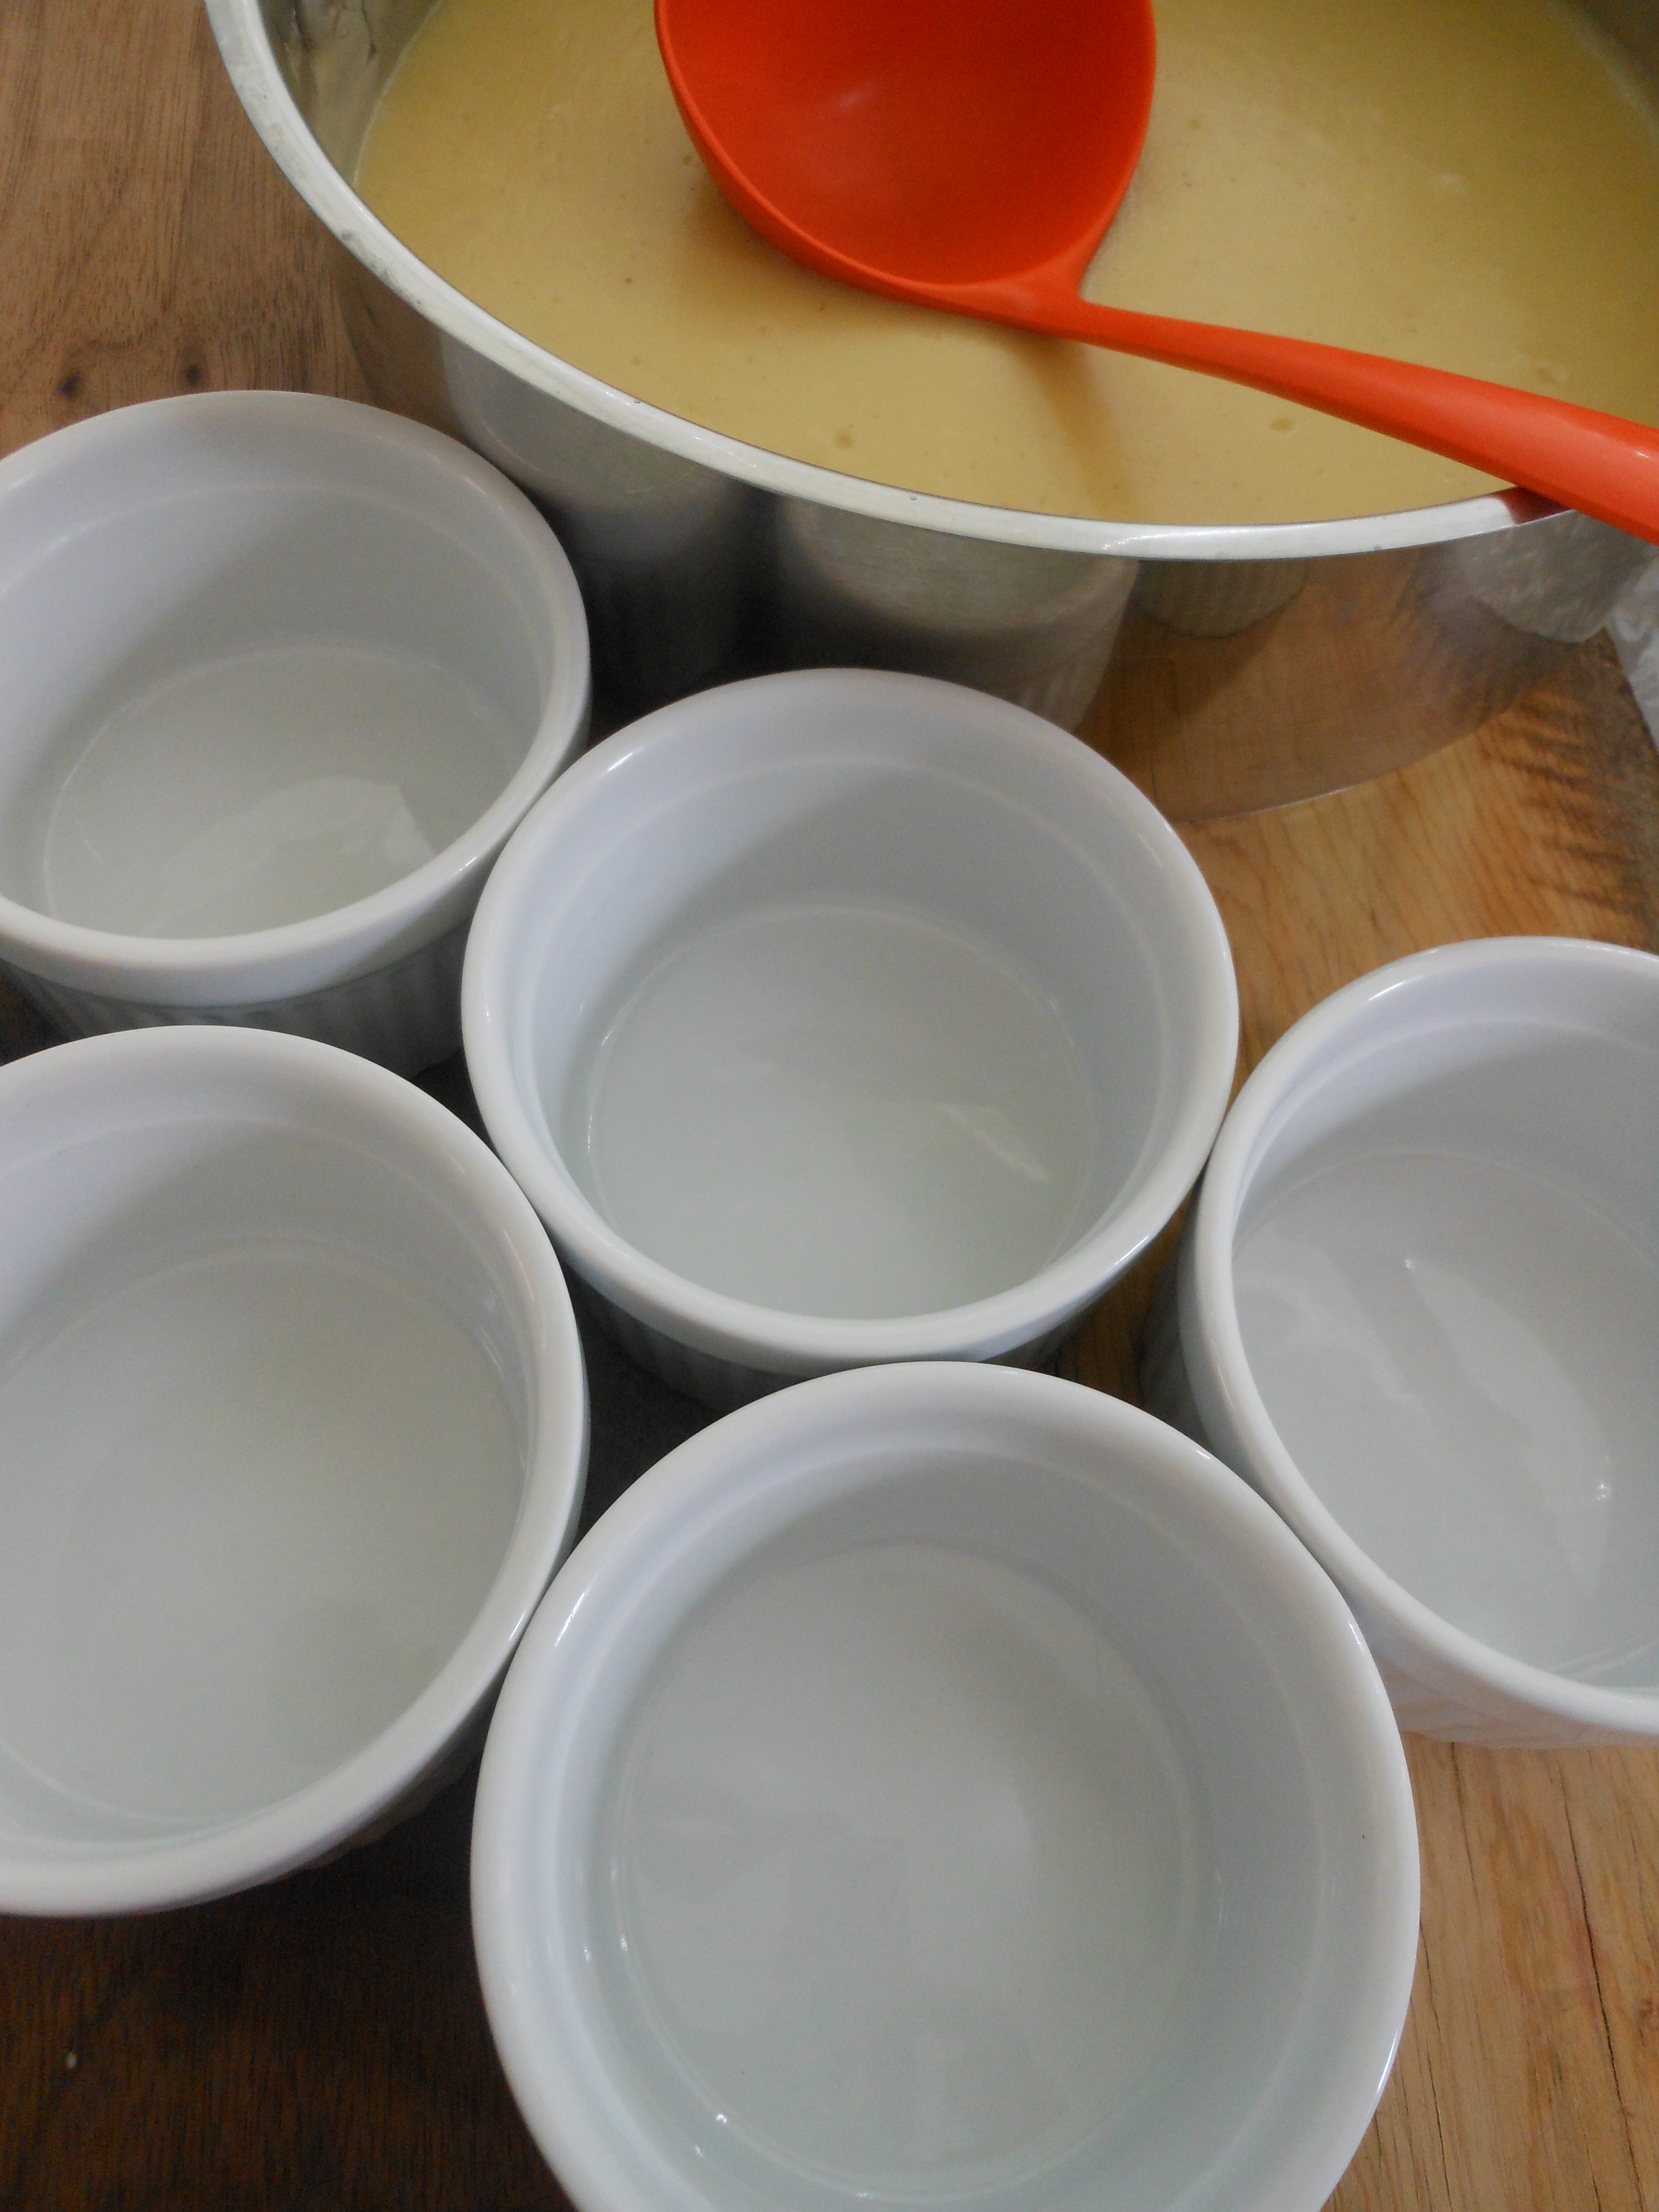
3. Rinse out the saucepan and pour the strained corn milk mixture back into the saucepan over medium heat, add the honey and whisk until dissolved. In a small bowl whisk the cornstarch into the remaining 1/2 c. cashew milkĀ  until dissolved. Whisk the cornstarch mixture into the corn milk mixture. Continue to cook over medium heat until the starch begins to thicken, about 5 minutes. Whisk in the butter. Let cool and then ladle into ramekins. Wrap each pudding so a skin doesn’t form on top. Place in the fridge until well chilled.

DSCN3222DSCN3224DSCN3227DSCN3229DSCN3233Cashew Vanilla Cream

1 1/2 c. cashews, soaked for 4 hours or overnight, drained and rinsed

1/4 c.- 1/3 c. water

1/4 c.- 1/3 c. maple syrup

inside of scraped vanilla bean

pinch of real salt

Directions:

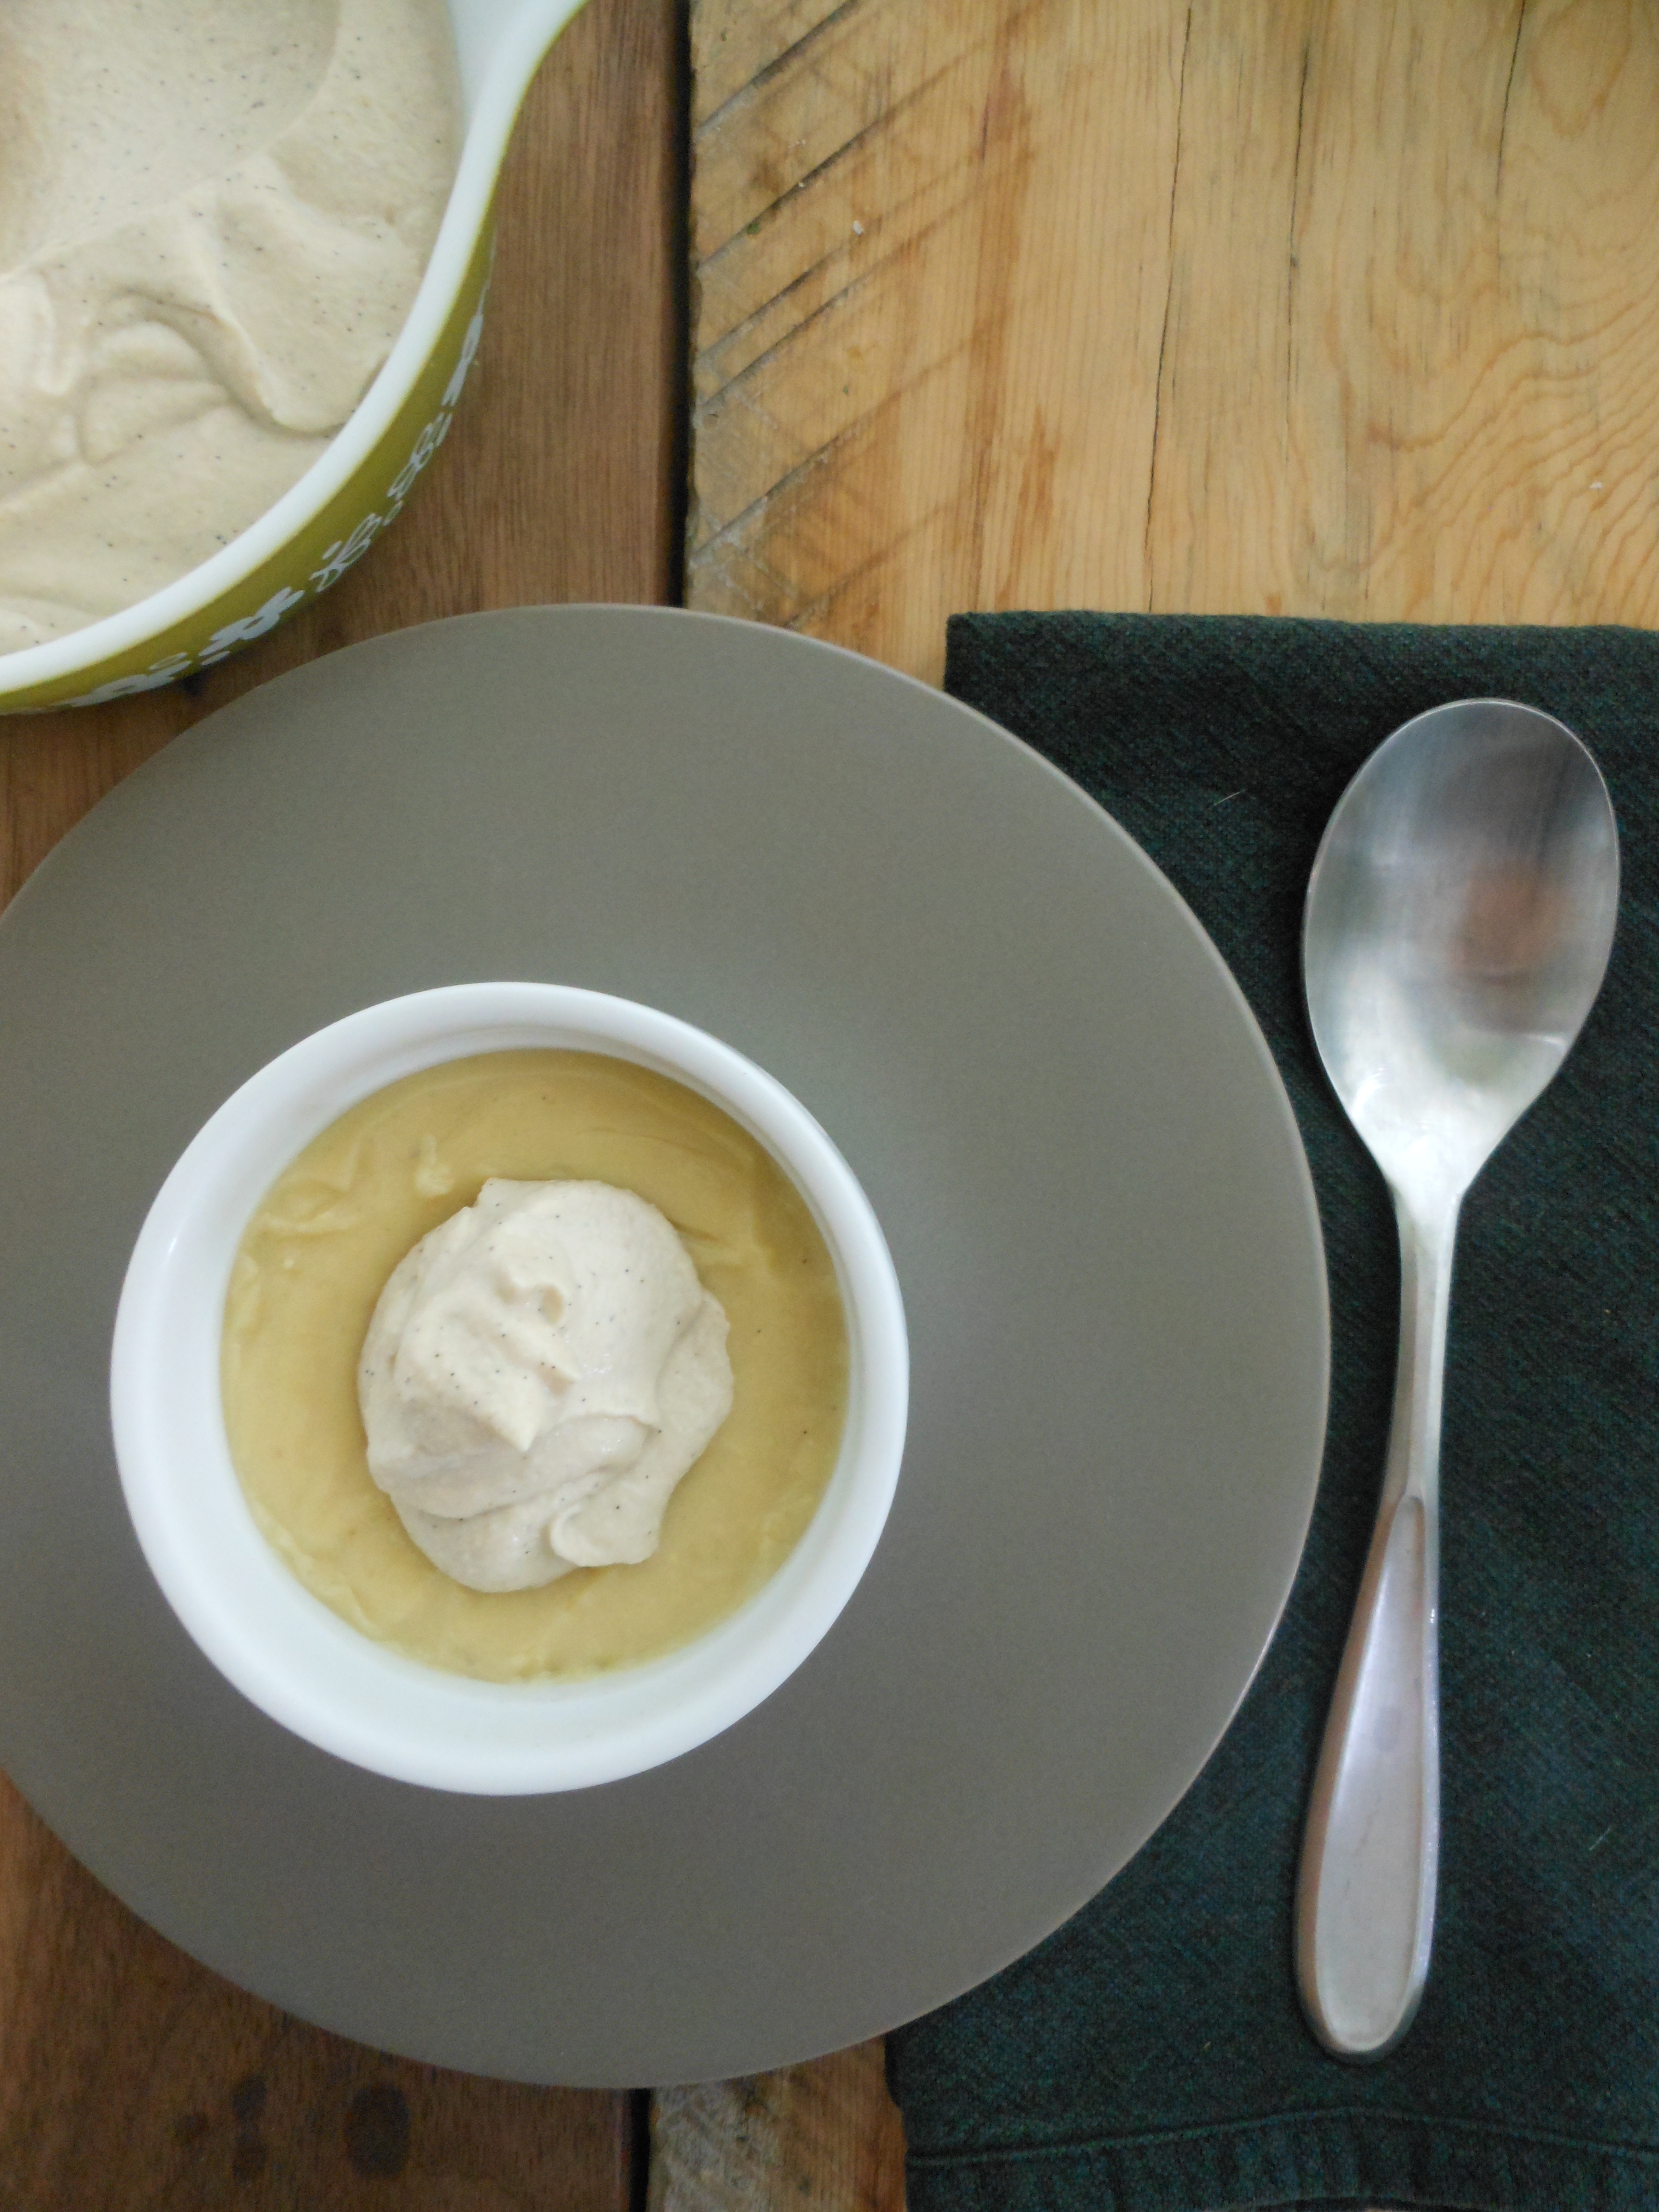
1. Place the soaked, drained and rinsed cashews into your blender or food processor, pulse to break down the nuts. Next add the pinch of salt and inside of scraped vanilla bean, start the motor of whatever machine you are using. While motor is running add the maple syrup and then the water. You want it smooth but not runny. Place in the fridge until chilled. Use this to garnish the Corn Pudding!

DSCN3236Love:

This dessert is gluten-free, dairy free and totally indulgent! Sweet corn is a summer staple during the summer and an it seems that grilled corn was all the rage this year, but I couldn’t pass up this recipe when I was perusing last years fall issue of Edible Wasatch. I thought this was a great recipe to transition from summer to fall, it’s not to sweet and a creative way to extend that sweet summer corn just a bit longer.

DSCN3241

Baked Ratatouille

Tags

, , , , , , , , , , , ,

DSCN3182

Food:

Baked Ratatouille serves 8-10

2-3 zucchini, cut into 1/2 inch chunks (gifted)

4-6 baby red potatoes, cut in quarters (Farmers Market)

6-8 baby japanese eggplant, cut into 1/2 inch chunks (gifted)

a head of garlic, chopped, if cloves are big use about 4-6 (gifted)

4-6 shallots, chopped (gifted)

a couple of chilies, your choice, chopped (I used three Thai chilies from the Farmers Market, chilies are optional)

a medium size container of your favorite cherry tomatoes, cut in half (Kenyon Organics)

2 T. olive oil

2 T. ghee, you can use regular butter or coconut oil

salt and pepper

a couple of sprigs of fresh thyme (my garden)

a couple of sprigs of fresh rosemary (my garden)

parsley, chopped (my garden)

Parmesan cheese, optional (Caputo’s Market)

DSCN3176

Directions:

1. Pre heat the oven to 400 degrees.

2. Place all the chopped veggies in a your favorite baking dish. I used my big yellow one that is really deep, when I made my Gluten-free Strawberry Rhubarb Cobbler it held 15 cups of fruit! So used a big baking dish.

3. Toss the veggies and season with salt and pepper. Next drizzle the olive oil over the veggies and toss again. Lastly, dollop the ghee on top of the veggies and place the thyme and rosemary on top as well.

4. Cover with foil and bake for 45 min. After that 45 minutes remove the foil toss the veggies around and bake for another 45 minutes. I know it is done when the juice from the veggies is almost covering the veggie mixture.

5. Remove from oven and let it cool just a bit and top with chopped fresh parsley and fresh grated Parmesan cheese. EAT!

DSCN3177DSCN3183

This is how we enjoyed our Baked Ratatouille…

DSCN3187The day I made the Baked Ratatouille we had it for dinner with Wild King Salmon, super delish.

DSCN3190 The next morning we had the baked Ratatouille for breakfast with poached Clifford Farm eggs and Crumb Brothers sourdough bread slathered with Amour Spreads heirloom tomato jam. Holy crap this was good!

Love:

This time of year is usually a little bitter-sweet for me, I’m completely exhausted from all of our summer fun but this is when we have the most abundance of fresh food available. Part of me wants to start easing into the laziness of fall but the beautiful summer produce reminds me to enjoy every last morsel it has to offer. So was the case last weekend, we had just got back from our annual camping trip with our friends and I was feeling under the weather but I had just been gifted a huge box of veggies from my friend Dean’s garden. Instead of spending all day in the kitchen I decided to through this dish together and let the oven do the work for me. Voila, the best of both worlds, a little laziness with a side of summer. The bonus is we got to enjoy this dish for a few other meals which comes in handy when you need a little break. Long live summer. ENJOY!

Birthday Plum Peach Tart w/ Lemon Honey Glaze

Tags

, , , , , , , , , ,

DSCN3168

Love:

DSCN3161

Every year around my birthday I pick a day in the kitchen that is totally for me. You are probably thinking “isn’t that everyday?” I wish, most of the time I’m working on recipes for a class, getting our meals prepped for the week, planning for a get together or like this week, getting us ready for our annual friend camping trip to Blue Lake.

Yesterday was that day, what I wanted to eat, what sounded good to me. I follow the Sprouted Kitchen on Instagram and last week she posted a Peach Tart and I thought “that looks so fresh and healthy, note to self- make this!” Lucky for me I was gifted plums this weekend at our Downtown Farmers Market and remembered my note to self, “make the tart!”, so that’s just what I did on my special day in the kitchen. I kept some things the same but added a bit of my own, I love the way it turned out.

My birthday wish to all of you is that you have your own special day in the kitchen to make what ever you want, maybe this tart will be on your list. If you want to see what I made all day follow me on Instagram @cosmohippiechef.

Here’s what I did on my special day last year.

DSCN3159

Food:

Birthday Plum Peach Tart w/Lemon Honey Glaze– serves 8

(politely borrowed and inspired by Sprouted Kitchen)

Crust:

9 pitted dates

1 c. toasted pecans

1 cup almond meal

2 tsp. coconut oil

1 tsp. cinnamon

pinch of salt

1. Mix all the ingredients in the food processor until well mixed and when pressed together between your fingers it sticks, if not add 1 T. water at a time until desired consistency is reached. Press this mixture into the bottom of a 9 inch spring form pan. Place the crust in the fridge while you work on the rest.

DSCN3162Filling:

1 c. cashews, soaked overnight, drained and rinsed

2 T. pure maple syrup

3 T. water

1/4 tsp. orange blossom water-TOTALLY OPTIONAL

1 T. vanilla

pinch salt

1. Place all of the ingredients into the food processor, process until really smooth. Spread this mixture over the crust.

Fruit:

4-5 plums (Farmers Market), sliced

2-3 peaches (Farmers Market), sliced

2. I laid the peaches on the outer ring of the tart and then filled in the rest of the tart with the plums.

Glaze:

2 T. fresh lemon juice

2 T. honey (Farmers Market)

3. Lightly heat the lemon and honey in a small sauce pan until well combined, with a pastry brush distribute the glaze over the tart (you may not use all of it). Place in the fridge for a few hours and then EAT! I served mine with some crunchy candied almonds I had in the pantry (the added crunch is a welcome surprise, a tip from Sprouted Kitchen).

DSCN3166

DSCN3174

Love Muffins- Vegan & Gluten-Free

Tags

, , , , , ,

DSCN3154

Food:

Love Muffins- makes 12

8 oz. buckwheat flour or oat flour (you can use your blender or flour mill to grind your own flour, that is what I do, or find at grocery store. Also, I did use my scale to measure the flour. It’s slightly over a cup.)

1/2 c. local honey (I use Clifford Farms)

1 T. baking powder

1/2 tsp. real salt

1 1/4 c. nut milk (I use homemade)

1/3 c. heaping, favorite nut butter (I used Barney Butter Chunky Almond Butter)

1 T. chia seeds mixed w/ 3 T. water

2 T. coconut oil

1 tsp. vanilla

1/4 c. heaping of your favorite jam (I used Amour Spread Raspberry Jam, this would be a great recipe to use your own canned jam)

DSCN3146DSCN3147Directions:

1. Start by pre heating your oven to 400 degrees. Next line your muffin tin with parchment muffin liners, or if you are like me and ran out of liners oil your muffin pan with coconut oil.

2. In a medium size bowl sift together the flour, baking powder, and salt. Set aside.

3. In a small saucepan heat the coconut oil, nut butter and honey until smooth and mixed well. Do not over heat or let the mixture come to a boil. Take off the heat and add nut milk, vanilla and chia seed mixture. Mix. (I was able to skip this step and just mix everything in a bowl with a whisk because it has been so hot!)

4. Add the wet mixture to the dry mixture and fold all of the ingredients together. Don’t overmix.

5. Using a big spoon, spoon the mixture into the prepared muffin tin, only half way. Next, add a teaspoon of jam to the middle of each muffin. Then spoon more of the batter over the jam, fill to the top.

6. Bake for 22 minutes. Let cool and then devour!

DSCN3149DSCN3150DSCN3151Love:

I call these ‘Love Muffins’ for a few reasons, 1. Who doesn’t love nut butter and jelly? 2. I got to use my favorite local jammer Amour Spreads! 3. I have been working on this recipe for sometime and finally cracked it. These are super easy to throw together, are a crowd pleaser and totally worth turning on the oven for. My husband was so happy when he walked in and saw these fresh out of the oven, he immediately shoved one in his face. (Notice in the pic below that one is missing!)

Amour Spreads and I are getting ready to work on a little project together (stay tuned!) and I wanted to make and share these with them. I hope they like how I used their love to share a little love with all of you.

I think these would be amazing with your own canned jam or jelly, you could attach this recipe to one of your jars of jam and give it as a gift. ENJOY!

DSCN3157

Beans & Greens

Tags

, , , , , , , ,

DSCN3142

Food:

Beans & Greens– serves 6-8

2 c. dry beans (I used Adzuki beans I get at the farmers market, Borski Farms)

1 large cucumber, peeled, seeds remove and diced (farmers market)

1/2 c. parsley, chopped (my garden)

1/4- 1/2 c. cilantro, chopped (farmers market)

1 purple onion, chopped (farmers market)

3 lemons, zest and juice

a couple of garlic cloves, chopped (farmers market, Borski Farms)

lots of greens, kale and swiss chard, chopped (farmers market, Borski Farms)

olive oil

Celtic salt and pepper

DSCN3137

Directions:

For the beans:

1. Place the dry beans in a large bowl and cover with water, soak overnight. Drain, rinse and place beans in a larger pot. Cover with water again, maybe one inch above the beans. Turn stove to high, when the beans come to a boil let them boil for five minutes skimming off the foam. Add a piece of kombu (Kombu is a sea vegetable that adds minerals and helps tenderize the beans and reduces their gas effect!), place the lid on the pot and turn the temperature to medium-low and simmer until done. Check at 45 minutes, and then every 10 minutes till they are tender but not mushy.

2. When done, drain and set aside until ready to use.

DSCN3140

For the greens:

1. In a large bowl, add the lemon juice and lemon zest and six turns of olive oil. Next add the cucumber, onion, and herbs. Toss. Add greens, toss again. Then add the beans, toss one more time and adjust seasoning. EAT!

DSCN3138

A few ways to EAT:

1. Spoon some into your favorite wrap with some good quality cheese, tomatoes and avocado.

2. Pair with your favorite rice, preferably wild or brown rice and season with tamari (soy sauce), sesame oil and a squeeze of lime.

3. Top with a poached egg, drizzle with olive oil and your favorite seasoning.

Love:

There is a saying in Italian that goes “Quanta Basta!”, “a little of this, a little of that!”. Beans & Greens is just that, you can make this dish to suit your taste buds, it is just a blue print, a road map to other meals. I packaged mine all up in lunch containers, topped it with tomatoes, avocado and extra drizzle of olive oil and a slice of lemon. It would also be great left in a big bowl in the fridge and then eaten each night for dinner the ways I have listed above. It is hearty but light and is perfect in this hot weather, whip up a batch and add “Quanta Basta”. Happy Summer y’all.

DSCN3143

Strawberry Rhubarb Cobbler (Gluten-Free)

Tags

, , , , ,

DSCN3115

Food:

Strawberry Rhubarb Cobbler– makes a lot!

Crust-

4 c. oat flour

8 oz.Ā  organic ghee, chilled (if vegan use coconut oil)

2 T. baking powder

2 t. real salt

1/2 c. sucant (or sugar of choice)

2 c. organic buttermilk (if vegan use non dairy milk of course)

cinnamon

Filling- (can be cut in half, but don’t cut the crust ingredients in half)

10 c. organic strawberries, hulled and cut in half

5 c. rhubarb, outer skin peeled and chopped

2 lemons, juice and zest

2 T. cornstarch

1 c. local honey

DSCN3105

DSCN3106

Directions:

1. Pre heat oven to 400 degrees. In a large baking dish (mine is 10x12x3) place the prepared fruit in the baking dish, add the juice and zest of two lemons, cornstarch and the honey. Mix well to combine.

DSCN3109

DSCN3110

2. In a large mixing bowl combine the oat flour, salt, baking powder, sucant and whisk to combine. Next add the cold ghee to the dry ingredients and mix well with your hands (can be done in the food processor as well, make sure not to over mix) until it resembles coarse meal. Next add the buttermilk and fold together.

DSCN3108

DSCN3111

3. Spoon the crust mixture over the prepared fruit in big spoonfuls. Sprinkle the top with cinnamon. Place the baking dish on a parchment lined baking sheet before placing it in the oven. Bake for 45-60 minutes, you want the top to be golden brown and the fruit bubbling.

DSCN3112

Love:

Do you ever get a craving for somethingĀ  and you just have to have it? Well lately this has been happening to me a lot, I know what you are thinking and NO I am not eating for two! But seriously my cravings have been off the charts, insert Strawberry Rhubarb Cobbler. I called the two best bakers I know for help on this one, Gwen Crist the President of Slow Food Utah and my friend and fellow slow foodie Amber Billingsley head pastry chef at Vinto. Originally I was going to make pie but who can bother with crust so Gwen talked me into a cobbler and Amber recently brought a cobbler to our Slow Food Utah book club that almost brought me to tears it was so good! Of course I had to put my own spin on it making it gluten-free, using ghee in place of butter and subbing in my opinion “healthier” sugar. The result was stupendous, the crust was perfect and the honey added a natural sweetness that didn’t over power the fruit. I served it room temp with a dollop of Tahitian vanilla ice cream. This was so fun to make and even more fun to eat, I think my friends at our July 4th get together would concur. Even my picky spoiled husband who doesn’t eat cooked fruit was pleased. If you get a craving for strawberries and rhubarb like me, make this, you won’t be sorry! ENJOY.

Local Trout and Chickpea Salad

Tags

, , , , , , ,

DSCN3085Food:

Local Trout and Chickpea Salad serves 6

1- 1 1/2 lb local Koosharem Trout (Farmers Market)

1 c. dry chickpeas (soaked overnight, drain, cook and drain again= 3 c. cooked, you can use canned if you don’t want to start with dry beans) (Click here and scroll down for a basic bean cooking recipe)

1 c. Yee Haw No Frill Dill Pickles, chopped (local,Farmers Market, Whole Foods)

2 c. celery, chopped (Farmers Market)

1/4-1/2 of a whole purple onion, chopped (Farmers Market)

1/2 c. parsley, chopped (I got to use some from my garden!)

1 T. fresh dill, chopped plus a few sprig for the fish (Farmers Market)

2 lemons, plus 1 more for garnish

1 T. dry lavender (Farmers Market)

2 T. pickle juice

2 T. Dijon mustard (they have a new mustard booth at the Farmers Market but they are only there every other week, I haven’t been able to try them yet.)

1/4 c. olive oil, more for garnish

salt and pepper

Sunbridge Sunflower Sprouts (local, Whole Foods or Good Earth)

Directions:

For the fish-

1. Pre heat the oven to 350 degrees. Line a baking sheet with parchment or foil. Place a cooling rack over the lined baking sheet, place the fish on top of the cooling rack and season with salt and pepper, sprinkle on the lavender (this trick came right from the Koosharem fisherman themselves!) and lay the sprigs of dill over the fish. Last, slice one of the lemons into rounds and lay this over the seasoned fish. Place the fish in the oven, before you close the door, pour some water into the bottom of the baking sheet. This will keep the fish moist while cooking. Cook for 20 minutes or until an instant read thermometer reads 125.

DSCN3069DSCN3071When the fish is cooked pull out of the oven and let is cool while you get the other ingredients ready.

For the salad-

1. In a large mixing bowl whisk the pickle juice, olive oil and Dijon mustard together. Add the juice and zest of the other lemon and whisk again. Season with salt and pepper.

2. Next add the celery, pickles, purple onion, parsley, dill and the chickpeas. Fold all the ingredients together with the dressing until well mixed. Next break up the cooked trout gently and add it to the other ingredients, fold together gently.

DSCN3079DSCN3080DSCN30833. Place the salad in the fridge to let the flavors develop, check for seasoning and add more salt and pepper if necessary. When ready to serve, scoop some of the salad into your favorite bowls or plates, drizzle with olive oil and top with a handful of sunflowers sprouts, garnish with a wedge of lemon. EAT! (Or do what I did and serve this in individual lunch containers and have it for lunch all week!)

DSCN3084Love:

This recipe is for my sweetie (wait, aren’t they all?!), he loves tuna salad but I don’t like buying canned tuna. It would take too long to explain and then you would think I’m crazier than I appear, just trust me fresh is where it is at. So imagine my excitement the first week of the downtown farmer’s market when I saw the Koosharem Steelhead booth! I was first attracted to the booth because I spotted two red heads, I kind of have a thing for red heads, red headed cat, red-headed friends, I digress. Any who, I went over and checked out what they had to offer, they were so friendly and their fish looked beautiful and no trace of fishy smells, this equals fresh. We chatted for a while about their practices, read more about that here, and I bought some with this recipe in mind. I couldn’t be happier with this recipe turned out and it made my sweetie very happy (as usual!), I can’t wait to make it again for our next Red Butte Concert with our friends. The Koosharem boys are located at the north-east corner of the farmers market, and they are only there every other week. Look for them this weekend July 6, but you’ll have to push me out of line to get some! Enjoy!

Peach Honey Coconut Ice Cream

Tags

, , , , , , ,

DSCN3062Love:

Well, I think it is safe to say it is summer! My lack of posting recipes is beacuse I am busy having lots of fun (follow me on intstagram @cosmohippiechef for extra food pics and adventures). Time to break out your ice cream makers and get busy making homemade ice cream, like this Peach Honey Coconut. You are probably thinking peaches? I haven’t seen peaches at the farmers market yet? You are right, I used my canned peaches that I canned last summer. After taking inventory of my canning pantry I realized I need to start using up those goodies I spent all that time last summer preserving. So I started with my canned peaches, this ice cream is creamy and lightly sweetened with local honey. This recipe makes a lot of ice cream so you’ll be stocked up for a while. One of my most important tips is, make sure the liquid mixture is cold before you pour it into the ice cream machine! You are ready to rock and roll, hurry and make a batch of this and then get back to soaking up summer. Enjoy!

Food:

Peach Honey Coconut Ice Cream- makes a lot!

2 c. whole milk (organic)

1 c. canned coconut milk (full fat)

1 quart size canned peaches, liquid drained

3/4 c. honey (local, I use Clifford Family Farms and I get it at the farmers market)

2 eggs, (local, I use Clifford Family Farms and I get it at the farmers market)

juice of one lemon

pinch of salt (I like Real Salt, local or Celtic Gray Salt)

Directions:

1. Using your standing mixer, crack and beat the two eggs until creamy and the color has changed to a lemony pale yellow, about 5 minutes. Turn the mixer down and add the honey slowly, it will stick to the sides so turn the mixer off and scrape down the sides and mix again.

2. Next, with the mixer on low add the whole milk and coconut milk. Add the lemon juice and a healthy pinch of salt.

3. Pour the drained peaches into food processor and pulse them down until they are saucy and no longer have any chunks. Add the pureed peaches to the milk mixture, stir to combine.

4. Place this mixture into the fridge overnight or at least 4 hours, this step is very important. You want your mixture to be very cold when adding it to the ice cream machine. I had to process mine in two batches, I have made the mistake of poring it all in at once and had major spillage!

5. Process according to your manufactures directions. Freeze for a couple of hours and then EAT!

*optional- I toasted unsweetened coconut flakes in a dry saute pan until lightly toasted and fragrant. Sprinkle on top of your ice cream.

DSCN3047DSCN3048DSCN3052DSCN3053DSCN3056DSCN3061

Here are some of my other favorite homemade ice creams:

Homemade Chocolate Ice Cream

Rhubarb Strawberry Buttermilk Ice Cream

Easy Pea-sy Farmers Market Salad w/ Basil Miso Dressing and Rhubarb Granita

Tags

, , , , , , , , , ,

DSCN3036

Food:

Easy Pea-sy Farmers Market Salad w/ Basil Miso Dressing– serves 6

For the salads-

6 c. spinach, 1 c. for each (FM)

1 1/2 avocado’s, 1/4 for each

1 container of Sunbridge pea greens, divided (local, find at Whole Foods or Good Earth)

1 lb. snap peas,Ā  shelled and steamed, 1/4 c. for each (FM)

4 oz. Drake Family Farms goat cheese, divided (FM)

1 1/2 c. crispy garbanzo beans, 1/4 c. for each

1/2 asparagus, trimmed and steamed, divided (FM)

Lemons, salt and pepper

(FM)= Find at Farmers Market

Directions:

1. Divide all the ingredients into 6 glass containers, bowls or Tupperware with lids. (I made these for our lunches this week). Season with a squeeze of lemon and a sprinkle of salt and pepper.

2. Place containers in fridge and they are ready for lunches during the week!

Basil Miso Dressing- enough for 6 salads (2 T. each)

1/4 c. olive oil

1/4 c. apple cider vinegar or Slide Ridge Honey Vinegar (FM)

1/4 c. miso paste (I like chickpea miso)

2 T. water

2 T. Clifford Family Farm honey (FM)

1 T. fresh chives or spring onions,chopped (I used some from my garden)

1/4 c. fresh basil (garden or FM)

Directions:

1. Everything but the onion and the olive oil in the blender or food processor.Blend well, then stream in the olive oil and blend again. Add in onions. Refrigerate, divide into 6 containers to go with the salads. Enjoy!

DSCN3041

Food:

Rhubarb Granita- makes 3 c.

Adapted from Sunset Magazine June 2013

4 c. roughly chopped rhubarb (FM)

1 c. Clifford Family Farm honey

1/2 tsp. Real Salt

DSCN3030

Directions:

1. In a wide pot, cook rhubarb, honey, salt and 2 1/2 c. water over medium heat, stirring often and mashing with a spoon if needed, until rhubarb turns to mush.

2. Pour mixture through a strainer into a bowl and rub with the back of a ladle to push through as mush rhubarb as possible.

DSCN3031DSCN30373. Transfer to a shallow Pyrex dish and freeze until firm, stirring and scraping with a fork every hour if possible, about 4 hours total (stirring the mixture occasionally as it freezes creates large, slow melting ice crystals you want in a granita). Scrape up the granita with fork and spoon into bowls or your favorite vintage glasses. Eat!

Love:

This time of the year I let the Farmers Market dictate the menu at our house. My Easy Pea-sy Farmers Market Salad worked out perfect for our lunches and the Rhubarb Granita was just what the doctor ordered for dessert at the end of these hot days we’ve been having. Every Saturday is an adventure at the market to see what’s new and there is nothing better than having fresh, local seasonal food to play with in the kitchen. Can’t wait to see what will be on the menu next week, until then. Enjoy!

Asparagus Salmon Lemon Pasta w/Greens

Tags

, , , , , , , ,

DSCN3020Food:

Asparagus Salmon Lemon Pasta w/Greens– serves 2 BIG dinner portions, or 4 starter courses

1/2 lb. good quality pasta (find at Caputo’s booth or market)

1/2 lb. Wild Salmon (find at Aquarius booth or market)

1/2 lb. asparagus, trimmed and cut into 1 inch pieces

2 c. early baby greens, chopped (baby arugula, spinach or kale work best)

1/4 c. parsley, chopped

1 T. chives or spring onions, chopped

3 lemons

1/3 c. olive oil (find at Caputo’s booth or market)

2 oz. Drake Family Farms Goat Cheese

Salt (about 1/2 tsp.) and pepper (about 1/2 tsp.)

Directions:

1. Start by pre-heating the oven to 400 degrees, I like to place my salmon on a wire rack over a pie pan, pour water in the bottom of the pie pan (this keeps the salmon moist). Line your pie pan for easy clean up. Season the salmon with your favorite seasoning, I use a cedar plank seasoning I picked up at the Boulder, CO farmers market but look for a new seasoning at our farmers market. Slice 1 lemon and lay it over the salmon, bake for 20 min or until a meat thermometer inserted into the thickest part reads 125 degrees. Remove from oven and let cool with you work on the rest of the dish.

2. Make the dressing- zest and juice the other 2 lemons, add the oil olive oil and season with salt and pepper to taste. Set aside.

3. Next bring a big pot of water to a boil over high heat, when the water comes to a boil salt the water and then add the pasta. Give the pasta a quick stir. Cook the pasta according to the directions. Test your pasta careful not to over cook, 3 mins before your pasta is done add the asparagus to the boiling water with the pasta. Drain both the pasta and the asparagus and then add it back to the pot.

4. Quickly add the chopped greens, chives and parsley (save a little parsley to garnish the top), give a toss, the heat from the pot and the pasta will wilt the greens just a bit. Next add the goat cheese and lemon/olive oil dressing, toss again until well mixed. Divide into bowls and garnish with parsley, EAT!

DSCN2898DSCN2901DSCN2905Love:

This coming Saturday morning is the long-awaited opening of the Downtown Farmers Market! This year marks their 21st year at Pioneer Park and I was asked to share a recipe for the markets newsletter, I chose the following dish because you can find all the ingredients at the farmers market or just right across the street at Caputo’s and Aquarius. This dish is fresh, quick and takes advantage of early season crops such as baby greens, chives and asparagus, also its salmon season so it’s the perfect time to throw these seasonal beauties into a dish! The best part of this recipe is that it can be made vegetarian or vegan depending on your preference.

This is the time of year to get out of bed early on Saturday and show your support for all our local farmers and local food artisans bringing us their fresh, local, love filled food. I know at times the Downtown Farmers Market gets a bad rap due to all the people, strollers, and dogs but I am here to tell you that if you get there early it is easy to get a parking spot, grab some veggies, enjoy a coffee and pastry, and get out by 10:30! I have a love/hate relationship with the market because I would rather be sleeping, but like I tell my husband ‘if all those dedicated people are willing to show up, then so can we!’ If you have ever tried to grow your own food, than you know at times it can be a challenge and a labor of love. This is why I get up, put on a happy face and push my way through the people, strollers and dogs, because my weekly meal plan depends on it and I want to support the hard-working farmers/growers, food artisans that make it out every week come rain or shine. The relationships you gain at your local farmers markets are unlike any other, they bond you to your neighbor, community and most important the hard-working folks who make it possible for us to eat the freshest, seasonal local food around. Enjoy!

P.S. I want to give a shout out to the peeps behind the scenes that make these markets happen. Over the last couple of years I have gotten to know these local loving fools, I thought I was a dedicated lover of all things local, but these folks take the cake. Bravo, and I’m sure this year will be just as rad as the last 20. Let’s do this!