• About
  • Nutrition Services
  • Upcoming Classes

Cosmo Hippie Chef

~ Local Seasonal Food, Nutrition, Love

Cosmo Hippie Chef

Category Archives: beans

Soaking Matters

10 Tuesday Apr 2012

Posted by cosmohippiechef in beans

≈ Leave a comment

Tags

beans, grains, nuts, seeds

Every week in you’ll find glass bowls scattered around my kitchen full of beans, nuts, grain, etc, soaking in water. Why you ask?

In a ‘nut shell’ what we are essentially doing is mimicking nature. Nature acts to protect these little morsels of goodness until proper conditions are present, when it rains these beans, nuts, seeds and grains get wet, their skins soften and the sprouting process begins, they germinate and produce plants. Thus creating a living food.

Soaking beans promotes the elimination of phytic acid which gets in the way of mineral absorption. Not only does soaking beans promote faster cooking time, it also helps improve digestibility because the gas-causing enzymes are released into the water. I like to soak my beans for a minimum of 8 hours to a maximum of 48 hours (if soaking longer change the water daily). Beans are a great source of vegetable protein and after soaking and cooking an easily digestible plant food.

Grains are strengthening, grounding and rich in vitamins, minerals, fiber and protein, little power houses if you ask me, but they two contain phytic acid. Phytic acid interferes with the absorption of zinc, calcium, iron and other essential minerals. Lucky for us phytic acid is water-soluble. So be sure and soak your grains for a minimum of 1 hour and probably no longer than 12 hours.

Remember Sleeping Beauty and the Prince? And how Sleeping Beauty needs to be kissed by the Prince to come alive again? That what happens when we soak nuts and seeds, they become alive. Did you also know that you can grow you own sprouts from broccoli seeds or alfalfa seeds? Sprouts are extremely nutritious, alkalizing and a fun science project in your very own kitchen, turning these dormit edibles into sprouts are easy. Check out this website on how to grow your own sprouts…Enjoy!  http://www.seriouseats.com/2011/04/how-to-grow-bean-sprouts-in-a-jar.html

What’s Cookin’

26 Sunday Feb 2012

Posted by cosmohippiechef in beans, breakfast, DIY, quinoa, salad, seasonal, Side dish, vegan

≈ 5 Comments

Tags

cheese, gluten free, kale, lentils, local, nuts, oats, quinoa, salad, seasonal, soup, vegan

Love:

You know what I love about blogging? Other blogs! Do you ever wish you could live in someone elses kitchen? Well, I do. That’s what I get from other blogs, they do the work and I look fabulous. My hope is that I do that for all of you.

So have fun seeing what I have been busy in the kitchen whipping up, and thanks for the other blogs I follow for inspiring me to get in the kitchen keep cookin’.

Food:

Lentil Meatballs

 I found this fun recipe on Pinterest, which lead me to this great new blog Sprouted Kitchen. These Lentil Meatballs were easy to whip up, and there was also a recipe for a Lemon Pesto to go with them (I switched parsley for basil and walnuts for pine nuts). Billy loved these. They were what was for lunch last week.

Quinoa Spinach Bake

 I thought I had a pic of the finished project, sorry. I found this great recipe on Whole Living. I love all things quinoa, it is so versatile. I thought this Quinoa Spinach Bake would be great with the Lentil Meatballs and I was right. I chopped up some fresh spinach, tossed in the Lentil Meatballs, topped it with the Quinoa Bake and finished it off with the Lemon Pesto. Voila! Lunch was fantastic.

Banana Walnut Pancakes (I call them love pancakes)

 Raw Slaw w/Tahani Dressing

Homemade Goat Milk Ricotta

Raw Cashew Dreamcake

All four of these recipes came from the same blog, My New Roots! I know, I know a little obsessed, but I don’t care. The creator of this blog is into Holistic eating, living, being, cooking just like me! I have to say that I hope my food is as awesome to y’all as hers is to me.

The Pancakes are vegan, gluten-free and are made with walnut flour. We have made them two weeks in row-yum! New favorite.

The Raw Slaw is great for this time of year, all the ingredients are seasonal (bonus). We had it last Monday for Soup and Salad Night. I strive to have a balance between raw and cooked foods in my diet and this salad is perfect for that. Not to mention that it is fabulous to look at!

Homemade Goat Milk Ricotta was too easy to make and went perfect with my Roasted Bell Pepper Tempanade for Oscar night on the couch. This recipe will definitely make another appearance in my kitchen, so good. I made my own cheese!!! Bonus: I got to use local Drake Family Farms Goat Milk.

Raw Cashew Dreamcake, you had me at hello. A raw dessert that taste like cheesecake? Sorry people this one is a no brainer, and the bonus is that I got to use honey from my buddy Dean’s bees and local raspberries that I had in the freezer.

Thanks for the blog love. Enjoy!

Taco Soup- Cosmo Hippie Style

08 Wednesday Feb 2012

Posted by cosmohippiechef in beans, soup

≈ 2 Comments

Tags

beans, cheese, mexican, soup, tomatoes

Food:

Taco Soup- Cosmo Hippie Style

1 lb. grass-fed beef (I used Canyon Meadow Ranch available at Tony Caputo’s on 15th&15)

1 15oz can black beans, drained and rinsed (look for BPA free cans)

1 15oz can kidney beans, drained and rinsed (look for BPA free cans)

1 15oz can aduki beans, drained and rinsed (look for BPA free cans) * I usually cook my own beans but when in a pinch I let the store help me out. I used Eden canned goods.

1 8oz can tomato sauce (again, BPA free can)

1 jar home canned tomatoes w/their juice (if you don’t have this, use a large can of your favorite tomatoes)

1 4oz can diced green chilies

1 large onion, chopped

4 cloves garlic, chopped

2 T. mexican spice mixture (recipe to follow)

1 package dry Ranch Seasoning (I got this tip from my cute friend Trish)

2c. water

Mexican Spice Mixture:

6 tsp. cumin

3 tsp. chile powder

1 tsp. chipotle powder (I used cayenne pepper)

2 tsp. salt

1 tsp. pepper

1 tsp. oregano

2 tsp. garlic powder

-mix these all together and keep in an airtight jar to use for your recipes, I got this recipe from Vogue Vegetarian.

Directions:

1. Place a large saute pan over medium heat drizzle in 2 tsp. canola oil. When its hot add the onions and garlic, start to saute. Season with salt and pepper. After about 5 minutes add the grass-fed beef. I use a potato masher to break the meat up. Continue to saute until the meat is almost cooked through.

2. While the meat mixture is sautéing place the rinsed and drained beans, tomato sauce, jarred tomatoes, 1c water and chilies in your crock pot or a big soup pot-set aside.

3. Next add the spice mixture and dry ranch packet to the meat mixture, stir to combine. When this has cooked for about 2-3 minutes add 1c. water and let the mixture simmer until the water has evaporated. (This will concentrate the flavors and will be amazing.) When the water is gone, turn off the heat and add the meat mixture to the bean mixture. Stir to combine all the ingredients.

4. Turn your crock pot on low and let the it go for a few hours. If using a soup pot turn to low and let simmer away until ready to eat. Taco Soup is like chili, it gets better with time!

Toppings-

Sliced avocado

Sour Cream or yogurt, shredded cheese

Hot Sauce

Quinoa Cornbread (we crumbled this on top and it was FABULOUS!)

Nutrition:

Grass-fed beef- Is lower in total fat, 3x omega-3 (diet high in omega-3 reduce Alzheimer’s, Arthritis, ADD, Cancer, Depression), 3x conjugated linoleic acid (anti-cancer agent, reduces risk of diabetes), 4x vitamin E (reduces risk of cancer, heart disease, anti-aging properties), 2x vitamin A (important for vision and bone growth, maintains integrity of skin, regulates immune function). COWS EAT GRASS NOT CORN!

Beans- Check out this earlier post Benefits of Beans

Love:

Everyone grew up with a version of this classic. I used to make it for Bill-y all the time in the beginning of our relationship, but I got burned out on it and the fact that we don’t eat a lot of meat at our house, this recipe hasn’t been made for quite some time. Well, I wanted to make Bill-y something yummy for Super Bowl so VOILA! I took some old ideas and mixed them with some new ideas and the result was probably the best Taco Soup I have ever made. We have had it for two dinners already and still have leftovers, I was thinking about using the leftovers on a baked potato YUMMY! Enjoy!

Roasted Garlic White Bean Dip

04 Saturday Feb 2012

Posted by cosmohippiechef in appetizer, beans, dips, Snack

≈ Leave a comment

Tags

beans, garlic, gluten free, vegan

Food:

Roasted Garlic White Bean Dip

2 c. cooked navy beans

2 heads of roasted garlic (To roast: Cut just very top of a whole garlic clove to expose the raw garlic, drizzle with a little olive oil and a sprinkling of salt. Wrap the bulbs in tin foil and roast 45 min @375 degrees. When the garlic has cooled squeeze out the roasted cloves and store in an airtight container in the fridge until ready to use.)

1/2c. olive oil

1/2c. fresh parsley leaves

1 organic lemon, zested and juiced

salt and pepper to taste

Directions:

1. Place the beans, garlic, lemon zest and juice, parsley and salt and pepper in the food processor. Pulse until blended.

2. Drizzle in the olive oil. Stop, scrape down sides and blend again until smooth. Taste for salt and pepper and adjust if needed.

3. Refrigerate for a least an hour before serving. Serve with raw veggies.

Nutrition:

Beans:– Legumes, Beans – Basic Cooking Instructions* 1 c. dried beans of choice (yields 2 1/4c. cooked beans) water Thumb-size piece kombu (Sea vegetable that is used to infuse foods with highly alkalizing minerals, iodine and iron. Also known for its ability to tenderize legumes and reduce their gaseous properties.) Pinch of salt

1. Sort through dry legumes and remove any dirt chunks and pebbles. 2. Place legumes in pot with 3 c. water and soak overnight. 3. Drain, rinse, and return to pot with 3 c. fresh water. 4. Cover pot, bring to boil, skim off foam and reduce heat and simmer. Add kombu and salt. 5. Cover and cook until beans are tender (anywhere from 50 min- just over an hour). Test by removing a bean and squeeze between fingers. 6. Drain remaining liquid and store cooked legumes in an airtight container in the refrigerator or freezer.

* Canned beans are just fine when you are in a pinch, but making your own is so easy and better for you, and essential for an eating for health lifestyle. Check out this past post about the benefits of beans.

Parsley: High concentration of antioxidants, a blood builder and purifier. It makes a wonderful tea and helps to release retained water from the body.

Garlic: Lowers blood pressure and blood cholesterol, discourages dangerous blood clotting. A good cold medication, it acts as a decongestant, expectorant and anti-inflammatory agent. Boosts immune responses.

Love:

I love beans, they are a huge of my diet and I am always looking for ways to work them into my daily menu. I accidentally bought navy beans when I thought I was buying great northern white beans. Oh well! Find something to do with them!- that’s how this recipe came to be. This dip is so easy, super big on flavor and goes great with carrot sticks. I served it as an afternoon snack with our lunches this week but I would totally take this dip to a party. Enjoy!

Check out this other great dip- Parmesan, Arugula Cottage Cheese Dip

Chana Masala

23 Monday Jan 2012

Posted by cosmohippiechef in beans, vegan

≈ Leave a comment

Tags

beans, gluten free, spinach, tomatoes, vegan

The aroma from these modest seasoning will fill up your whole house with food love.

Food:

Chana Masala- Makes 4-6 servings

1/c. olive oil (you could use canola oil or I think coconut oil would be amazing)

1 medium onion, chopped

2 garlic cloves, chopped

1 tsp. cumin seeds (I didn’t have cumin seeds so I just used ground cumin)

1/2 tsp. ground coriander

1/4 tsp. ground ginger

1 tsp. garam masala, plus more for serving (I found this spice in the bulk section of my grocery store, they carry spices in bulk-AWESOME)

3 green cardamom pods, lightly crushed under the side of your knife

1 tsp. salt, or to taste

1 28oz. can whole peeled tomatoes (I used 2 jars of my canned tomatoes)

1 T. cilantro, chopped, plus more for serving

pinch of red pepper flakes, more to taste

2 15oz cans of chickpeas, drained and rinsed

1/3-1/2 c. plain yogurt (I used greek yogurt, if vegan omit yogurt)

water

a few lemon wedges, for serving

*I added a container of fresh spinach just before serving. Turn the heat off before adding the spinach and the let the heat from the mixture wilt the spinach.

* I served the Chana Masala over Millet, Millet is a gluten-free grain that you can find in the bulk section of the grocery store. It has a 2-1 cooking ratio, I like to toast my millet in a dry saute pan over medium heat until just starting to brown. Add the water and a pinch of salt, place the lid on the pan and turn the heat to low- cook for 20-25 minutes and fluff with a fork.

Directions-

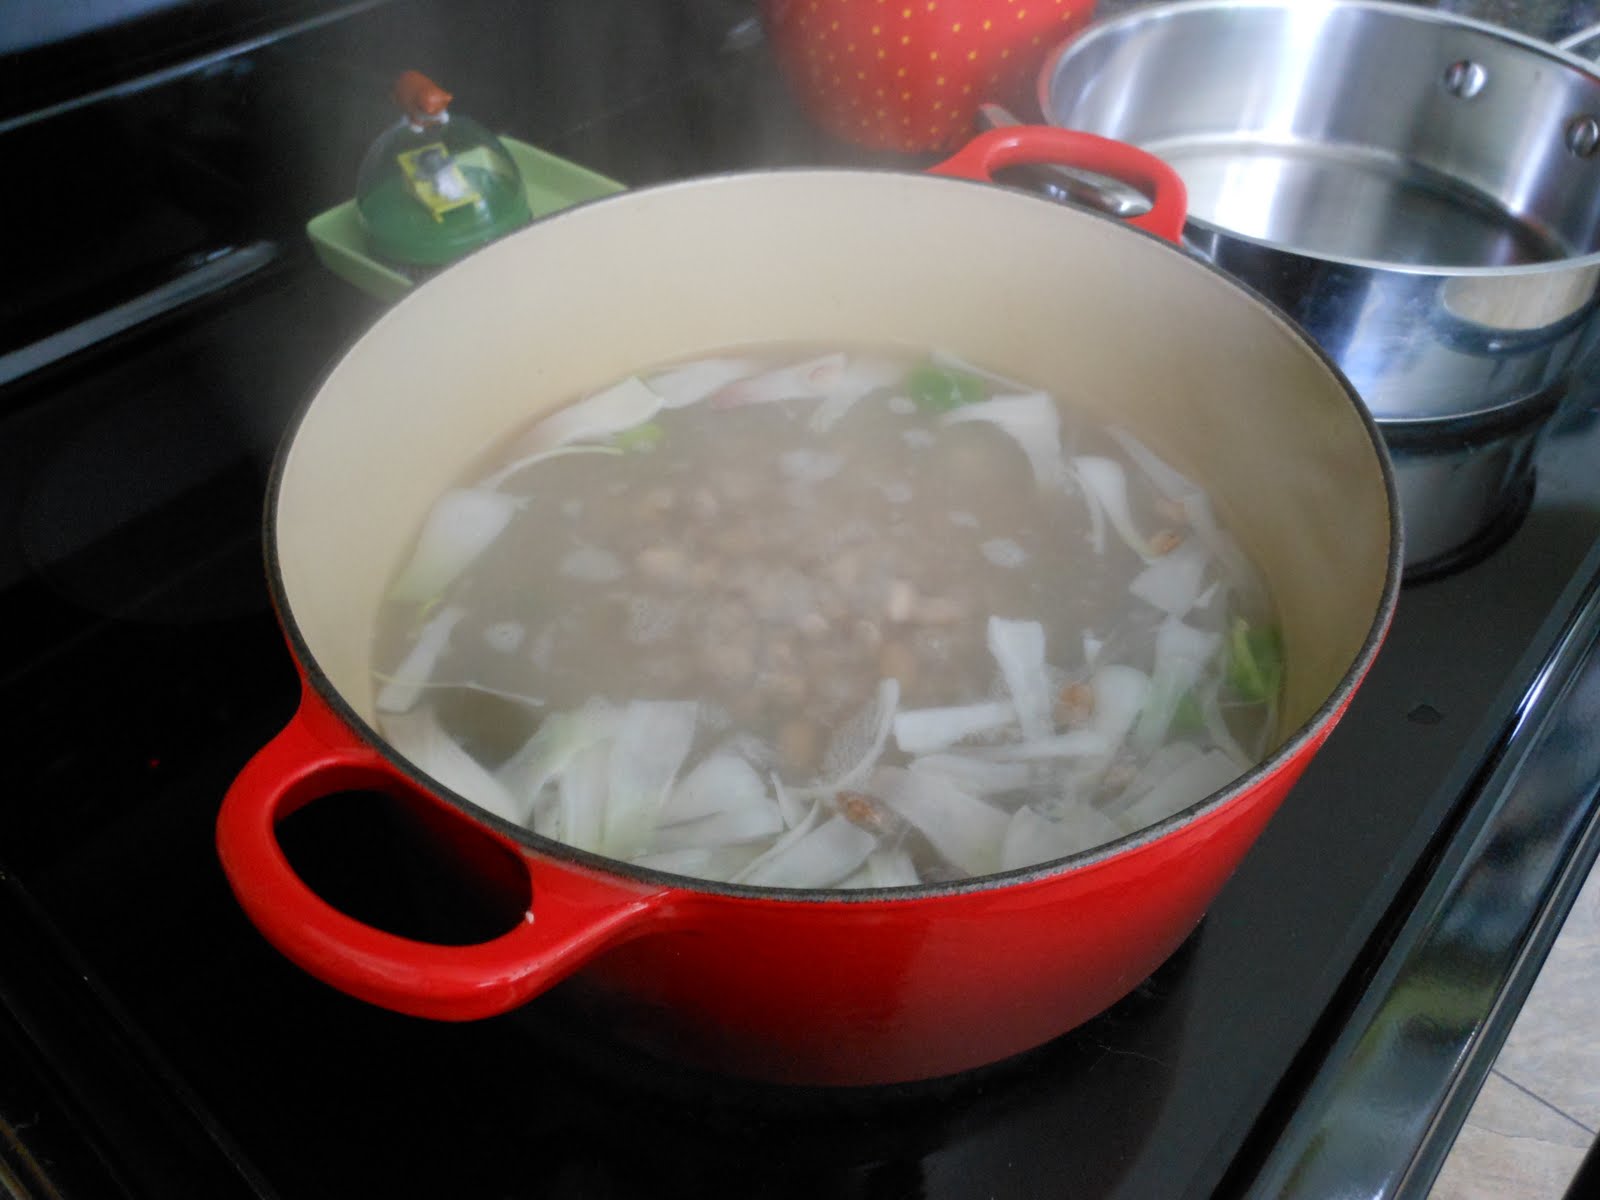
1. Pour the olive oil into a dutch oven or large pot and turn the heat to medium. Add the onion and cook stirring occasionally until deeply caramelized. It’s okay if they get a little charred in spots, be patient! The more color the more full-flavored the dish will be.

2. Reduce the heat to low. Add the garlic, cumin seeds, coriander, ginger, garam masala, cardamom pods and salt. Cook stirring constantly until fragrant and toasty, about 30 seconds. Add 1/4c. water and stir to scrape any brown bits off the bottom of the pan. Cook until the water as evaporated completely. Pour in the juice from the tomatoes, use your hand to break up the tomatoes before adding them to the pot.

3. Raise the heat to medium and bring mixture to a boil. Adjust the heat to maintain a simmer, add the cilantro and cayenne and continue to cook gently, stirring occasionally until the mixture reduces and starts to thicken, about 5 minutes. Add the chickpeas stirring well and cook for 5 minutes. Add 2 T. water and cook another 5 minutes, add another 2 T. water and cook until absorbed, a few minutes more. This process helps concentrate the flavors as well as it makes the chickpeas more tender and toothsome. Taste and adjust seasonings as needed.

4. Stir in yogurt if using and fresh spinach if using. Serve over rice or grain of your choice and garnish w/chopped cilantro, slice of lemon and a pinch or two of garam masala.

Nutrition:

Chickpeas- Chickpeas are a good source of protein and fiber. They can help lower cholesterol and improve blood sugar levels, making them a great food for diabetics and insulin-resistant individuals. Serving them with high quality grains (like Millet), garbanzo beans are extremely low-fat, complete protein food.

Spinach- Spinach is an EXCELLENT source of vitamin K, carotenes, vitamin C and folic acid. Historically it was regarded as a plant with remarkable ability to restore energy, increase vitality and improve the quality of the blood. Spinach contains twice as much iron as most other greens, it is also one of the most alkaline-producing foods- making it useful in helping regulate body PH. Spinach, like other chlorophyll (green) and carotene containing veggies is a strong protector against cancer.

Millet- Millet is generally superior to wheat, corn, and rice in terms of its protein content. Millet is also a good source of minerals phosphorous and magnesium as well as B vitamins such as thiamine, riboflavin, niacin and B6. It is a gluten-free grain and like other grains is a good source of fiber and offers protection against heart disease, diabetes and cancer.

(Courtesy of ‘The Encyclopedia of Healing Foods’)

Love:

I found this recipe in a book that we read for Slow Food Book Club called ‘A Homemade Life’ by Molly Wizenberg. I read that book in two days this fall on a little getaway that Bill-y and I took to Sundance after a sad loss we had just went through. This book was a perfect escape, and I knew the second that I read the recipe for Chana Masala that we I had to make it! In the book it says that this dish is better after a few days, so I made it last Monday and we had it for Wednesday nights dinner, then again for lunch on Sunday and the rest will be eaten for tonight’s dinner. It’s delish, a great vegan/vegetarian meal and a perfect winter dish to warm you up. Enjoy!

Azuki/Aduki Beans with Kabocha Squash

15 Sunday Jan 2012

Posted by cosmohippiechef in beans, vegan

≈ Leave a comment

Tags

beans, gluten free, mexican, squash, vegan


Azuki/Aduki Beans with Kabocha Squash

 Food:

Azuki/Aduki Beans with Kabocha Squash – Makes 8, 1/2c.-3/4c. servings (I make this for mine and Bill-y’s lunches Mon-Thurs)

4-6 inch piece of kombu*

1 1/2c. dried azuki beans (they are sometimes labeled aduki)

2c. heaping of kabocha squash, cut into chunks (peel if not organic, I have found this type of squash at the farmers market, asian market and my health food grocery stores. If you can find this type of squash use butternut squash.)

1 Fresno chile, chopped (not in the recipe but I love Fresno chiles they have a sweet heat)

2-4 cloves garlic, chopped (also not in the recipe but I love garlic)

1/4-1/2 piece of yellow or purple onion, chopped (also not in the recipe but who doesn’t love onion?)

1/4c. Bragg’s liquid amino’s (this is a great product, you can find it at most stores. You can use soy sauce but I would HIGHLY suggest you get Bragg’s liquid amino’s.)

chopped parsley or cilantro for garnish

These humble ingrediants make one 'heck' of a dish!

Getting started! You won't believe that such a simple dish can be this good.

Directions:

1. Combine the kombu and the beans in a bowl and cover with water by an inch or two. Soak overnight. The next day, drain the kombu and the beans and discard the soaking water. Slice the kombu into 1 inch pieces and place them into a heavy pot with a heavy lid, preferably enameled cast iron. Add the beans and enough fresh water to just cover the beans. Bring to a boil.

2. As the beans boil, strain off any foam that rises to the top. Let the beans boil, uncovered, for 5 minutes, as this allows the gasses to release. Cover the pot, reduce the heat to low and simmer for 40 minutes. Check the beans every 10 minutes, and add water if the water level dips below the bean level. After 40 minutes add the Fresno chile, onion and kabocha squash, add more water just up to the level of the squash. Place the lid back on the pot and cook another twenty minutes, check to see if the beans are tender. After 20 minutes add the Bragg’s liquid amino’s and the garlic and cook for another 10-15 minutes. Ready! Serve hot right away or ladle into lunch containers.

Toppings: chopped avocado, scallions, parsley, cilantro and DIY Tofu Sour Cream (recipe on the blog) optional 1 tsp miso, stirred in just before eating

Nutrition:

Kabocha- Kabocha squash is a Japanese variety of squash, it is low card and an excellent source of bete carotene which is a very powerful antioxidant and anti-infamnatory. It is also a good source of iron, vitamin C and some B vitamins. Beta carotene can be converted into Vitamin A in the body Vitamin A is important for healthy white blood cells which equals good immunity, it also keeps skin and hair healthy.

Azuki/Aduki Beans– These beans are easy to digest and known to benefit the kidneys and detoxify the body. Pair well with sweet winter squash and root vegetables. (Courtesy of ‘Clean Food’ by Terry Walters) (A staple in my pantry)

*Kombu– A small piece added to grains, soups, sauces and legumes during cooking is an easy way to infuse foods with highly alkalinizing minerals, iron and iodine. Also known for its ability to tenderize legumes and reduce their gaseous properties. (Courtesy of ‘Clean Food’ by Terry Walters) (A staple in my pantry)

Bragg’s Liquid Aminos: Condiment that taste likes soy sauce with a hint of maple. Provides essential building blocks of complete protein. (Courtesy of ‘Clean Food’ by Terry Walters) (A staple in my pantry)

Love:

What can I say, this recipe is a major heavy hitter in the nutrition department. I have made this for the past two weeks for lunch. It is very nourishing, filling and taste amazing. This recipe might not be for everyone but we love it! The recipe came from the cookbook ‘The Kind Diet’ by Alicia Silverstone, I added a few things but the skeleton is hers.

Mexican Made Easy – Enchilada Sauce

27 Monday Jun 2011

Posted by cosmohippiechef in beans

≈ Leave a comment

Tags

beans, mexican

It’s important for me to push my limits in the kitchen. Last year that was making my own beans instead buying canned ones, and not to toot my own horn but I LOVE my Homemade Pinto Beans (recipe is on the blog). For this batch of beans I also attempted to make my own enchilada sauce to drench our burritos in, it turned out delicious. I think it was do to the leftover juice from my Perfect Roast Chicken.

 The beans boiling away w/ onion (from the farmer’s market), fresh garlic (from the farmer’s market), a little jalapeno and a piece of kombu.
 Yummy enchilada sauce: Saute garlic and onions in olive oil, season with salt and pepper, then maybe 2tsp. each of cumin and chili powder, next a add a heaping tablespoon of flour and stir around for about a minute. Next pour in about 1 c. chicken stock (you could use veggie stock as well) and scrape off any bits of the bottom, when it starts to thicken add a large can of tomatoes, pureed (I used my last jar of canned tomatoes, pureed). Stir everything together and simmer for a bit.
The finished dish! We used Rico’s Whole Wheat Tortilla’s, filled with Homemade Pinto Beans (recipe on the blog) and Beehive Promontory Cheese, topped w/ homemade enchilada sauce, smashed avocado and DIY Tofu Sour Cream (recipe on the blog), w/ a side of fresh greens (from the farmer’s market) and a Wyomatoes tomato. YUM-MY!

Lentil Salad- It’s What’s For Lunch

15 Wednesday Jun 2011

Posted by cosmohippiechef in beans, salad

≈ Leave a comment

Tags

beans, vegan, vegetables

I needed something fast to make for lunches this week. This Lentil Salad fit the bill, it’s fresh, fast and taste like summer. Feel free to use any vegetables that you like, you can also swap out the herbs if you prefer to use different ones. Enjoy!

-Lentil Salad-

For the lentils:
2 c. lentils soaked in water overnight

1. Drain and rinse the lentils, place in a large pot and add 3 c. of water for every cup of lentils. (6c. total).
2. Bring to a boil, add a pinch of salt (and a piece of Kombu-optional), skim the foam of the top of the lentils. Place a lid on the pot turn down the heat to medium or medium low and simmer for 30 minutes.
3. After 30 minutes take lid of pot and pull out a few of the lentils and smash between your fingers, if they mash easily they are ready. If not cook a little longer.
4. Drain the lentils into a colander in the sink, and gently rinse the lentils under cold water. Set aside while you chop the rest of the ingredients.

Mix ins-

2 sweet potatoes, peeled and diced- use raw
1/2 c. – 3/4 c. diced celery
1 large cucumber, peeled and diced
2 garlic cloves, minced
1/2 onion, chopped
1/4 c. olive oil
1/4 c. apple cider vinegar
fresh parsley, as much as you like
fresh basil, same as above
fresh mint
salt and pepper

1. Scoop the lentils from the colander to a big bowl, add all the mix-ins and toss lightly. Mix well. Taste for salt and pepper- add more if needed.
2. Divide into containers for lunches.

Dressing- I put this in it’s own container on the side for each serving

2 tsp. olive oil
2 tsp. apple cider vinegar
2 tsp. favorite dressing of choice (I used leftover House Dressing from Tony Caputo’s)

White Bean and Sage Pita Burgers- Cooking Light, June 2011

10 Friday Jun 2011

Posted by cosmohippiechef in beans

≈ Leave a comment

Tags

beans, oats

Sometimes I’m at a loss for ideas on what to make for meals, so occasionally I have to pick up one of my favorite magazines like Cooking Light for divine intervention. I saw these veggies sandwiches and thought they would be right up mine and Billy’s alley, let me just say they were a hit. Enjoy!

 I used my biscuit cutter to help me mold the patties, this mixture is very sticky and soft.
 I had to also enlist my 1/4 c. measure and spatula to get the job done. A little harder than I was anticipating, but the final product was worth the work.
 MMM… the yummy yogurt sauce, local goat yogurt and local goat feta.
 Fresh herbs from my garden that I used in the sauce, mint, green and purple basil and a little rosemary.
 No caption needed for these last two photos, my hope is that they speak for themselves.
– White Bean and Sage Pita Burgers-
Olive Oil
1/2 c. chopped onion
2 garlic cloves
1/3 c. raw rolled oats
1/3 c. sliced almonds, toasted
2 T. cornstarch
1 1/2 t. fresh chopped sage (I used more)
2 t. Dijon mustard
1/2 t. salt
1/4 t. freshly ground pepper
2 (15oz) cans cannelini beans, drained and rinsed
1 large egg, lightly beaten
1/2 c. reduced-fat sour cream (I used Drake Family Goat yogurt)
2 T. grated fresh onion (I also used some scallions I had hanging around)
2 T. crumbled feta (I use local feta, crumbled it myself)
Pita
Mixed Greens
Tomato (I also sliced more onion, and cucumber and olives would be great on this-next time!)
1. Heat oil in a nonstick pan over medium heat, when ready add onion and garlic to the pan. Cook for just a few minutes until the onion begins to soften. Place mixture in the food processor. Add oats and next 8 ingredients (through egg) process until smooth.
2. Wipe pan with a paper towel. Return pan to medium heat, add oil to pan and swirl to coat. Working with one portion at a time, spoon bean mixture into 1/2 c. dry measuring cup and carefully remove bean mixture with a rubber spatula onto pan. Bean mixture is very soft and sticky, use the spatula to shape mixture into 3/4 inch thick round patty. (As you can see from my photo’s I formed all the patties out before hand and I put them in the fridge to set up for a few hours. I just happened to make mine early in the day so they would be ready when I got home late last night.) Cook 8 minutes or until golden turning after 4 minutes. Repeat until all the patties are cooked. (My mix made 8 patties)
3. Combine sour cream (or yogurt), grated onion, and feta in a bowl, (fresh herbs if you have them). Season with salt and pepper to taste.
4. Using the sauce, pita, greens, tomatoes, (cucumber and olives if you have them) build your sandwiches.

Hummus # 2

16 Saturday Apr 2011

Posted by cosmohippiechef in appetizer, beans, Snack

≈ Leave a comment

Tags

beans, nuts, vegan

The last time I posted a Hummus recipe was June 20, 2009 it is one of the first recipes I blogged and this is just a hybrid of that original. Billy is the snack king, he is always looking for something to snack on so if I have veggies and hummus in the fridge he’s happy, I’m happy, we’re all happy. This is a great healthy snack to have around for dipping or a great topping for a veggie hummus sandwich. Enjoy!
-Hummus #2-
15oz can garbanzo beans (drained, and rinsed- *optional: after you drain and rinse cover with fresh water and a piece of kombu and soak for 24 hours, save 1/4 c. soaking water for the hummus)
1/4 c. tahaini paste
1/4 c. olive oil
1 lemon, zest and juiced
3 garlic cloves, chopped
1/2 small purlpe onion, chopped
1/2 tsp. garlic salt
1/2 tsp. celtic salt
1/8 tsp. cayenne pepper
1/2 c. sliced almonds or chopped walnuts
1. In a food processor pulse the garlic and onion just a bit to chop into smaller pieces.
2. Next add the beans, tahaini, lemon zest and juice, salt and garlic salt, cayenne pepper. Pulse to combine, add soaking water, or regular water and mix again.
3. Scrape down sides and with the motor running drizzle in olive oil.
4. Add the almonds or walnuts and pulse lightly to combine.
*Beans and nuts make a complete protein, and nuts and seeds make a complete protein. This is why I wanted to revise this recipe and add the nuts.
*Kombu helps tenderize beans and adds minerals.
← Older posts
Newer posts →

Like me on Facebook

Like me on Facebook
Follow Me on Pinterest

Recent Posts

  • Leftover Local Turkey, Apple, Potato and Smoked Gouda Salad w/Cranberry Mustard Vinaigrette
  • Spiced Apple Zucchini Muffins (Cupcakes) w/Chai Buttercream Frosting
  • Oat Free Granola- Seasonal Fruit and Local Goat Yogurt Breakfast Parfaits
  • Cherry, Quinoa, Goat Cheese Salad w/Honey Wine Shallot Mustard Vinaigrette
  • Rhubarb Ginger- Mint Lime Shrub

Archives

Categories

Tags

almond meal apples arugula asparagus bananas beans beets bok choy bread broccoli brown rice brussels sprouts cauliflower cheese chicken chilies chocolate cilantro coconut coconut milk corn dates eggs Farro fish fruit garlic ginger gluten free goat cheese goat yogurt green onions greens herbal honey hummus juicing kale lemon lentils liquor local mexican mint miso nuts oats onions parsley pasta peaches peanut butter peas potatoes pumpkin quinoa radishes raw rhubarb salad seasonal seeds soup spinach squash strawberries tart dried cherries tofu tomatoes turmeric vanilla vegan vegetables walnuts zucchini

Enter your email address to follow this blog and receive notifications of new posts by email.

Join 126 other subscribers

RSS Cosmo Hippie Chef

  • Leftover Local Turkey, Apple, Potato and Smoked Gouda Salad w/Cranberry Mustard Vinaigrette
  • Spiced Apple Zucchini Muffins (Cupcakes) w/Chai Buttercream Frosting
  • Oat Free Granola- Seasonal Fruit and Local Goat Yogurt Breakfast Parfaits
  • Cherry, Quinoa, Goat Cheese Salad w/Honey Wine Shallot Mustard Vinaigrette
  • Rhubarb Ginger- Mint Lime Shrub
  • Honey Sriracha
  • Gluten-Free Coconut Cornbread Trifles w/ Fresh Starwberries, Lemon Curd and Coconut Whip Cream
  • White Girl Kimchi
  • Farmers Market Egg Sandwich- It’s What’s for Lunch
  • Ginger Tofu Miso Ranch- Turmeric Mint Lime Vinaigrette

Spring SuperFoods

Spring Comfort

Spring Green

Spring Fresh

Spring Raw

Spring Love

Spring Clean

Anytime Classic

Anytime Comfort

Anytime Classic

Anytime Comfort

Classic

Classic

Classic

Classic

Classic

Classic

Foodies Search Here:

Like me on Facebook

Like me on Facebook

Recent Posts:

  • Leftover Local Turkey, Apple, Potato and Smoked Gouda Salad w/Cranberry Mustard Vinaigrette
  • Spiced Apple Zucchini Muffins (Cupcakes) w/Chai Buttercream Frosting
  • Oat Free Granola- Seasonal Fruit and Local Goat Yogurt Breakfast Parfaits
  • Cherry, Quinoa, Goat Cheese Salad w/Honey Wine Shallot Mustard Vinaigrette
  • Rhubarb Ginger- Mint Lime Shrub

Categories

Archives

  • December 2014 (1)
  • November 2014 (1)
  • October 2014 (1)
  • June 2014 (3)
  • May 2014 (1)
  • April 2014 (2)
  • March 2014 (2)
  • February 2014 (1)
  • January 2014 (3)
  • December 2013 (2)
  • November 2013 (3)
  • October 2013 (7)
  • September 2013 (4)
  • August 2013 (3)
  • July 2013 (3)
  • June 2013 (4)
  • May 2013 (1)
  • April 2013 (4)
  • March 2013 (5)
  • February 2013 (4)
  • January 2013 (4)
  • December 2012 (3)
  • October 2012 (1)
  • September 2012 (3)
  • August 2012 (3)
  • July 2012 (5)
  • June 2012 (2)
  • May 2012 (2)
  • April 2012 (4)
  • March 2012 (7)
  • February 2012 (13)
  • January 2012 (9)
  • December 2011 (2)
  • November 2011 (3)
  • October 2011 (8)
  • September 2011 (1)
  • August 2011 (5)
  • July 2011 (9)
  • June 2011 (13)
  • May 2011 (8)
  • April 2011 (14)
  • March 2011 (8)
  • February 2011 (4)
  • January 2011 (5)
  • November 2010 (7)
  • October 2010 (2)
  • August 2010 (4)
  • June 2010 (8)
  • May 2010 (3)
  • April 2010 (10)
  • March 2010 (4)
  • February 2010 (1)
  • January 2010 (4)
  • November 2009 (3)
  • October 2009 (3)
  • September 2009 (9)
  • August 2009 (1)
  • July 2009 (4)
  • June 2009 (8)

Blog at WordPress.com.

Privacy & Cookies: This site uses cookies. By continuing to use this website, you agree to their use.
To find out more, including how to control cookies, see here: Cookie Policy
  • Subscribe Subscribed
    • Cosmo Hippie Chef
    • Join 126 other subscribers
    • Already have a WordPress.com account? Log in now.
    • Cosmo Hippie Chef
    • Subscribe Subscribed
    • Sign up
    • Log in
    • Report this content
    • View site in Reader
    • Manage subscriptions
    • Collapse this bar
 

Loading Comments...